Happy Halloween!
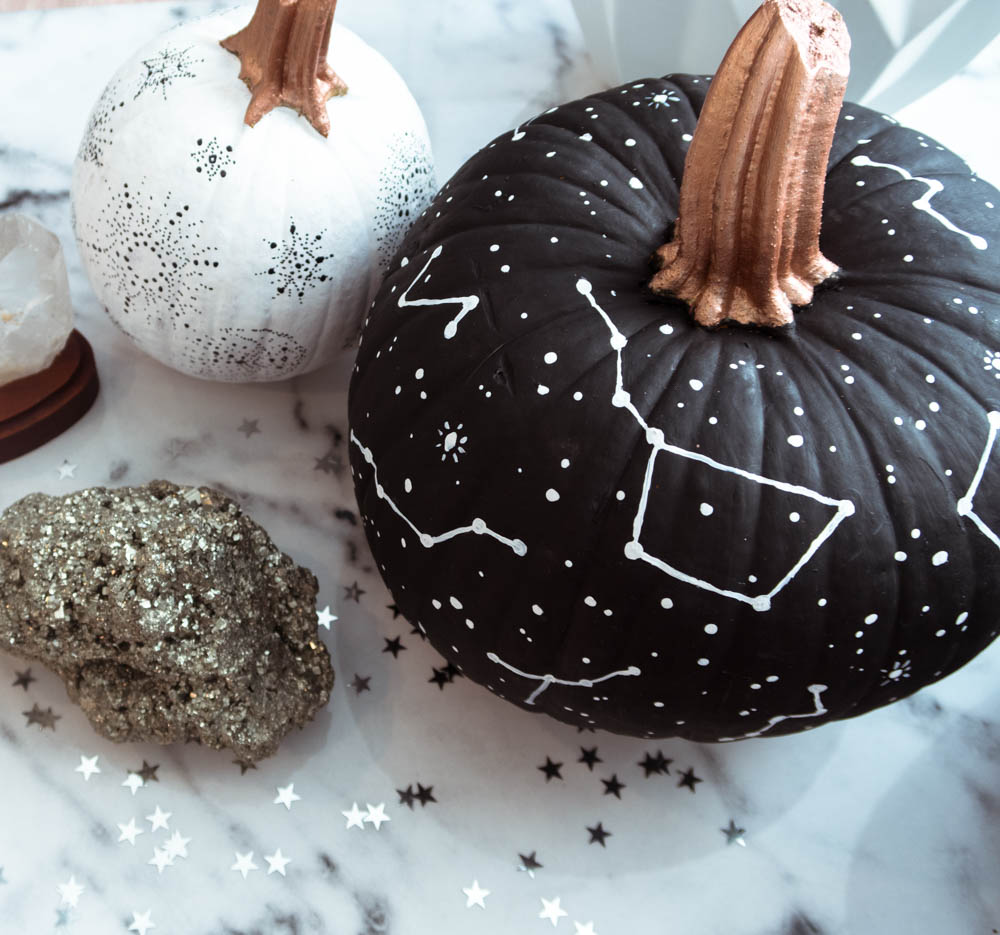
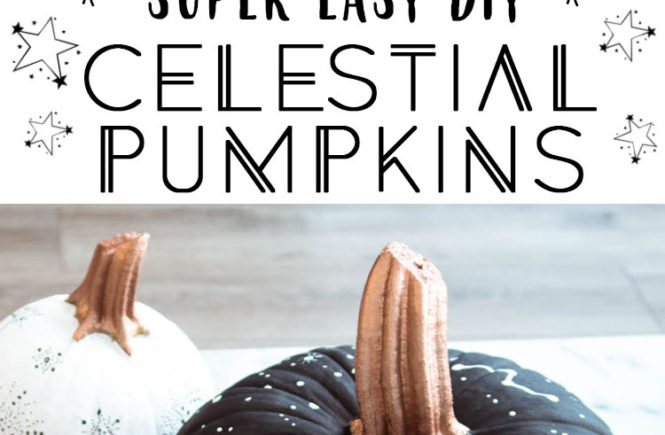
For this year’s pumpkins, I decided to get all celestial. Last year’s pumpkins got a boho twist (see my leather pouf ottoman inspired pumpkins here), so this year’s pumpkins are getting a little starry makeover.
Except, unfortunately, there really are no exact steps for the DIY in this post…
First, I simply painted my pumpkins with a base coat of acrylic paint, I used this black and this white. I did two coats for extra opaque coverage.
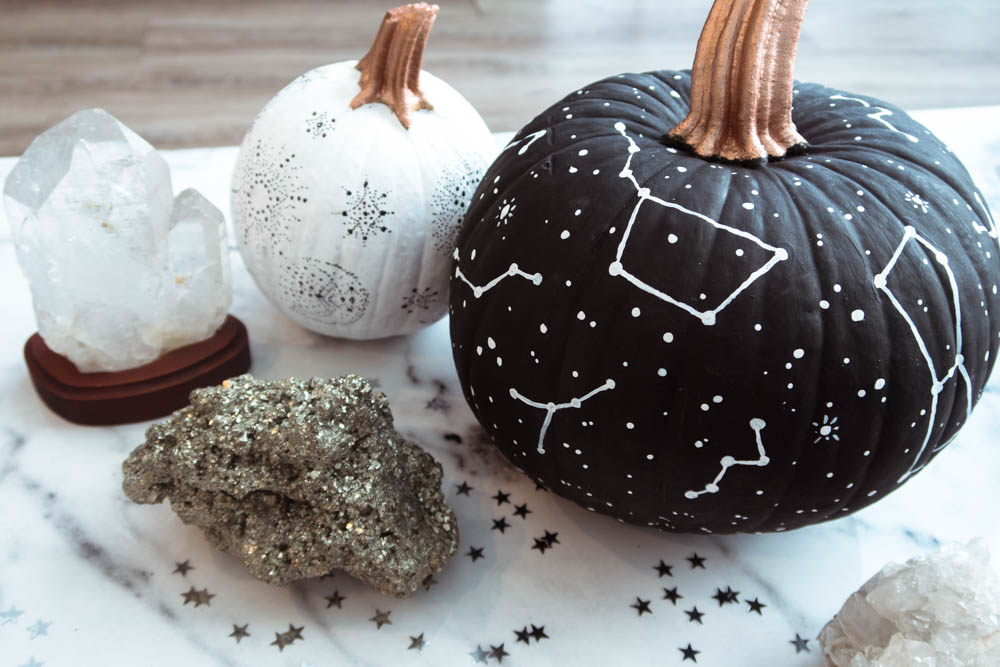
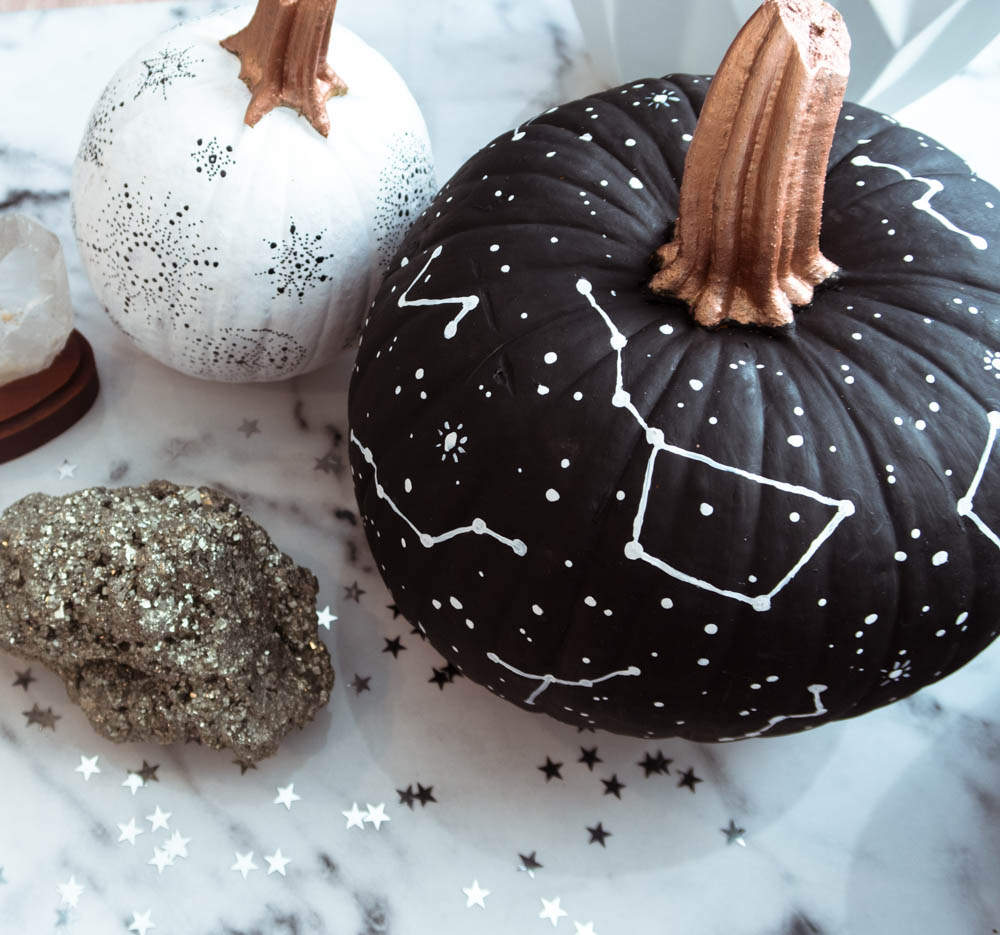
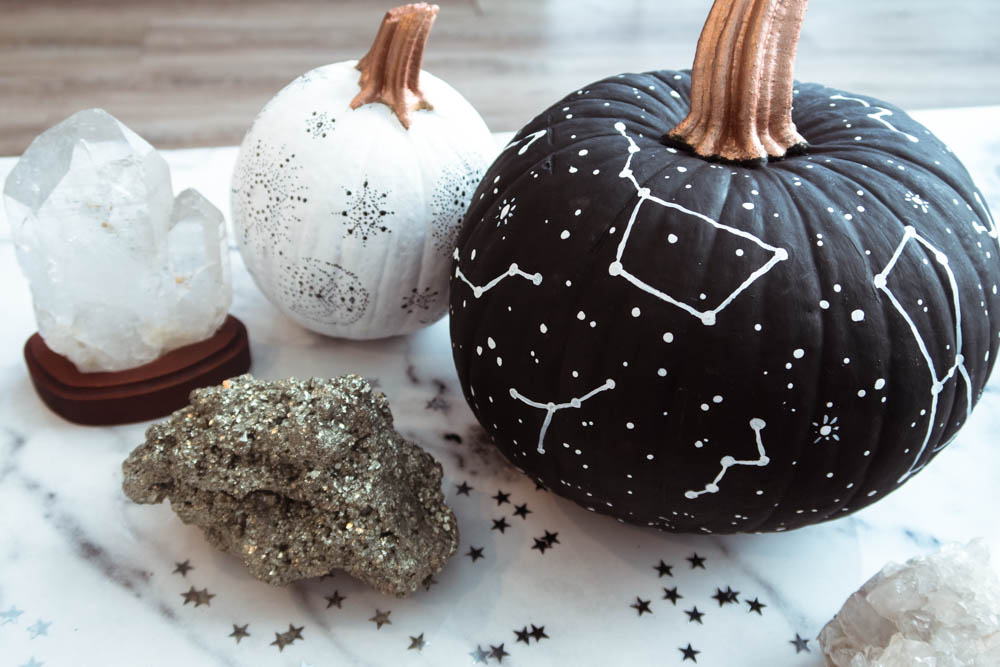
I then looked up some of my favorite constellations and then roughly mapped out where I wanted to place each one by using this dotting tool to create the “stars” in each constellation. (Depending on the size of the dots you want you might have to make a circular movement with the dotting tool.)
Then, I took a very fine tip paintbrush and connected the dots to give shape to the constellations. Super easy, right? The lines don’t have to be super straight and/or perfect. Mine certainly aren’t!
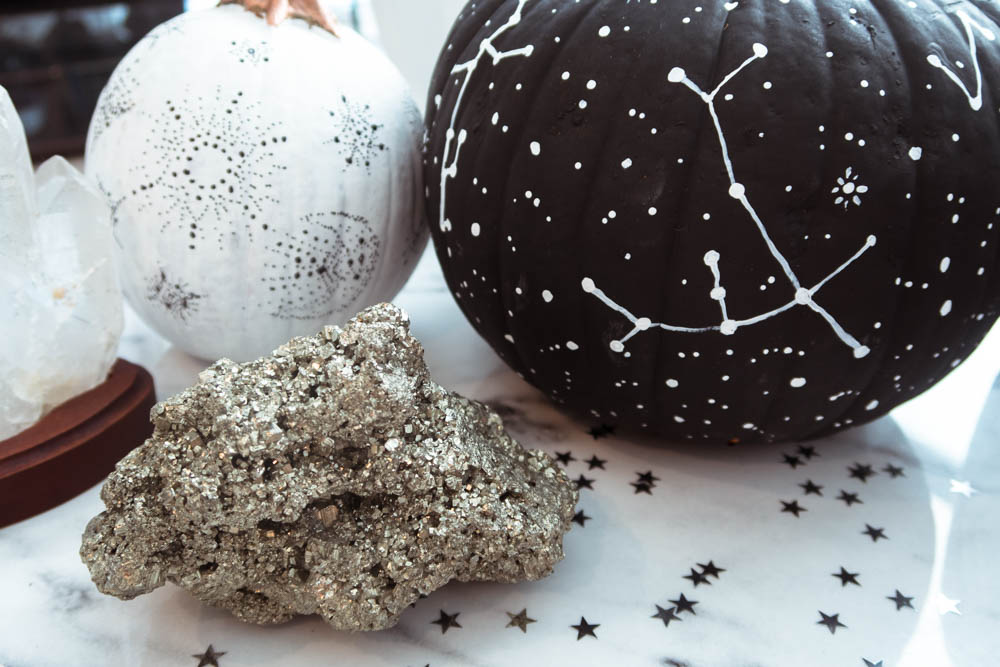
And, in case you don’t have all your star signs or favorite constellations memorized, I used this image to give me a better idea of what to draw out. You can even make up your own designs, they obviously don’t have to be legit. But I would recommend throwing in a few recognizable ones like the Big Dipper, for instance.
After I had all my constellations outlined, I again took my dotting tool and just made dot “stars” all over the rest of the empty space on the pumpkin. The one thing I think that makes this pumpkin look more realistic is that the stars are all different sizes. This is due to the amount of paint on the dotting tool. When you first dip it in it will have a lot of paint, which creates a larger size “star.” But by the time you’re done dotting around, the paint wears off and you get faint, tiny stars, which I love!
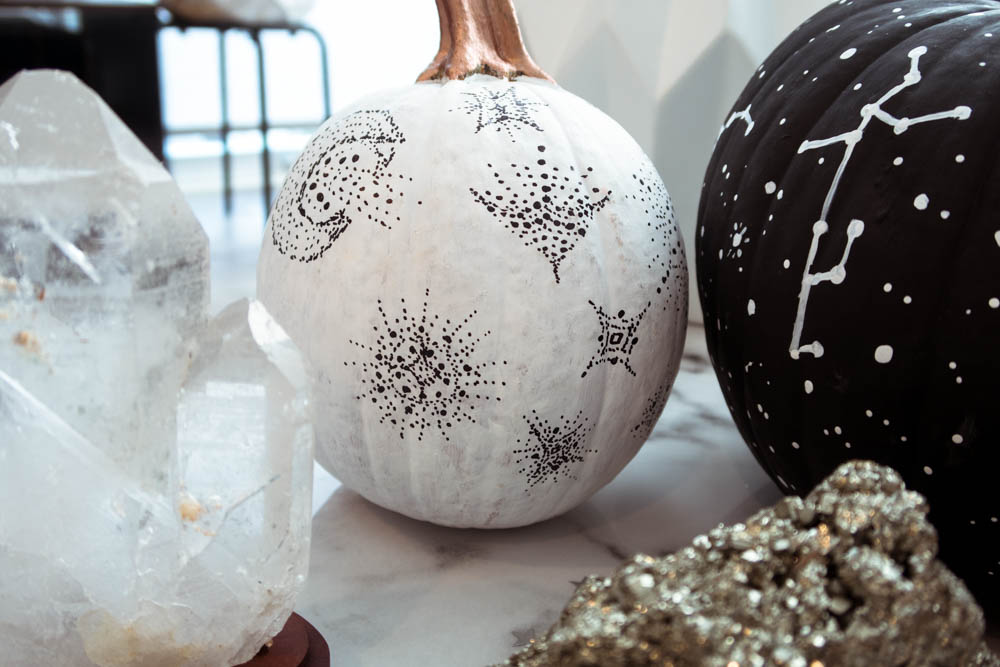
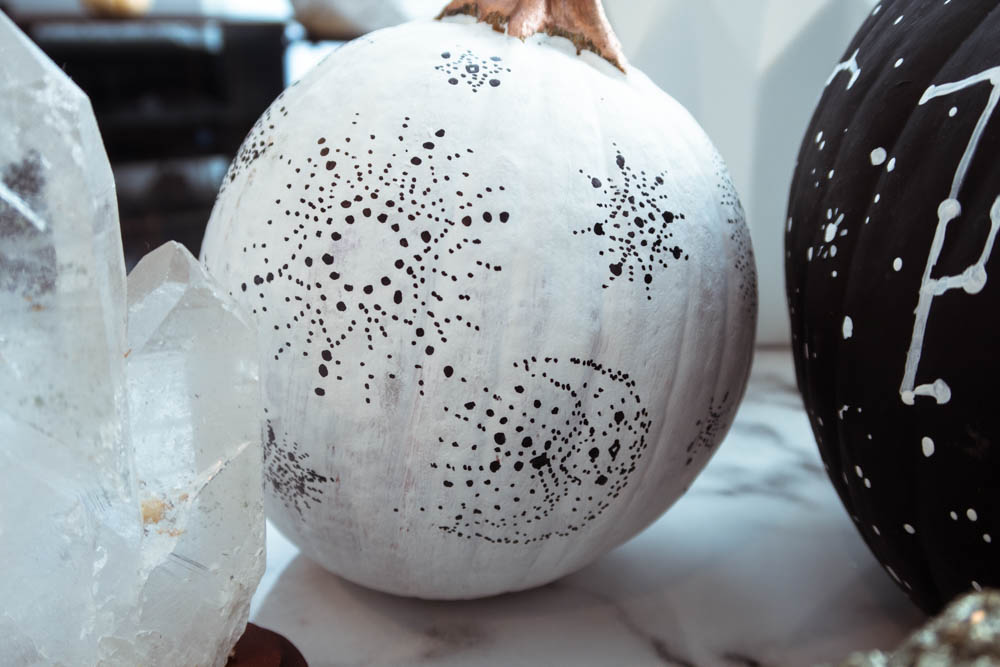
As for the white pumpkin, it was kind of a last minute idea, but I was inspired by this print in Beach Riot’s new Sport Riot collection!
And again, there is not really a DIY for this design, I just kind of freehanded each starry shape and tried to emulate what I saw on the Beach Riot pattern.
For these pumpkins, I painted a base coat with this white acrylic paint (definitely could’ve used another coat of that white – it’s looking a little sparse, oops!), and then made the dots with this Sharpie marker once they were dry. Again, it’s not super precision, I just kind of freehanded it and it’s definitely not perfect.
But don’t worry, no one is looking that closely, I’m sure they’re mostly worried about the free candy 🙂
Let me know if you end up recreating any of these pumpkins…I love seeing others inspired by my work! And, more importantly, is anyone going out for Halloween tonight?! Let me know what you’re dressing up as in the comments!
Xx

2 Comments