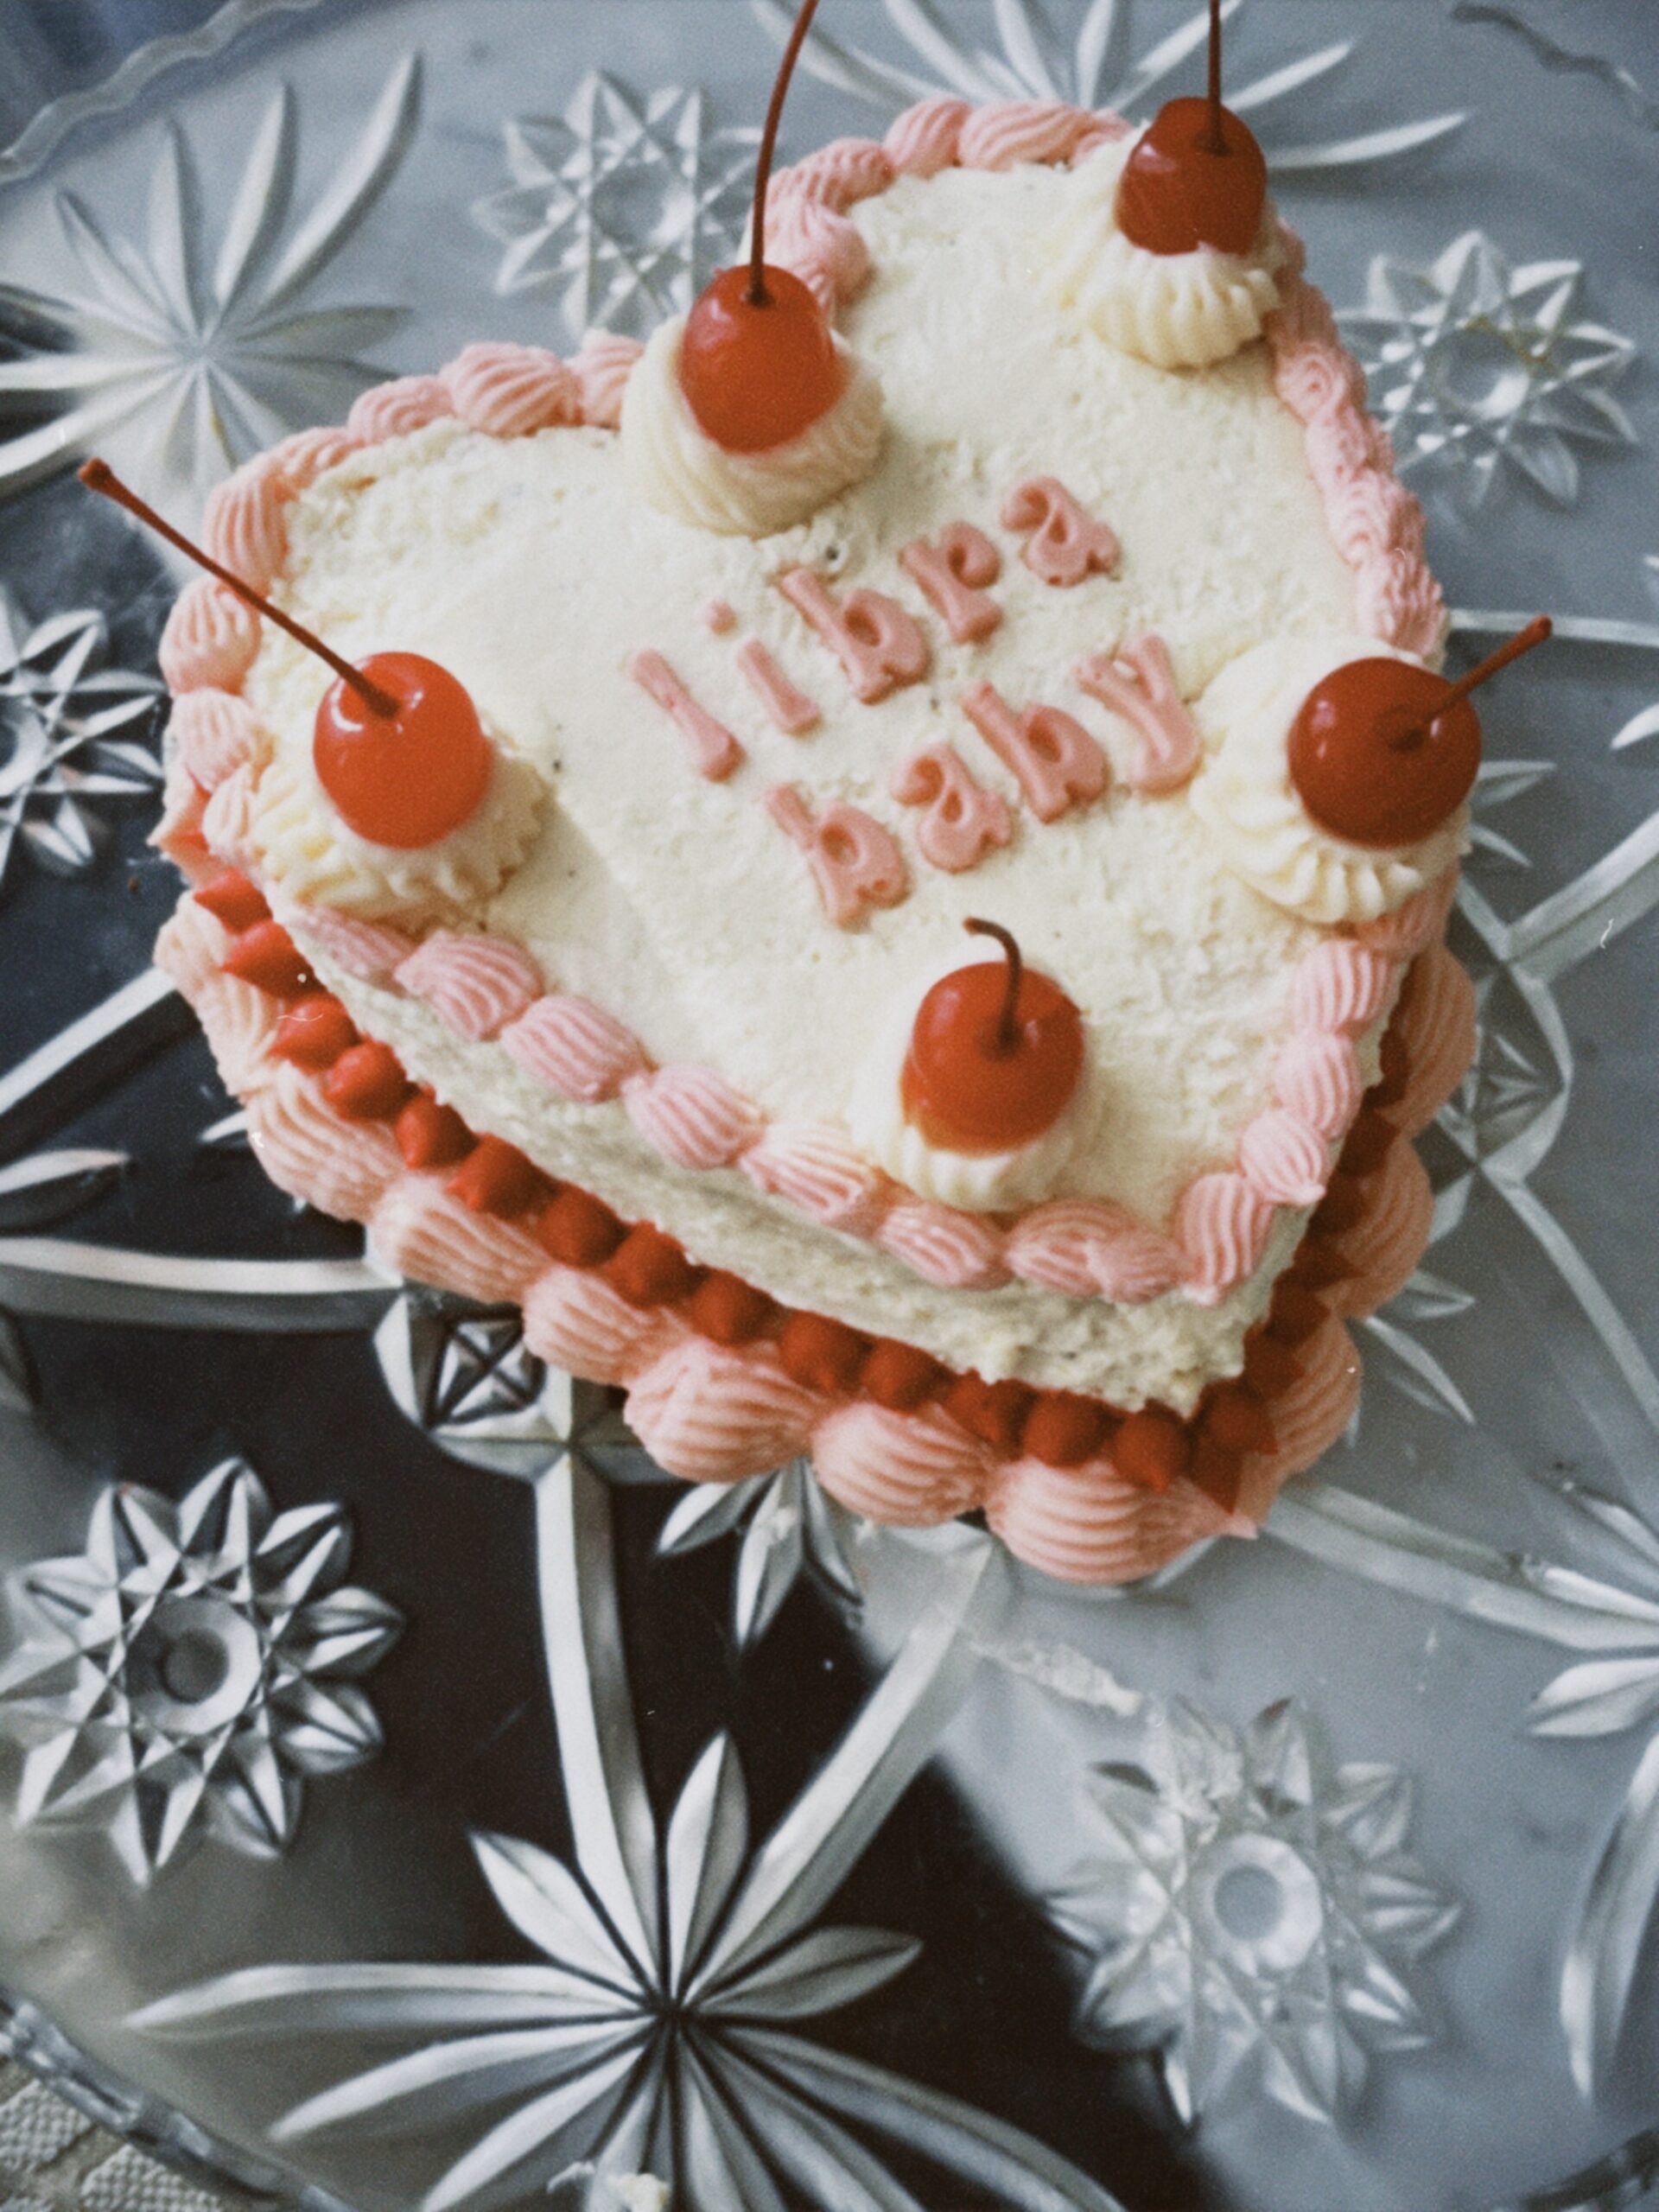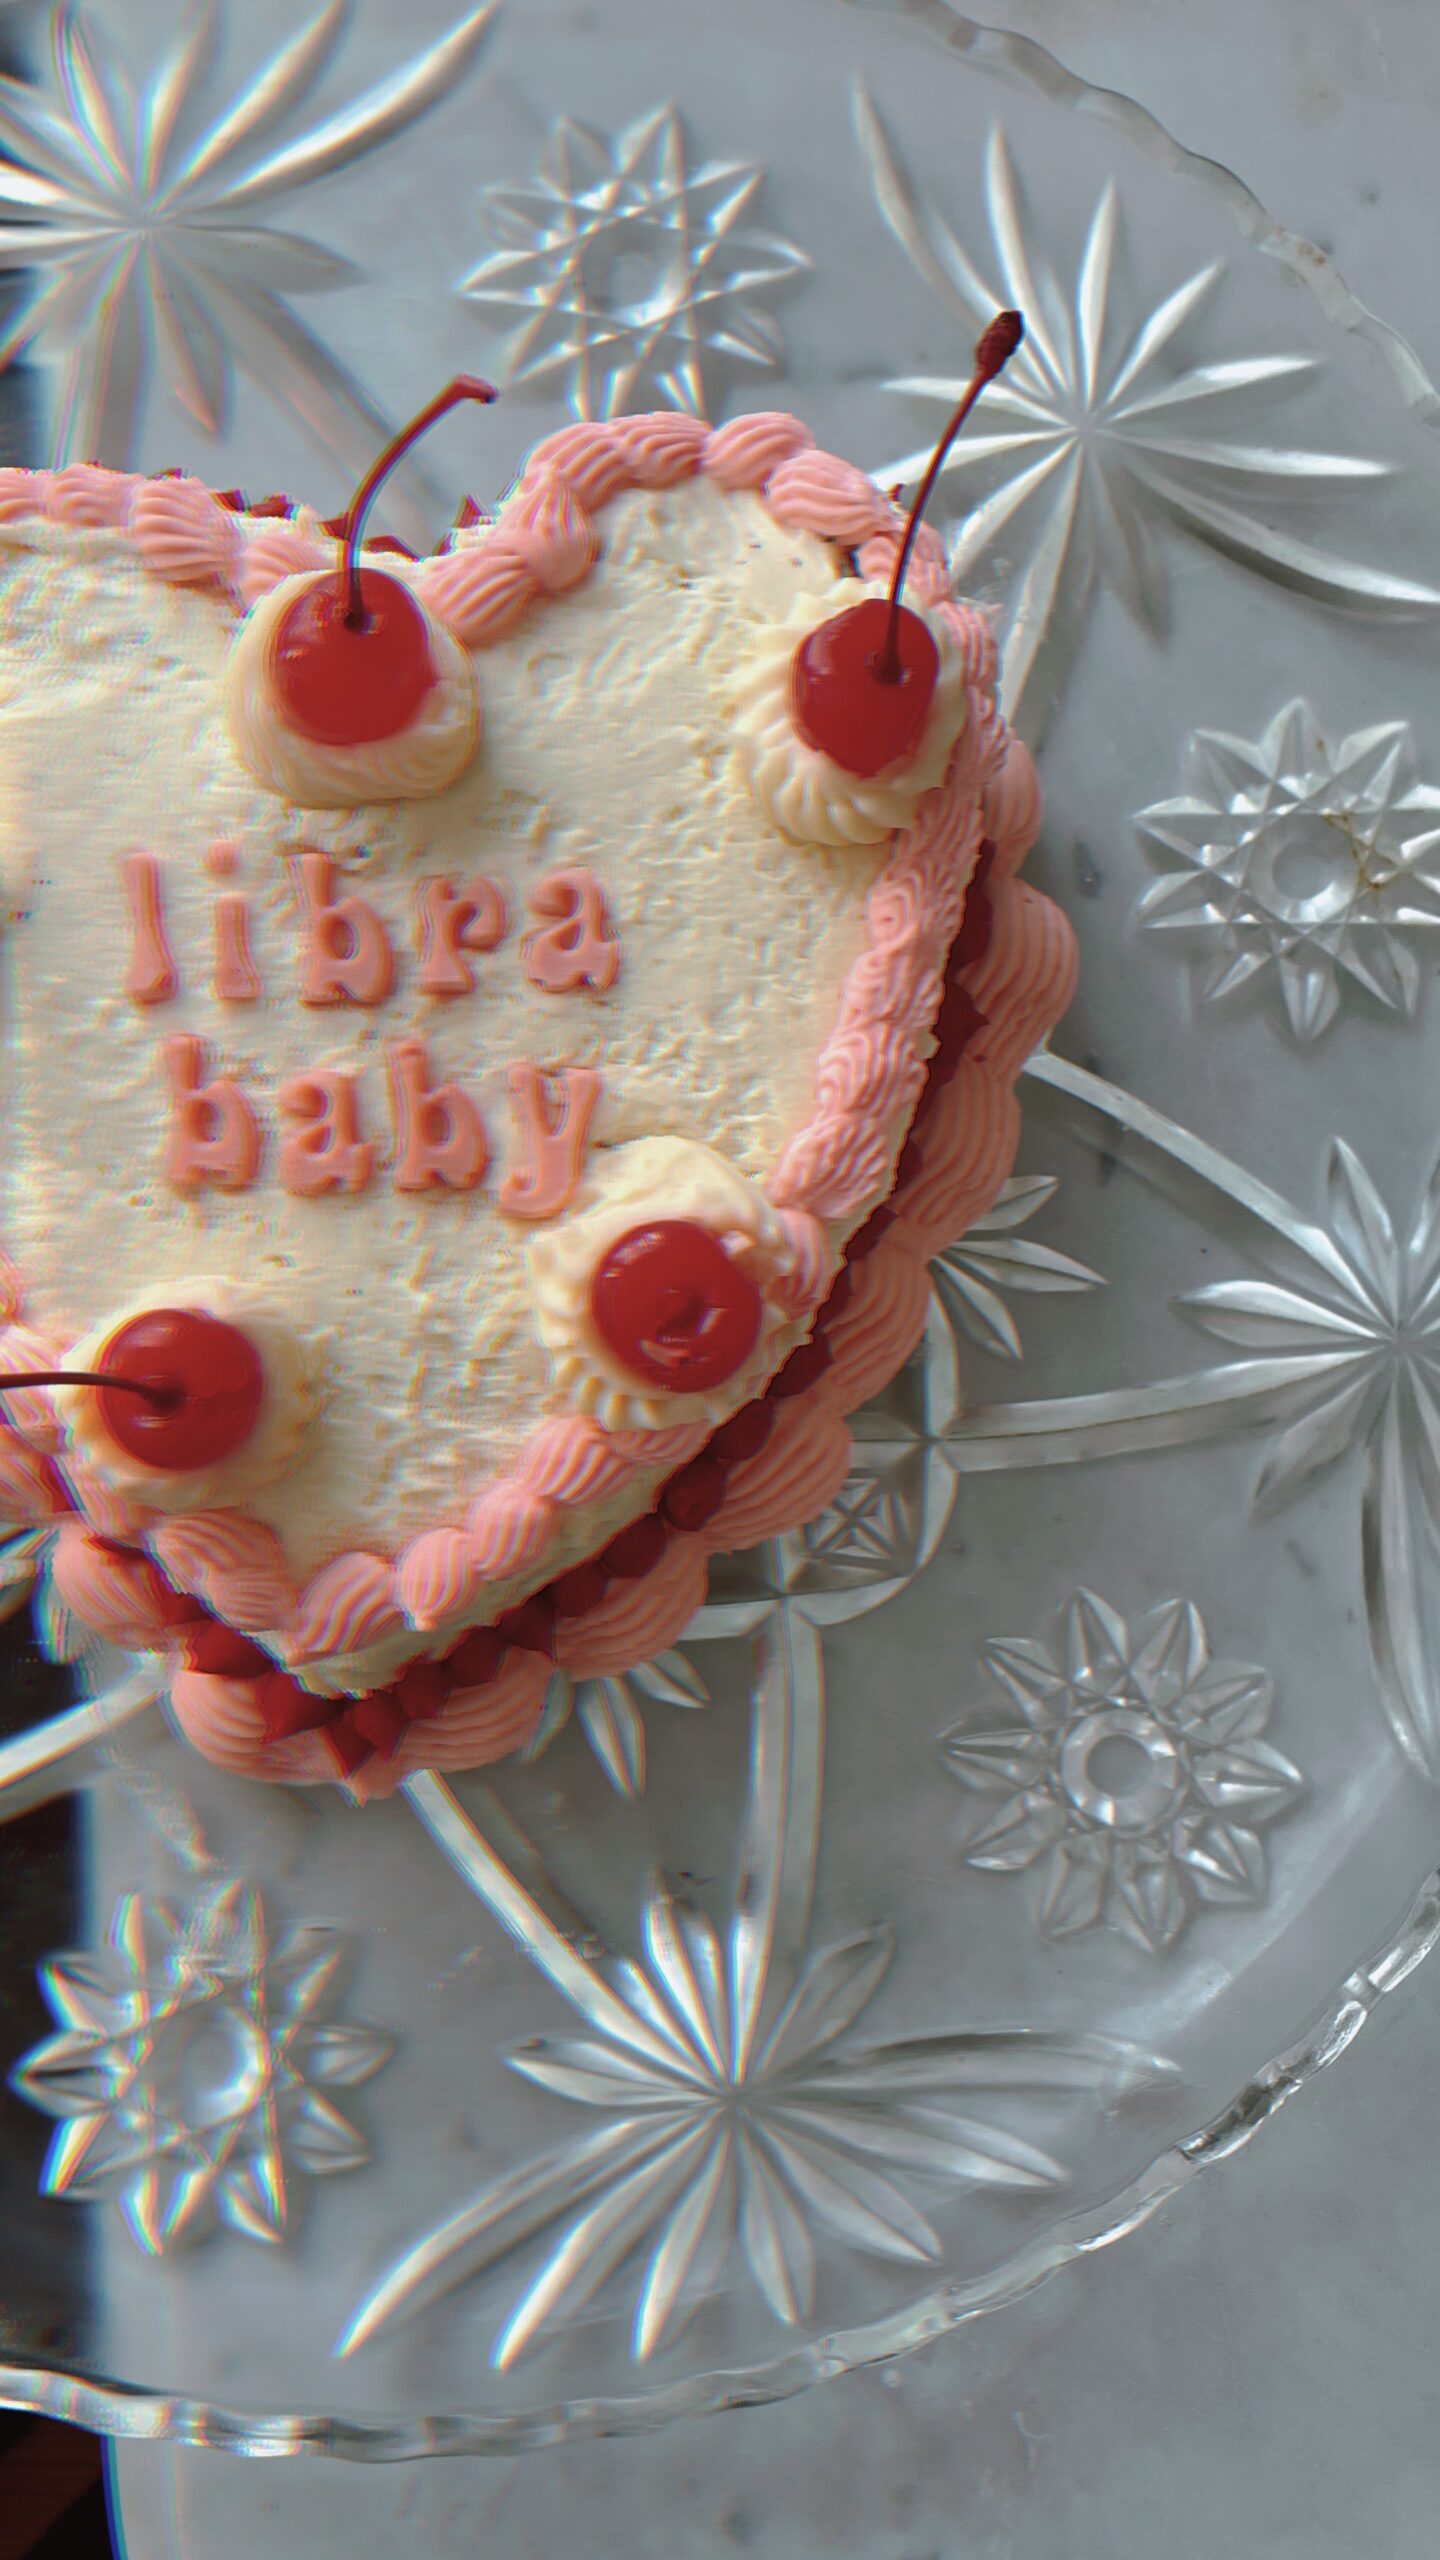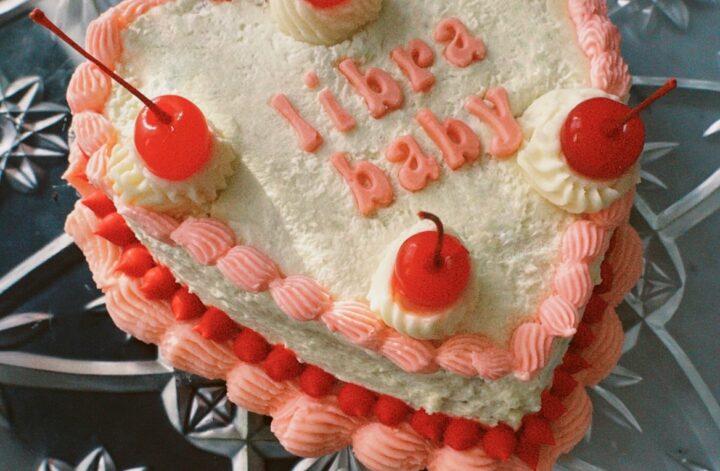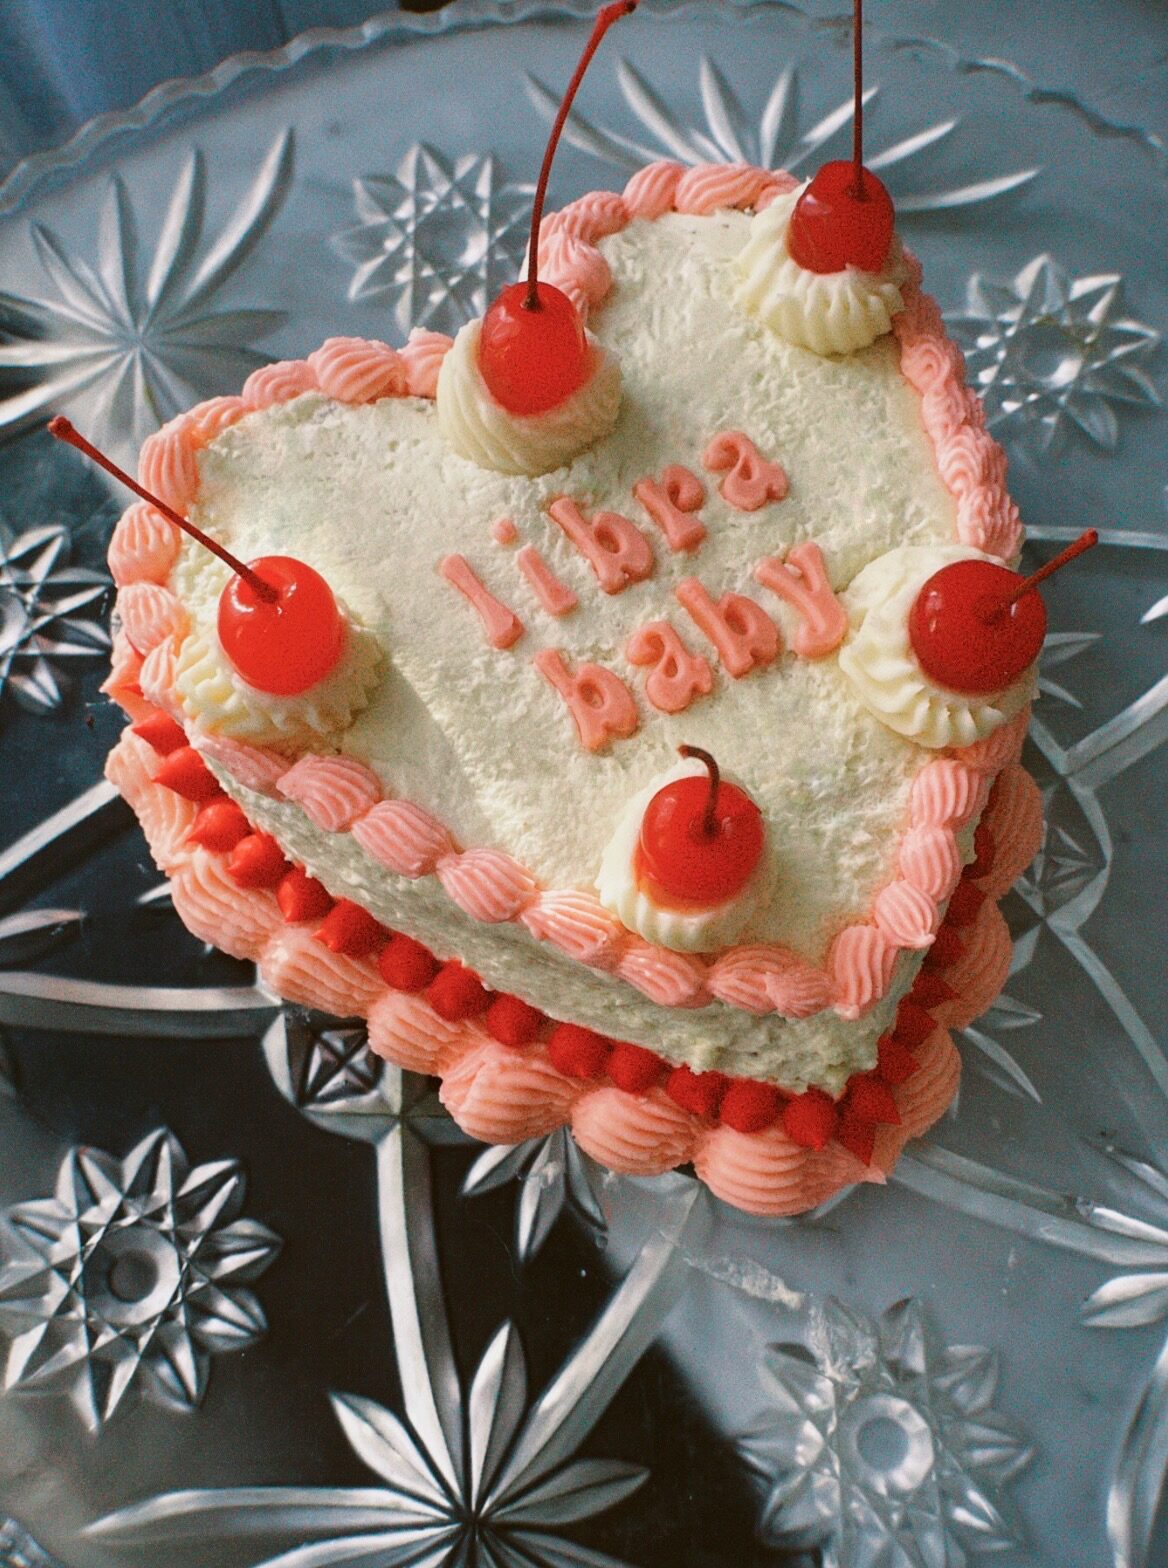
By now you’ve probably seen these adorable vintage heart cakes all over your Pinterest and Instagram feeds. These cakes are usually decorated with a rich, silky smooth buttercream that lends to very ornate piping designs around the edges.
Being a pretty crafty girl myself, I decided I would try to make one for my recent birthday. It sounded like a fun project and I figured it would make a great blog post as well.
So here we are.
First things first, these cakes take TIME. And practice. Mine did not turn out as perfect as I had planned, but since this was my first time ever baking a cake from scratch or using a piping tip, I am giving myself grace here.
Don’t worry, I already made all the mistakes so you don’t have to.
Vintage Heart Cake Ingredients
- Box of cake mix (store bought box or homemade — follow directions on box for additional ingredients)
- Heavy whipping cream for filling
- 2 tsp. Vanilla extract (I love this bourbon vanilla)
- 1/4 cup Sugar, or to taste
- 2 sticks butter, softened to room temp OR store bought frosting (don’t recommend because homemade buttercream is soo much yummier!) Also- if you choose to frost the cake with buttercream instead of whipped cream, add 2 more sticks of softened butter OR 1 extra jar store bought frosting.
- 1 lb. powdered sugar
- An additional 2 tsp. vanilla extract
- 2 teaspoons milk or cream
- Gel based food dyes – I recommend this brand for most pigmented color
- White chocolate bar or these candy melts for the letters. (You can add food dye of your choice or buy colored melts)
- These Maraschino cherries (with stems!)
Additional Cake Tools
There are a few tools you’ll need to create one of these cakes. I was trying to do this last minute and did NOT have a lot of these, which was a HUGE mistake. It will be MUCH easier to get a smooth and even result if you have the right tools.
- Heart shaped cake pan
- Cake spatula for spreading frosting
- Cake cutter
- Piping bags
- Piping tips – (I used the small round, small star, and large star tips, similar to the ones in this kit on Amazon)
- Silicone letter molds
- Cake turntable for easy decorating and spinning
(Buy all these separately OR you can get this ENTIRE SET of cake tools for under $25)
@quartzandleisure Ok the cake is not perfect but i still think she came out cute 🥲 All cake tools are linked in my amaz0n #vintageheartcake #fyp ♬ i was made for lovin you – music:)
How to Make a Vintage Heart Cake
-
Bake a heart shaped cake.
I used this heart shaped cake pan. It was smaller than I would have liked, but it turned out for the best because a larger cake means more frosting, which means way more work, and more opportunities to mess up. So, I’m glad I opted for a smaller cake on my first go around. (A box cake mix will make 3 small heart cakes). This cake pan is the larger version if you’re an experienced baker or seeking out a real adventure in the kitchen. Proceed at your own risk.
You can use a store bought box cake or make one from scratch (I used this recipe for a chocolate cake and omitted 1/4 cup sugar because I knew the frosting would be sweet enough. I also used unsweetened apple sauce in place of the oil and it was super fudgy and moist!). But honestly, I will probably just use a box cake mix next time.
-
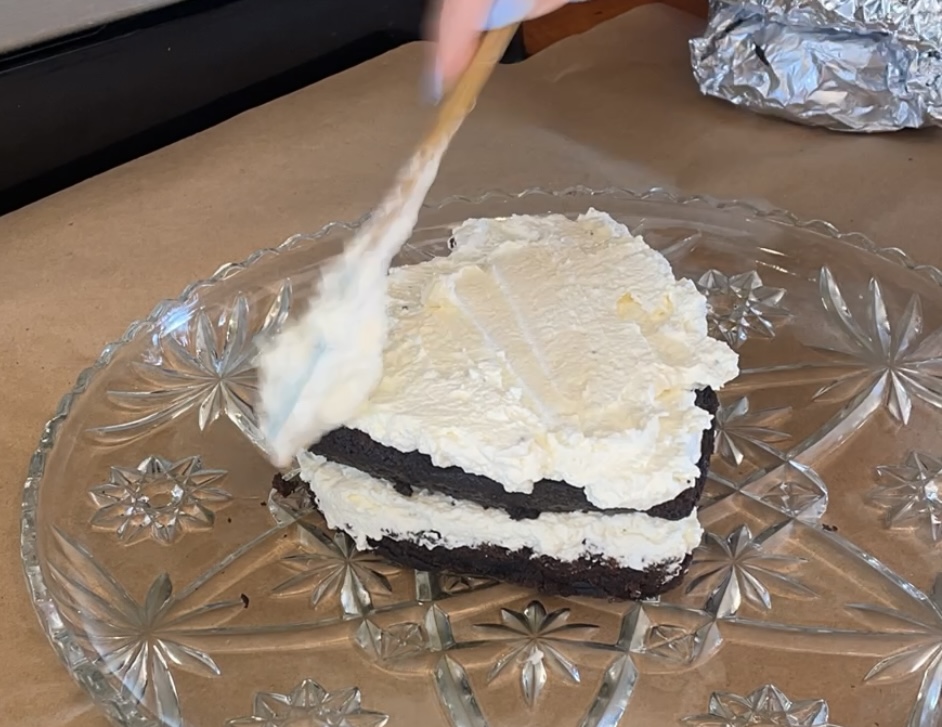
While the cake is cooking, make your whipped cream filling.
Let the cake completely cool before slicing it down the middle, to make room for a whipped cream filling. (You can also use buttercream, but with the amount of buttercream on the top, I decided to switch it up and use whipped cream. I am glad I chose this option!). Completely cover and frost the outside of the cake with the whipped cream. Use the spatula and tools to get a clean top and edges. Don’t worry if your edges aren’t completely perfect, the piped frosting will probably cover most of it.
-
Put the cake back in fridge to cool while you make the buttercream frosting
I used this recipe for the buttercream frosting and it was perfect! Once you have a large batch of white frosting, separate it into smaller bowls and mix in the gel coloring of your choice. For making red, I found that this dye worked the best, but you still need to add a LOT of red before it turns true red and not pink.
The piping on this cake takes a lot of frosting, so mix more than you think you’ll need for each color. It’s better to mix more than enough, than to have to try and color match the next batch!
-
Use the 2 bag method for piping the frosting on. I followed this Pinterest pin and it worked really well.
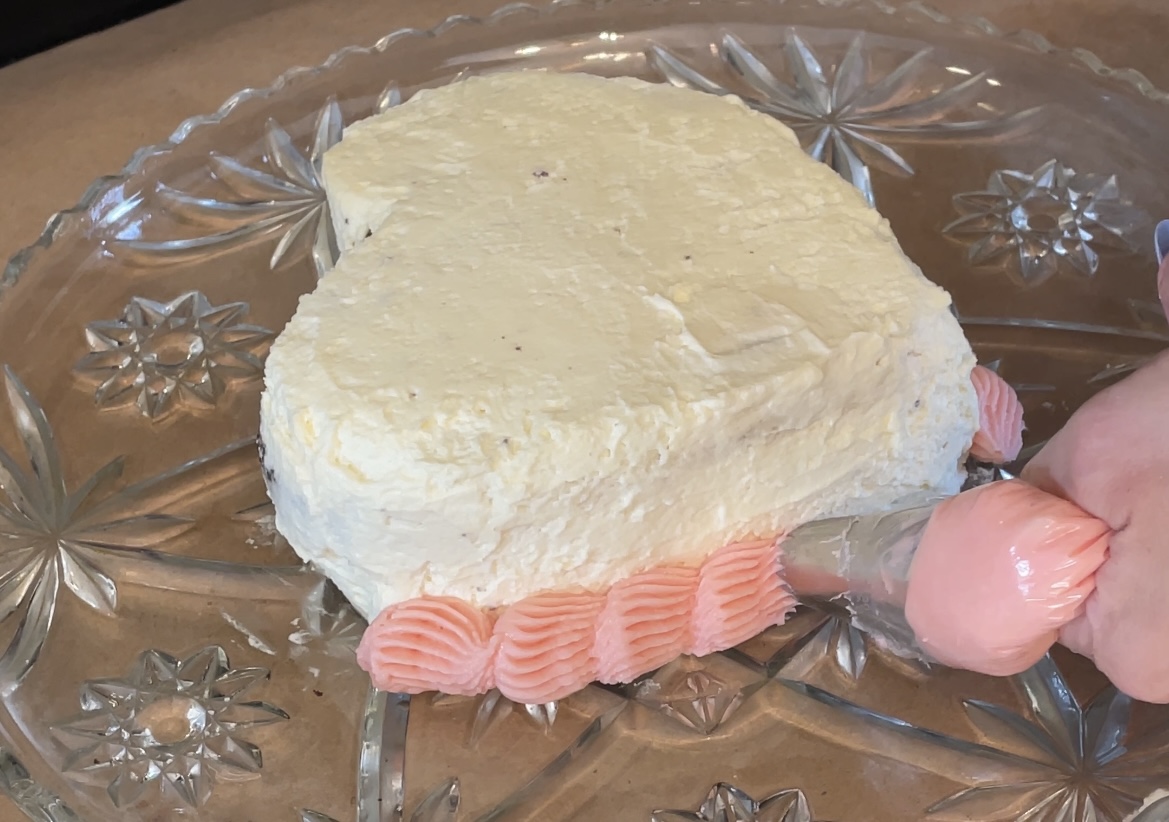
The piping tips are probably the most important part of getting the icing just right. I used 3 different tips for this cake. At the bottom border I used a larger star tip, for the pink border I used a smaller version of that tip, and the red was piped using a round tip. All can be found in this piping tips kit for less than $8 on Amazon.
For the white dollops on top, I used that same larger tip, and placed some Maraschino cherries on top. Make sure the cherries are dried off, or else the red juice will run down the sides. I did this by mistake and it was not cute.
-
Tips for piping the frosting
First off, don’t try this if it happens to be a rare Fall day when your kitchen is 85 degrees like mine was. The frosting will be thin and will melt down the cake and you’ll have to chill in between layers.
Practice (!!) piping with the tips into the frosting bowl before you attempt on the cake. Get a feel for the right pressure and twisting motion before trying it out on the real thing. You want to strive for a consistent pressure throughout the process. If the frosting feels soft, chill the cake and frosting before moving to the next piping layer.
-
Melt the chocolate to make the candy letters using this silicone letter mold
Melt your chocolate in 30 second intervals in the microwave. Be sure not to overcook or burn this step! Using a toothpick, pour/scoop/shove the melted chocolate in the letters of your choosing in this silicone vintage letter mold. Be sure to really get the chocolate in every corner. This was a learning curve for me and took several tries to get the letters just right without any bubbles. But my best tip is to make sure the toothpick is really getting into every nook and cranny.
Pop the trays in the freezer for 5 minutes and the letters should be solidified. You may need to do several rounds of this if you need multiples of each letter.
Not gonna lie that was kind of a pain. All the B’s left me for dead.
And finally, I saved the big white dollops of frosting on top til the end. Place your dried off Maraschino cherries on top. Make sure you get the cherries with stems for a cute aesthetic!
And that’s it for making a beautiful vintage heart cake! I would recommend chilling before serving.
To be honest, this cake did not serve that many people. If you’re not big on eating mouthfuls of buttercream frosting on its own and want more of the cake experience, I would say this serves 4, maybe 5, people. So it’s a good idea to have a backup cake that’s not so ornate if you want to serve more people actual cake. A box of cake mix will make 3 of these 6″ heart cakes so you can bake a couple more from the same mix.
I love the versatility of decorating these cakes. Now that I (sort of) know what I’m doing, I can’t wait to make more of these with different themes. Halloween, Friendsgiving, Christmas, etc!
Speaking of the upcoming Friendsgiving Season, these pumpkin cookies are a crowd pleaser every time, and work well from October til December. (They’re a great spice cookie for holidays, too!)
And, if you want to see a video of me making this cake, check out this video on my TikTok page.
If there’s anything you need help with or have questions on, don’t hesitate to ask! Send me a DM on Instagram and I’ll do my best to help 🙂
Xx
(Don’t look too closely at the photos. The cake is far from flawless ha!)
