What You’ll Need:
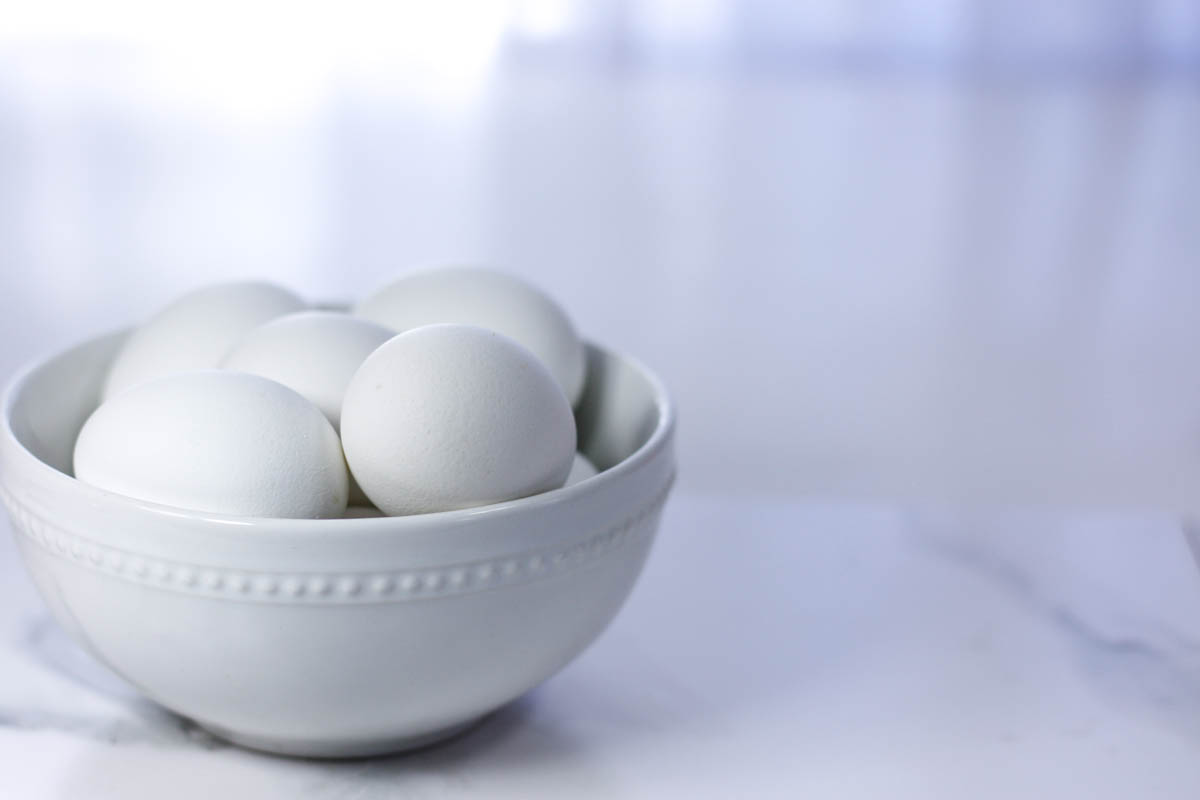
- 1 dozen hard boiled eggs (you can also blow out the eggs if you’d like them to last forever!)
- Tissue paper (several colors of your choosing)
- Sharpie marker
- Hot glue gun
- Tiny terra cotta pots
- Sand (I just grabbed a Ziploc bagful from the beach!)
- Small pebbles or rocks
Natural Dye Ingredients (Optional):
- 6 Tablespoons Turmeric (one small container)
- White vinegar
- 1 Head purple cabbage
So, who’s sick and tired of seeing those same old Easter egg dye jobs? Well, I certainly am.
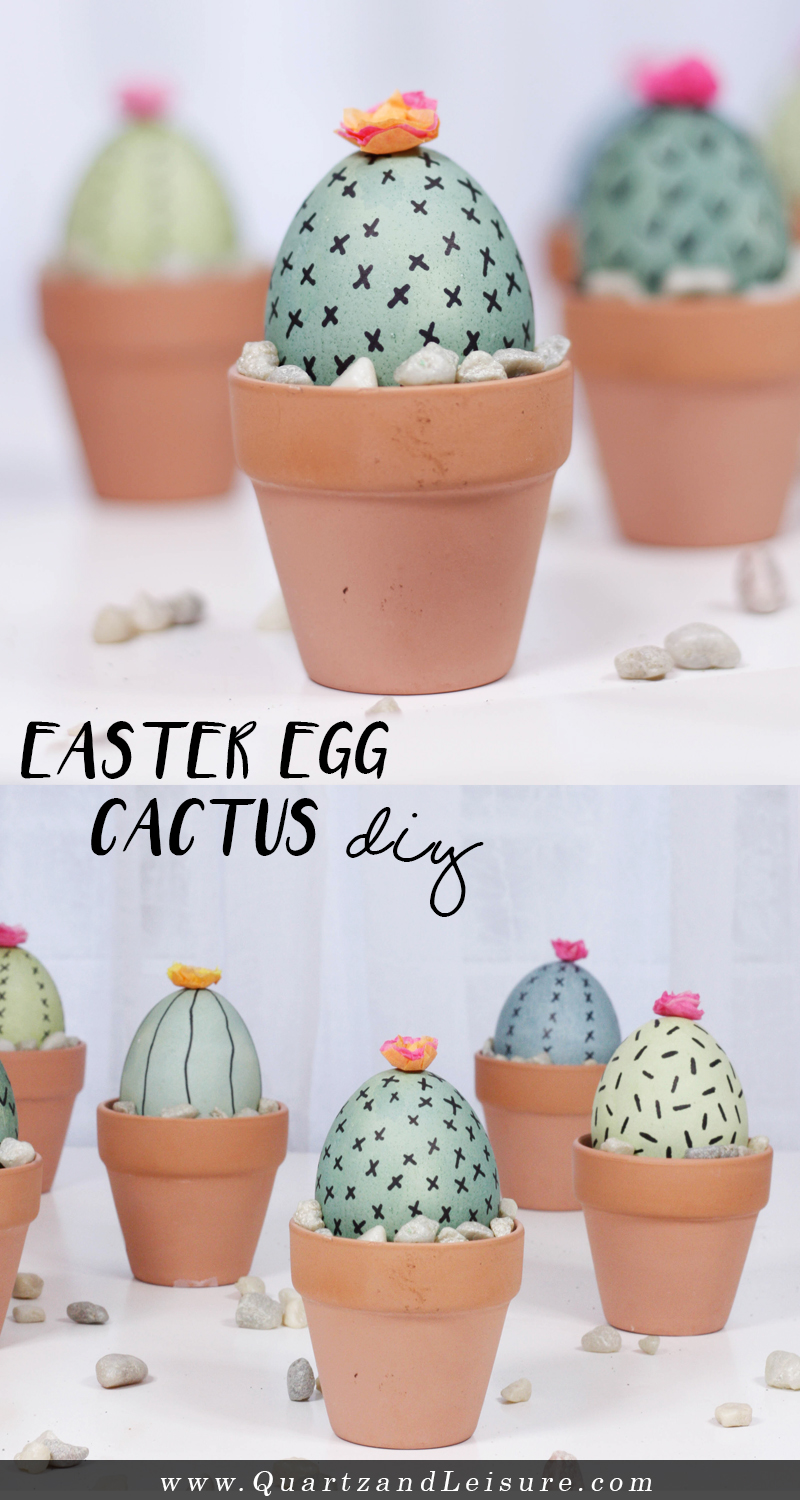
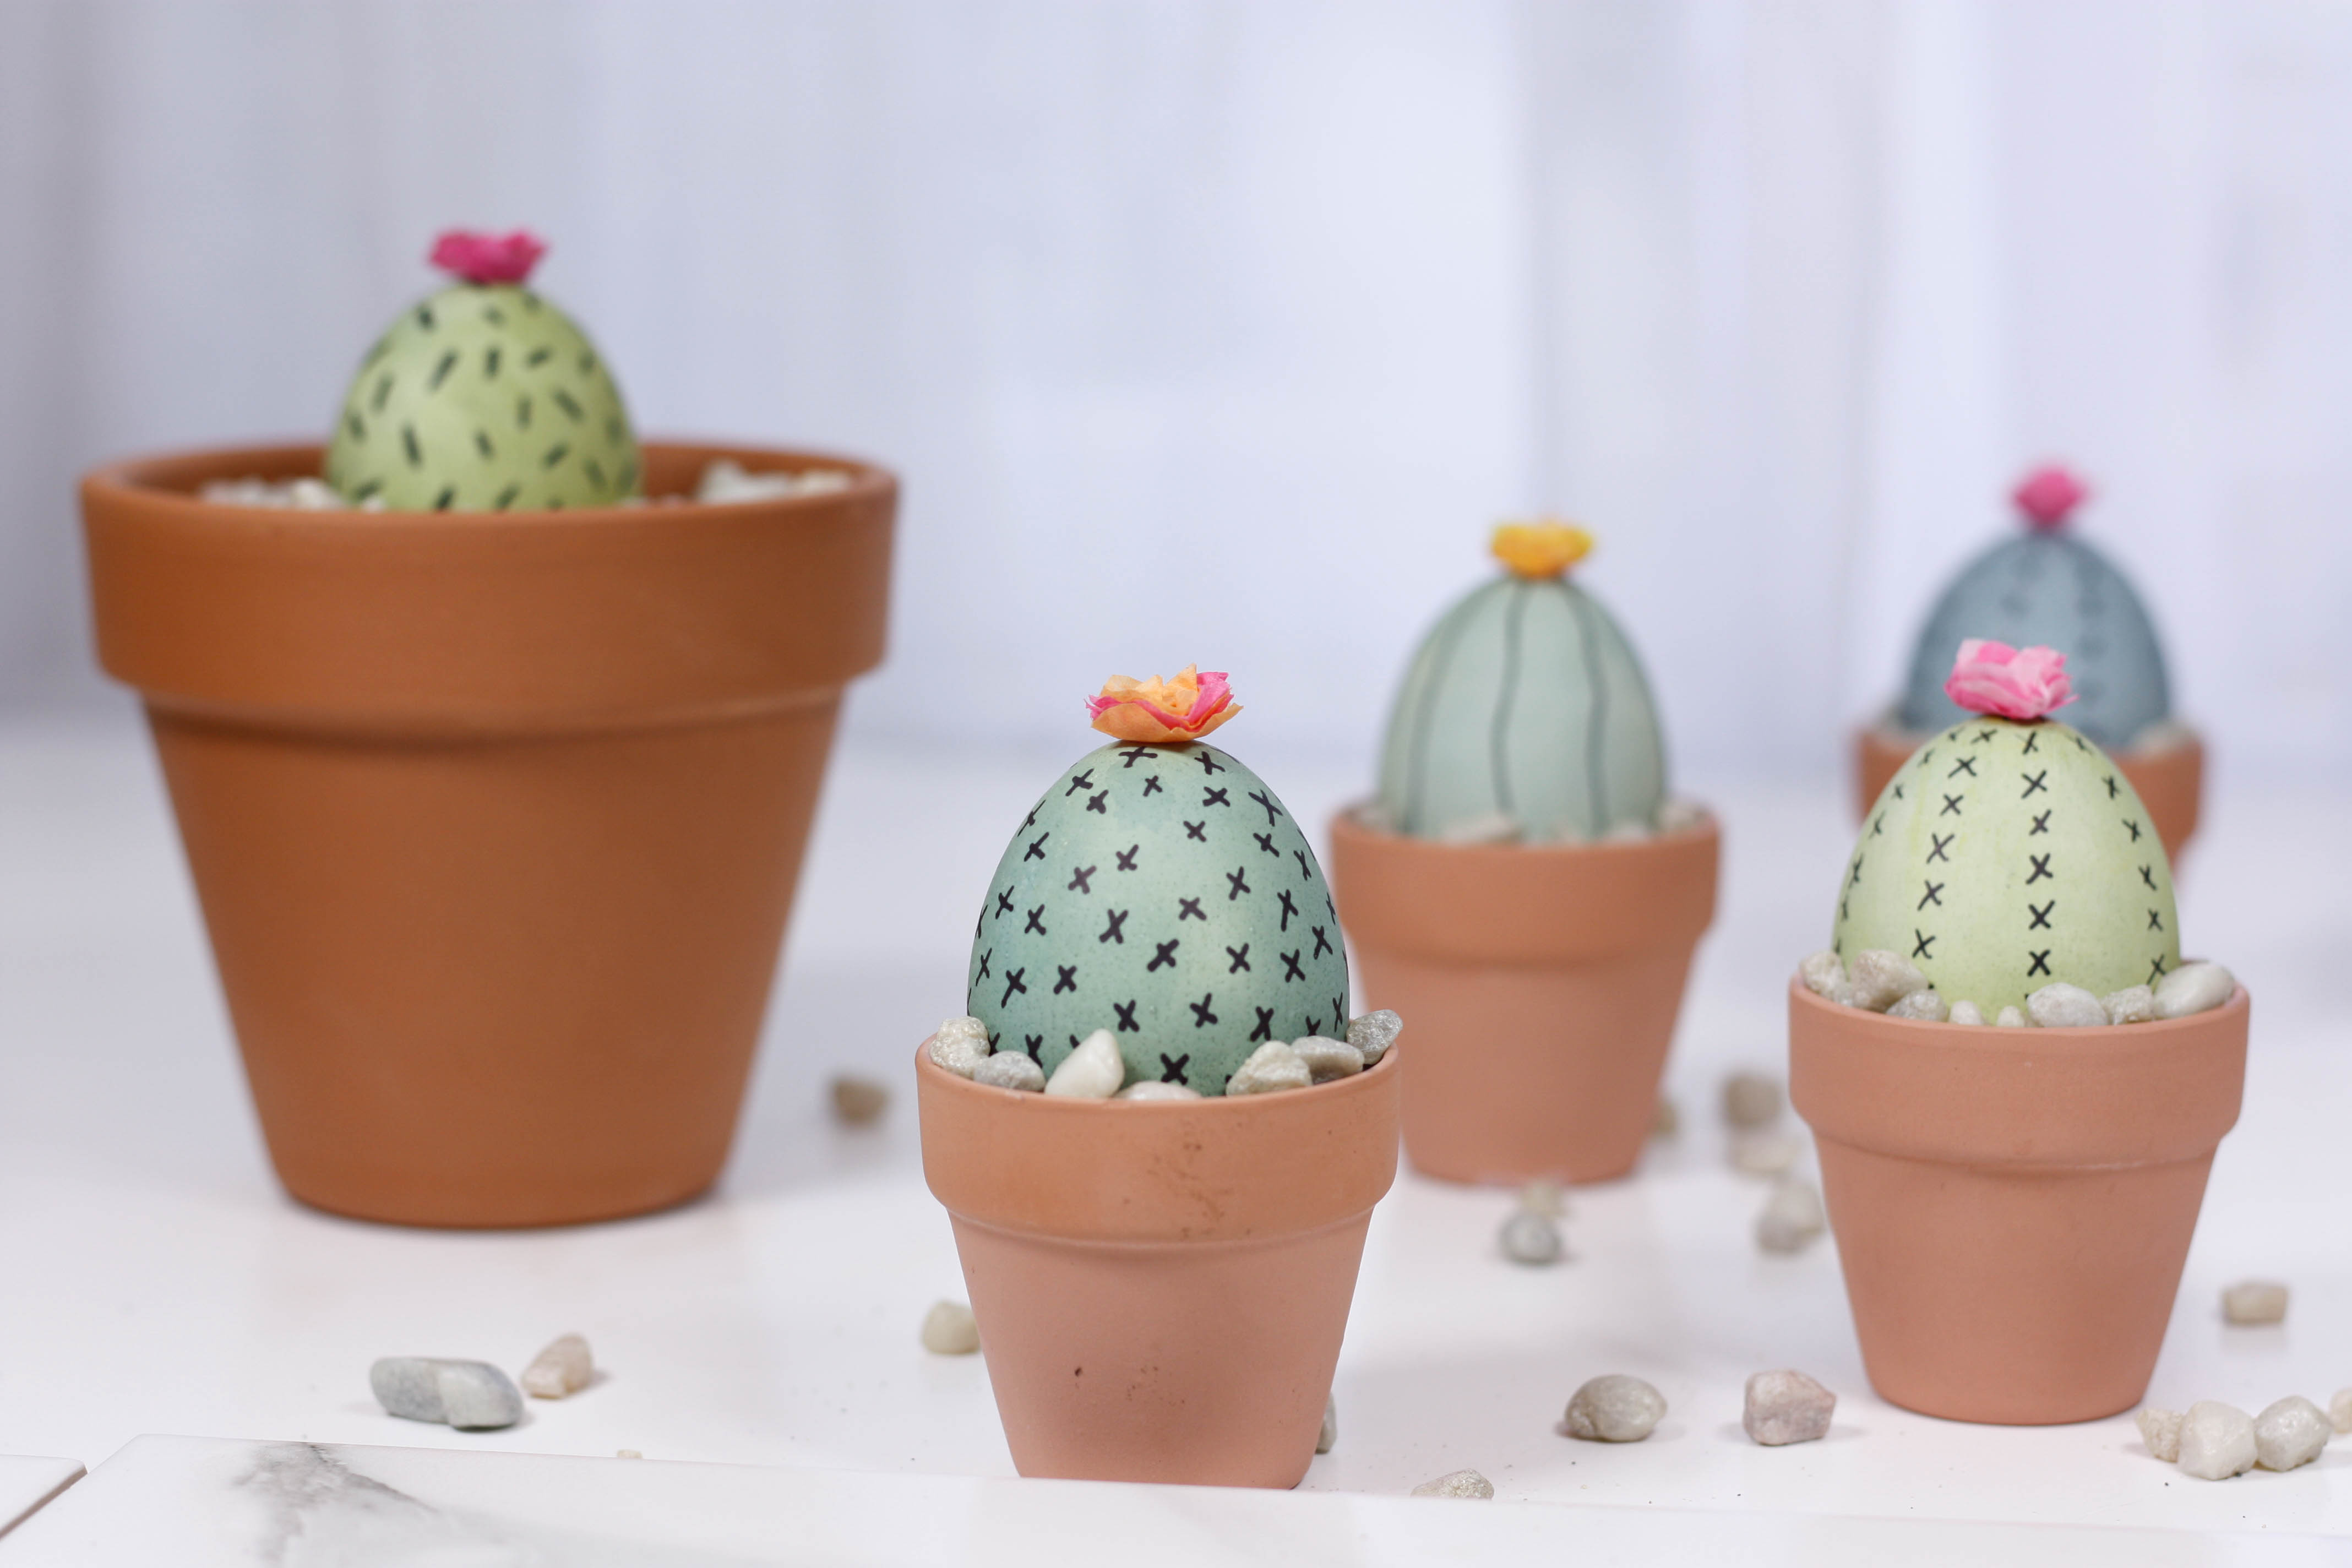
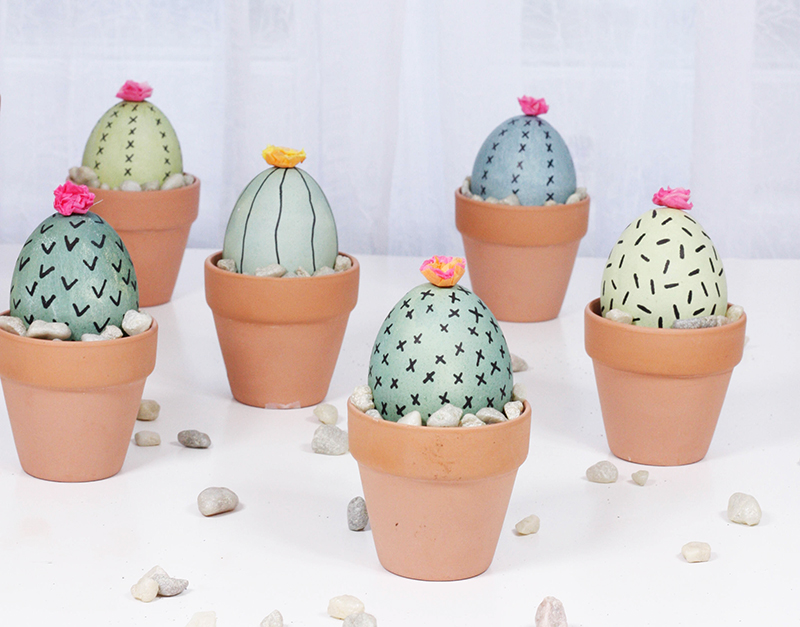
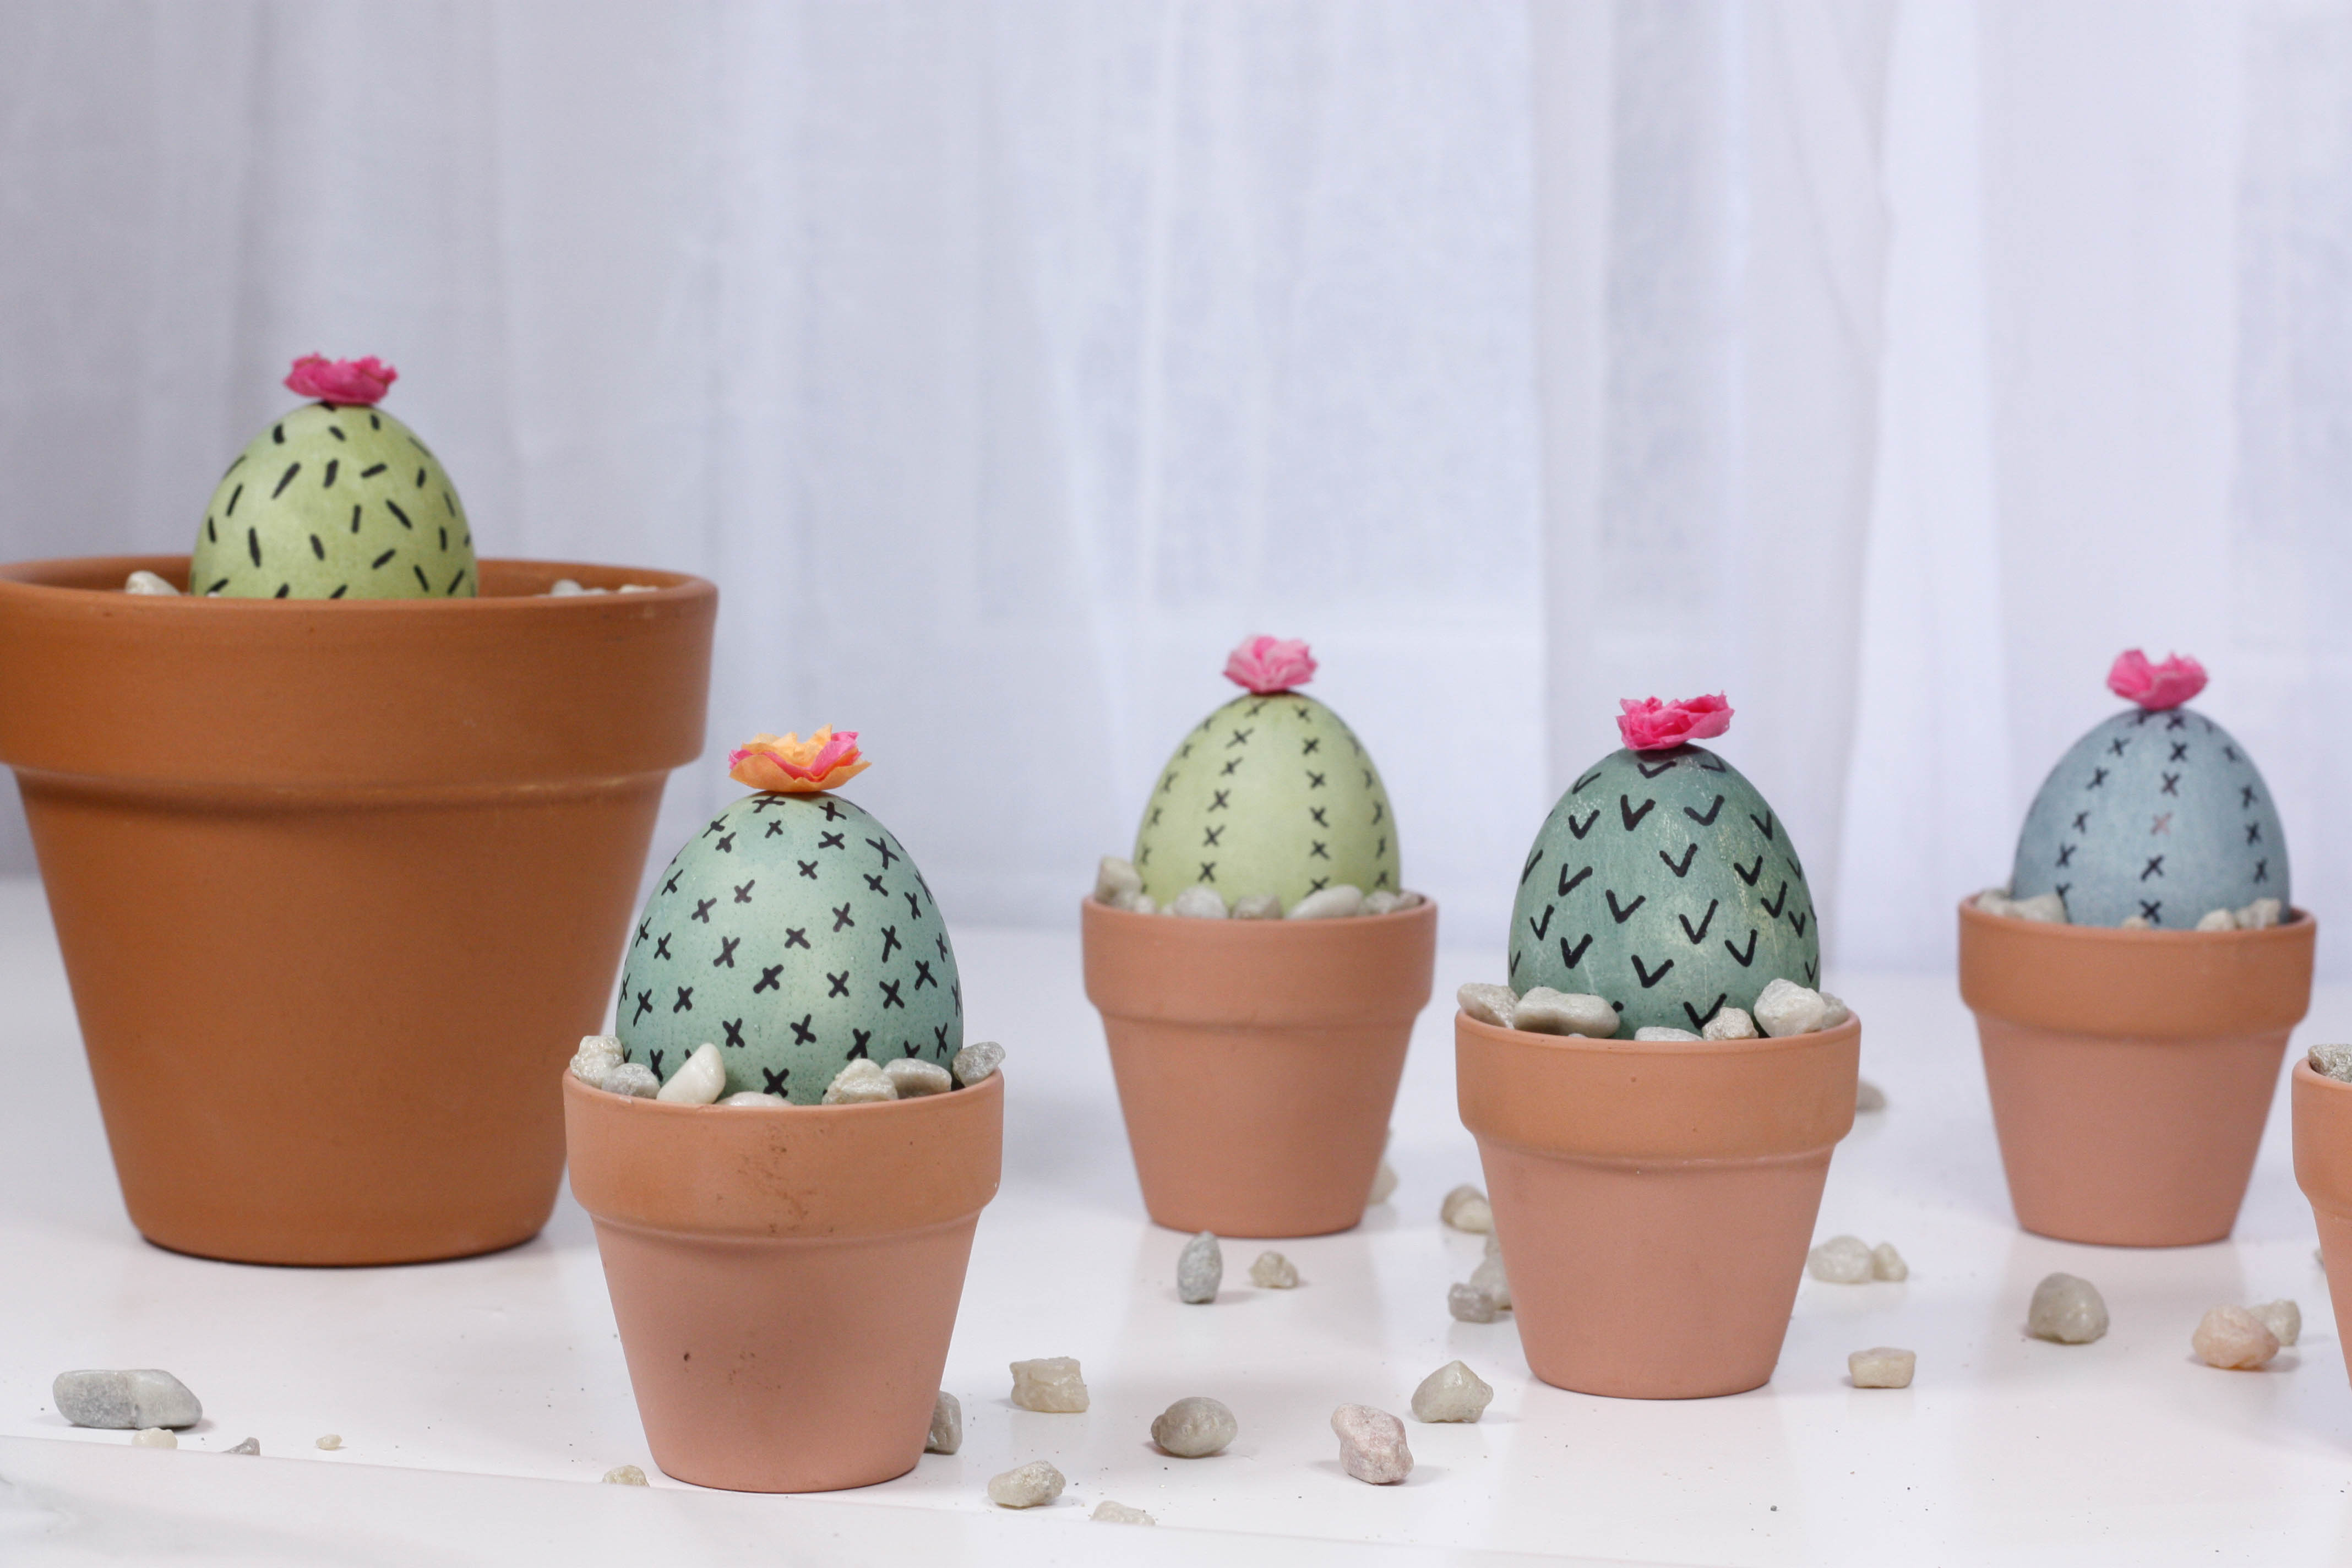
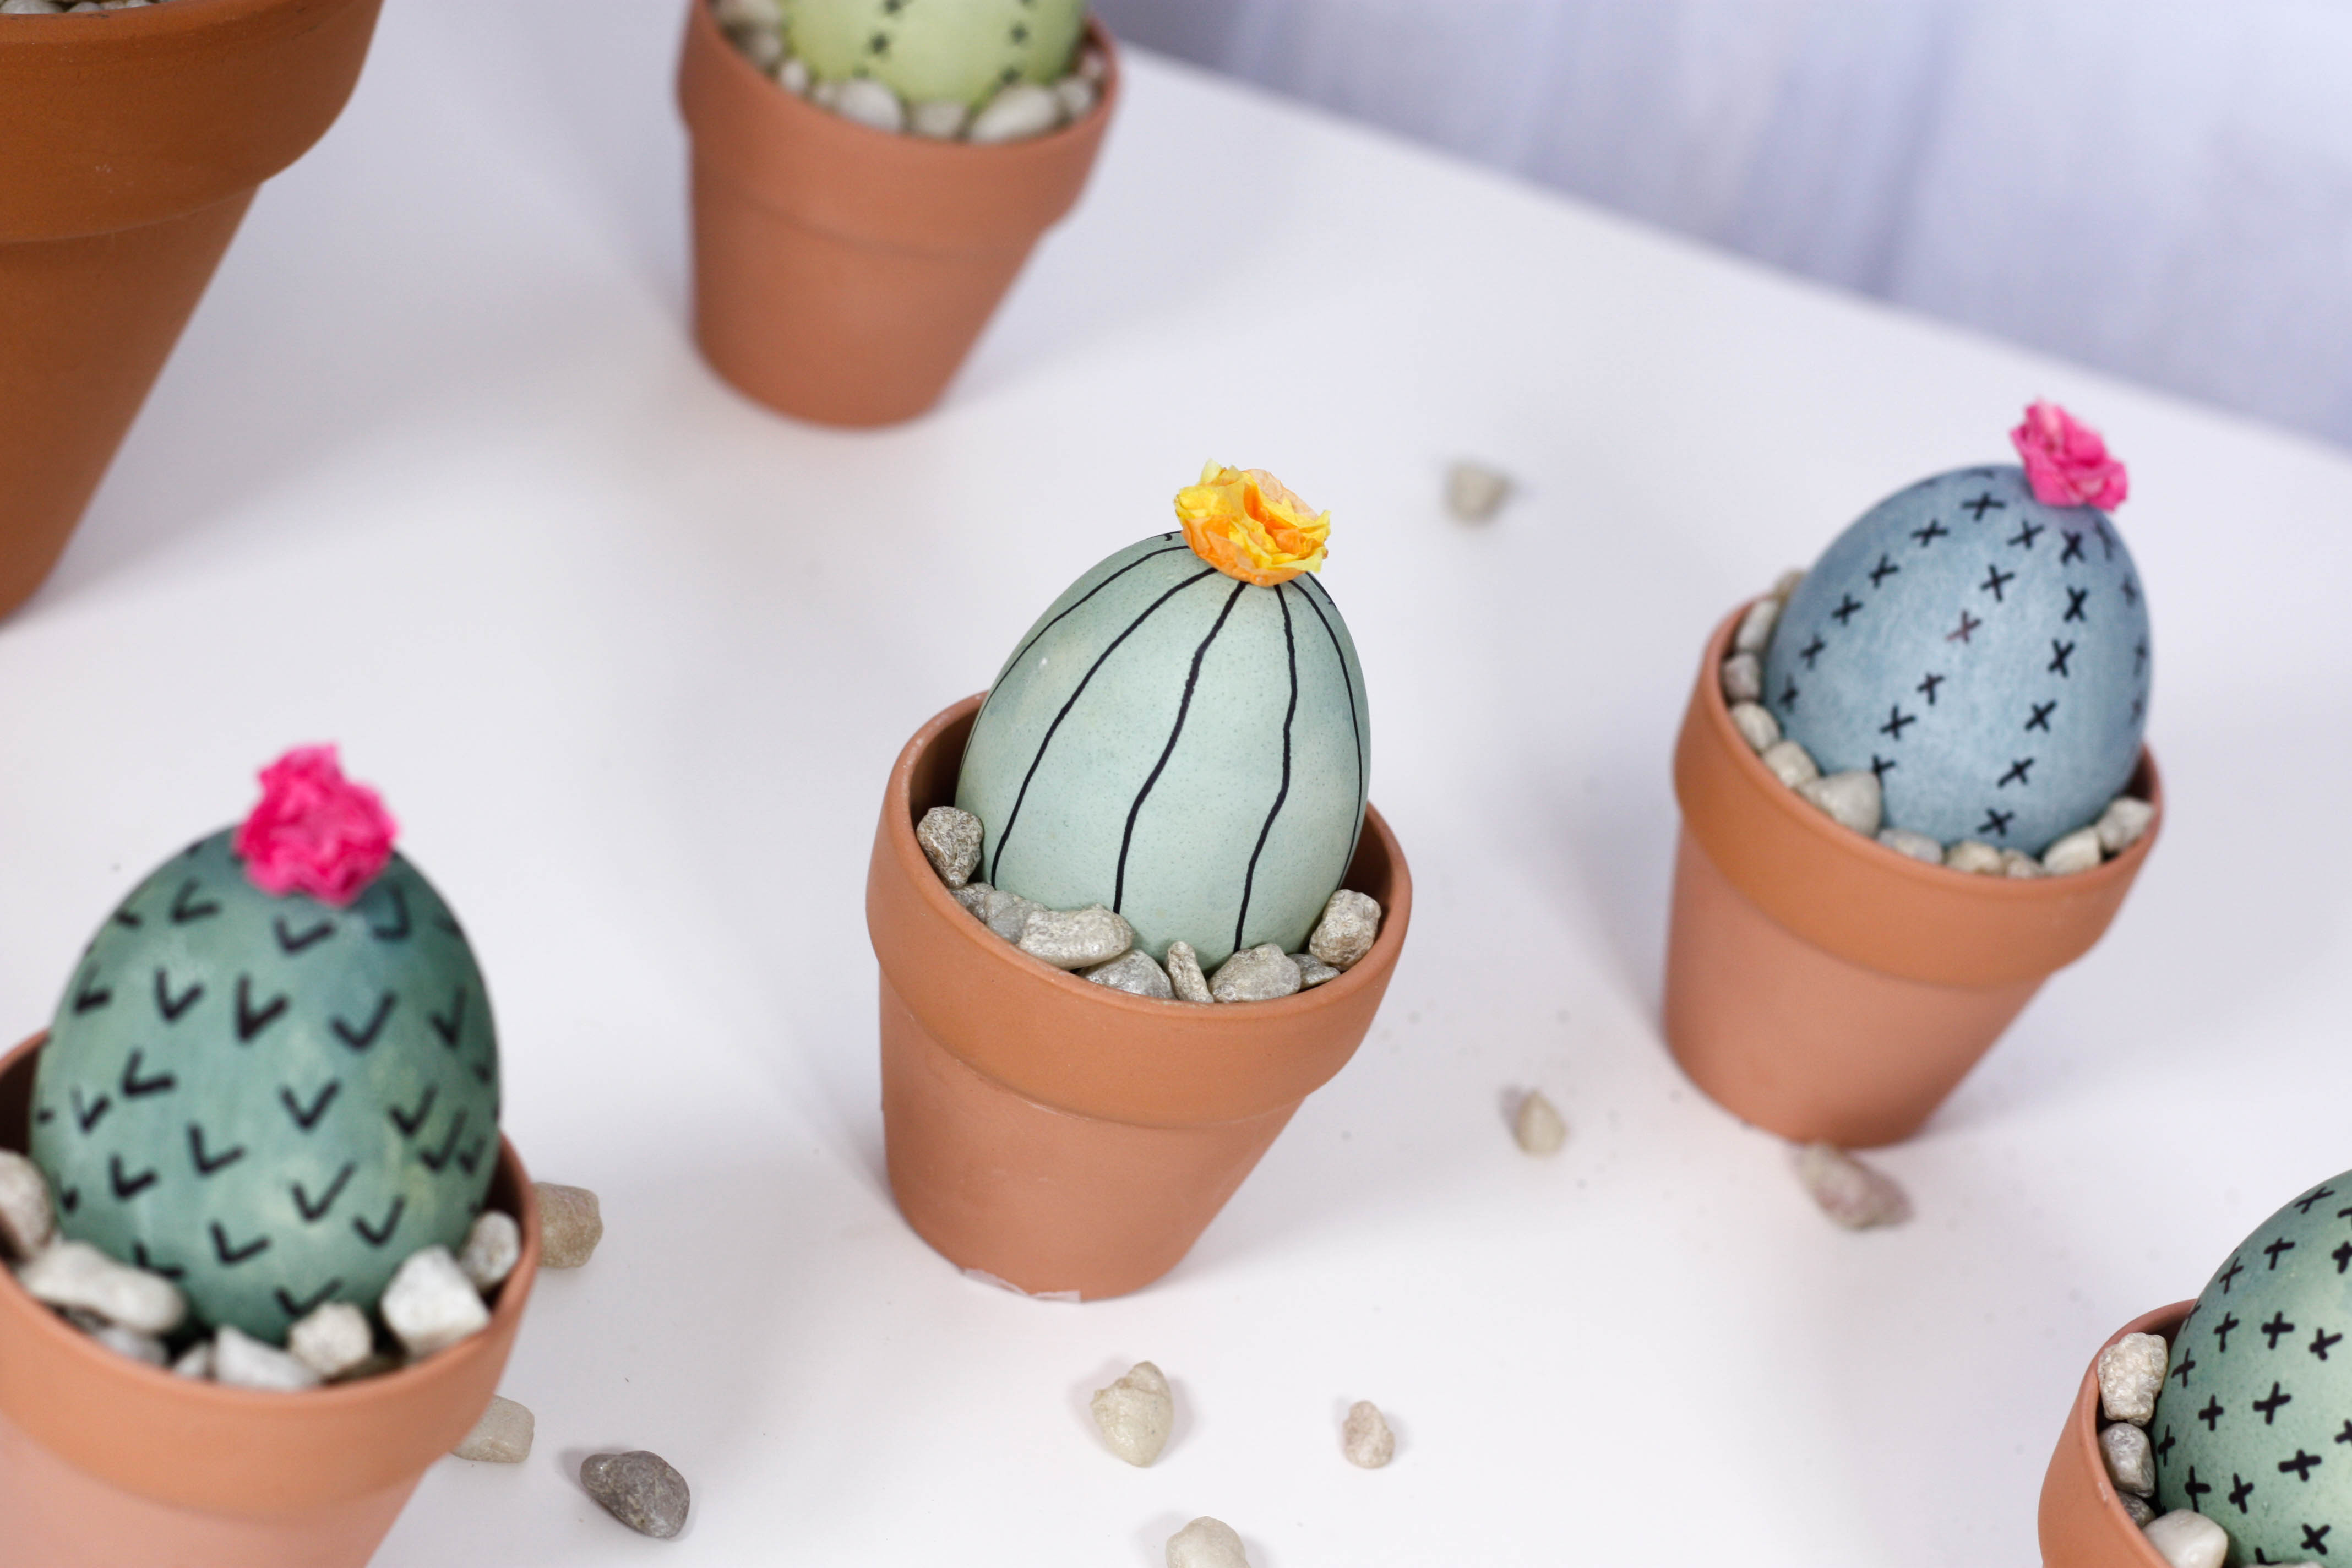
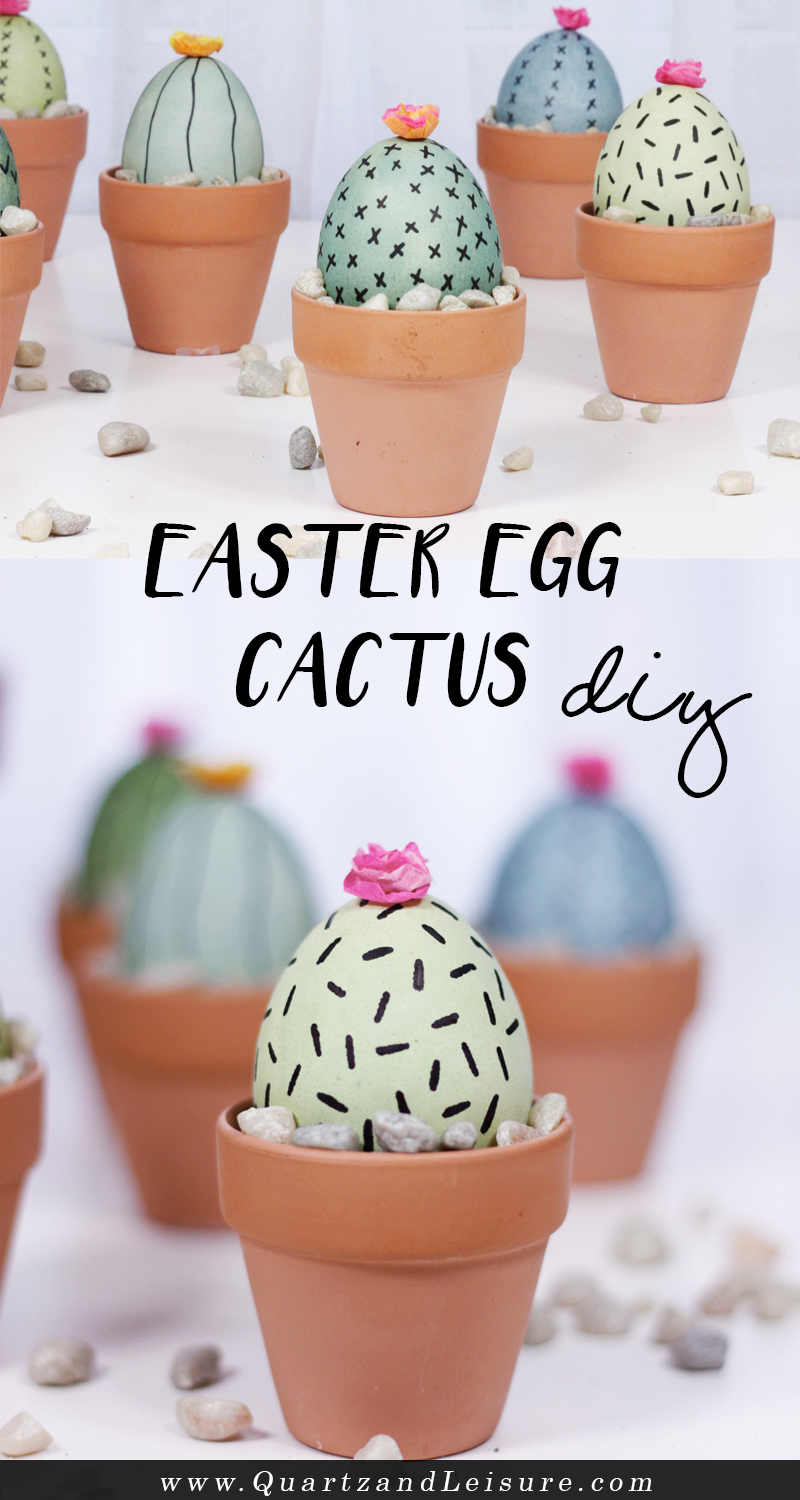
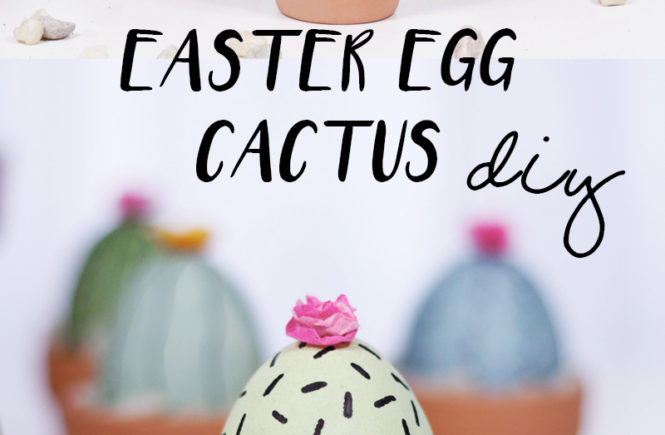
So today I’m going to show you how to make these super easy and super chic Easter Egg Cactus pots!
If you’re anything like me, you absolutely LOVE the beauty of succulents, but you ride the struggle bus when it comes to caring for them, watering them, and basically just not killing them.
But, the good news is that these little babies don’t need any extra TLC, yet they still make gorgeous conversation pieces. And I think they would make adorable place settings at any Easter dinner table.
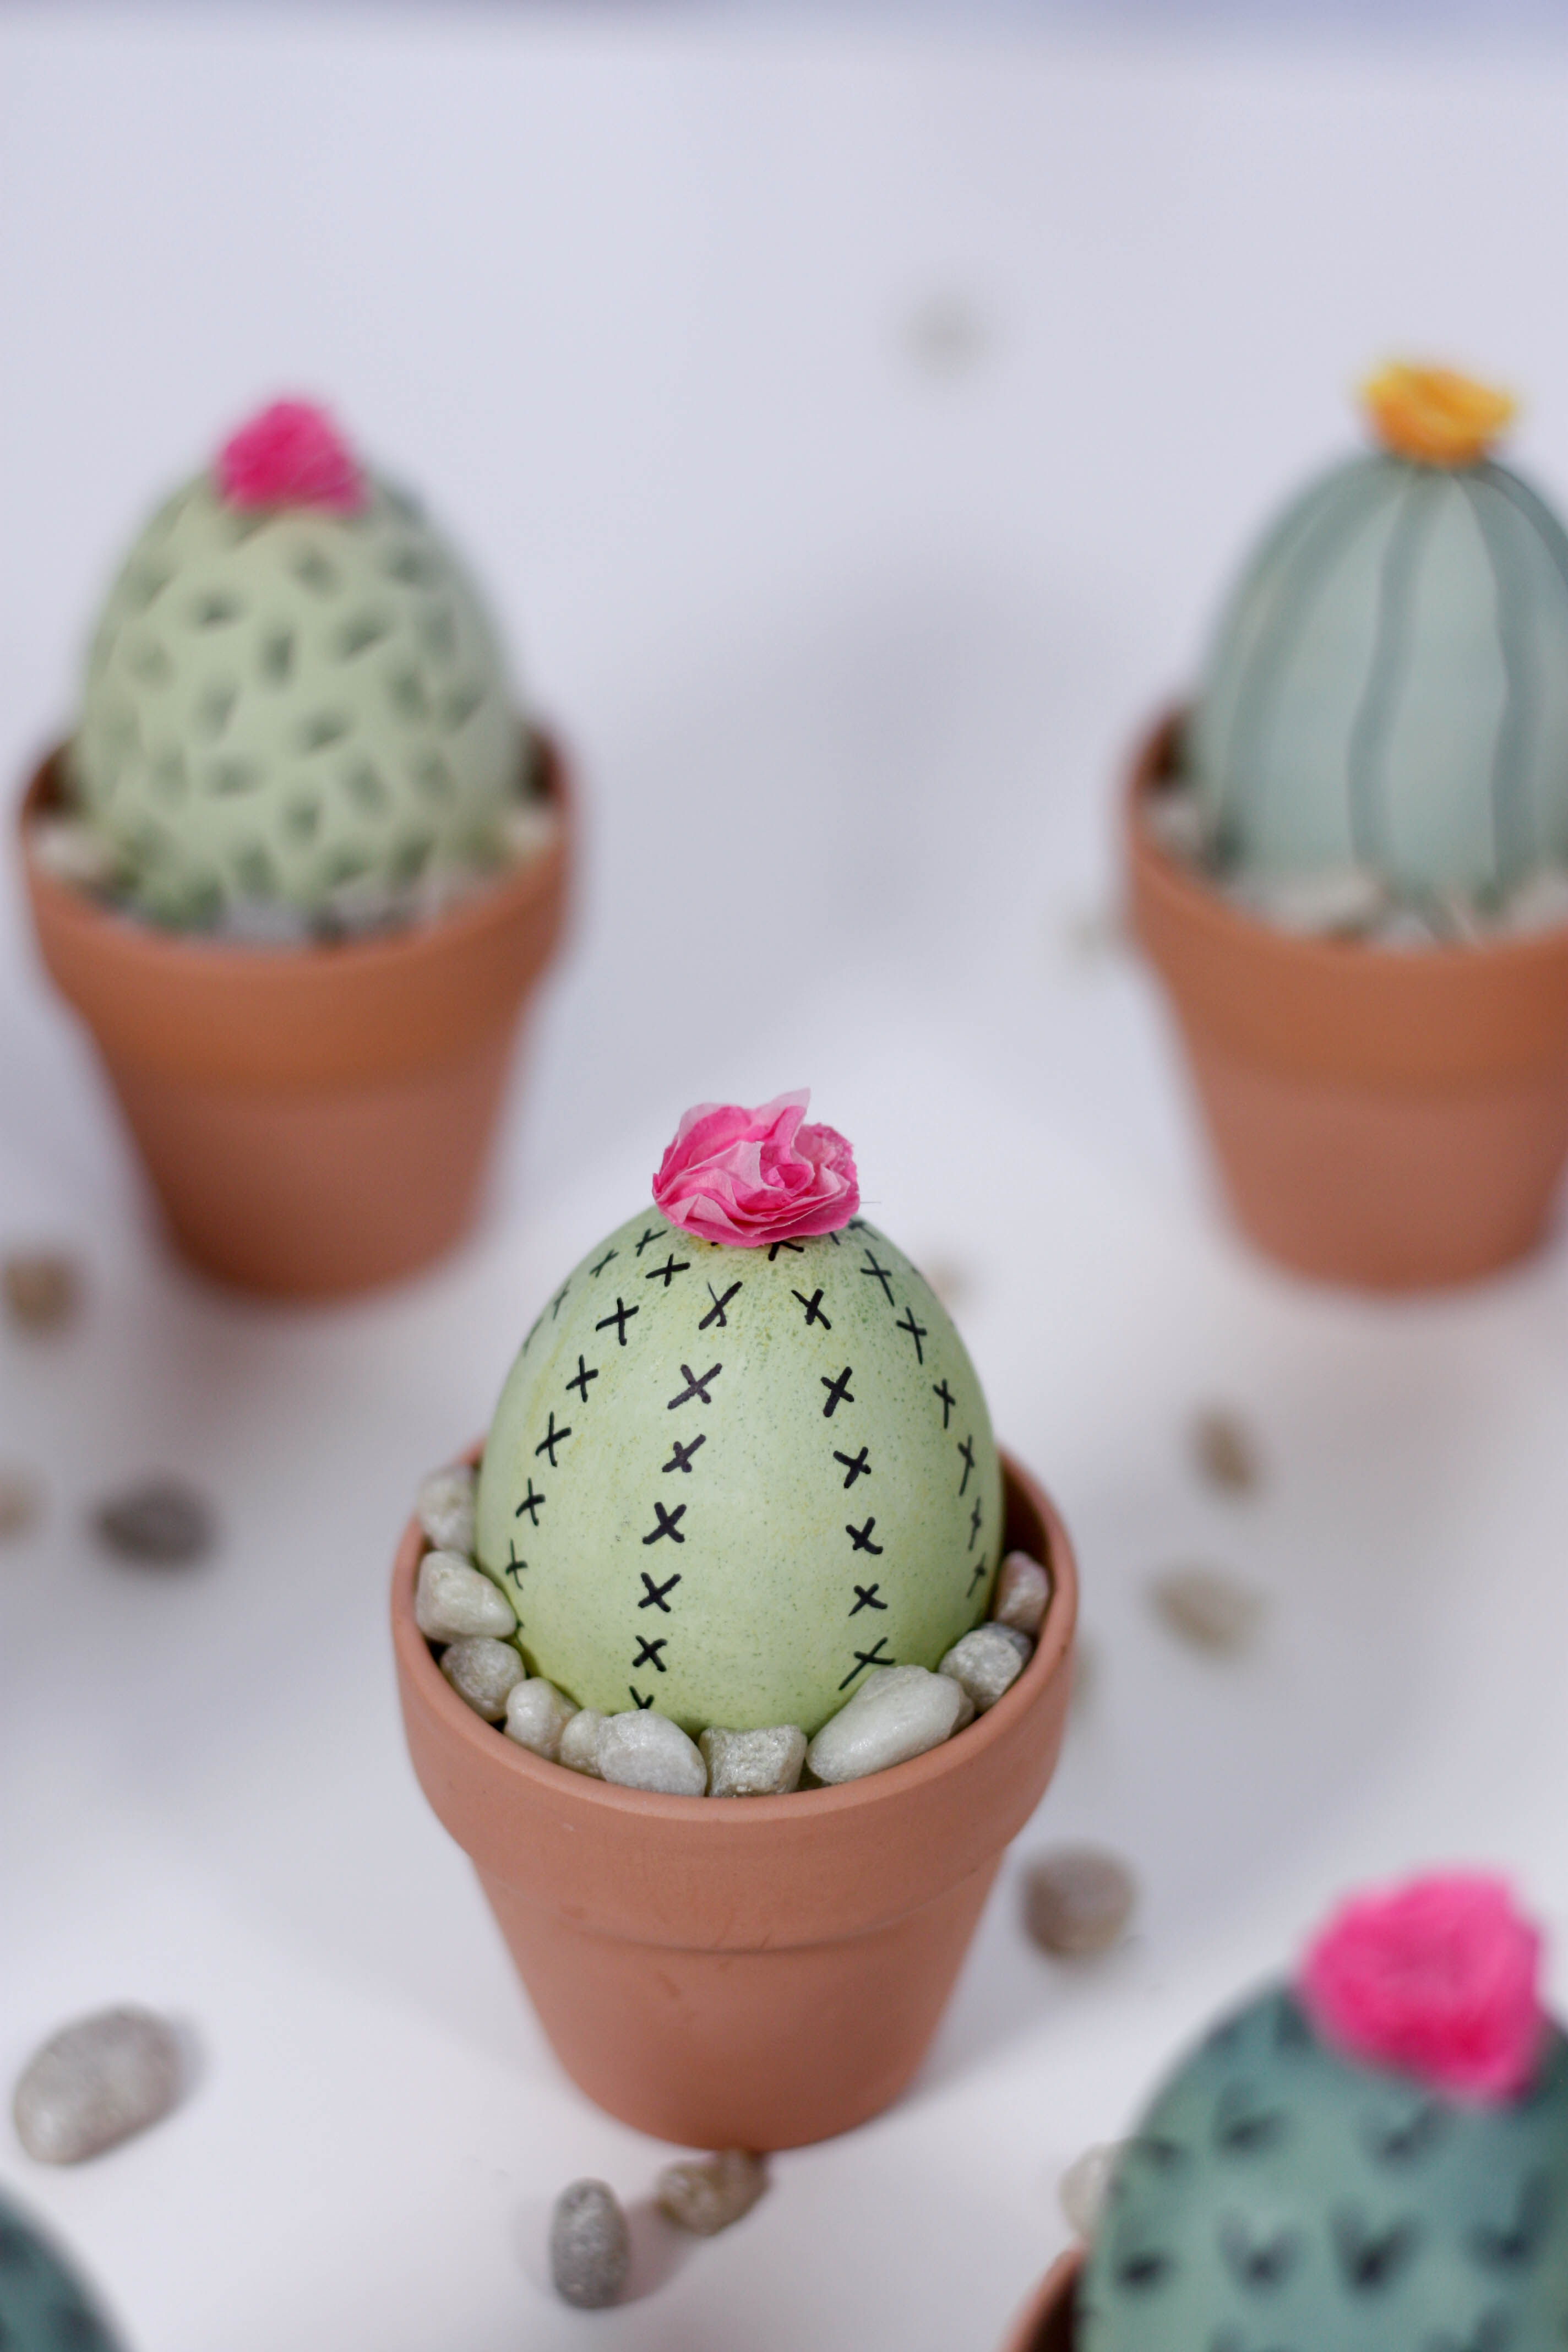
Now, I didn’t want my eggs to be the neon green color that comes in most store bought dye kits. I wanted a more muted, natural color green, to bring a more realistic effect to these cacti. So I decided to make my own natural dye.
Trust me, this is way easier than it sounds. But, feel free to use the store bought dyes if you have no preference for your green color.
There really is no effective way to create a natural green dye by itself, so we need to go back to our 2nd grade roots. Remember that color wheel from art class? We learned that yellow + blue = GREEN.
So, we need to make one natural yellow dye and one natural blue dye, then dip the eggs into both to create green. Easy, peasy!
Natural Yellow Easter Egg Dye Instructions:
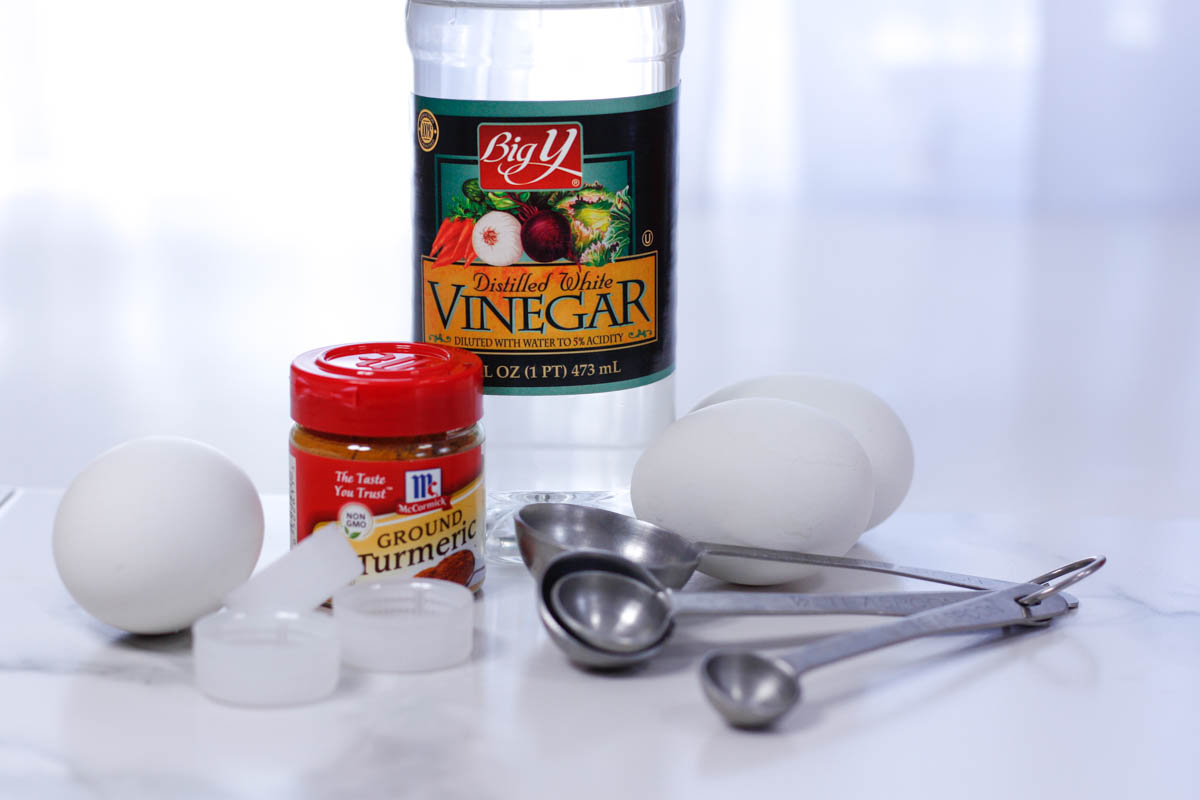
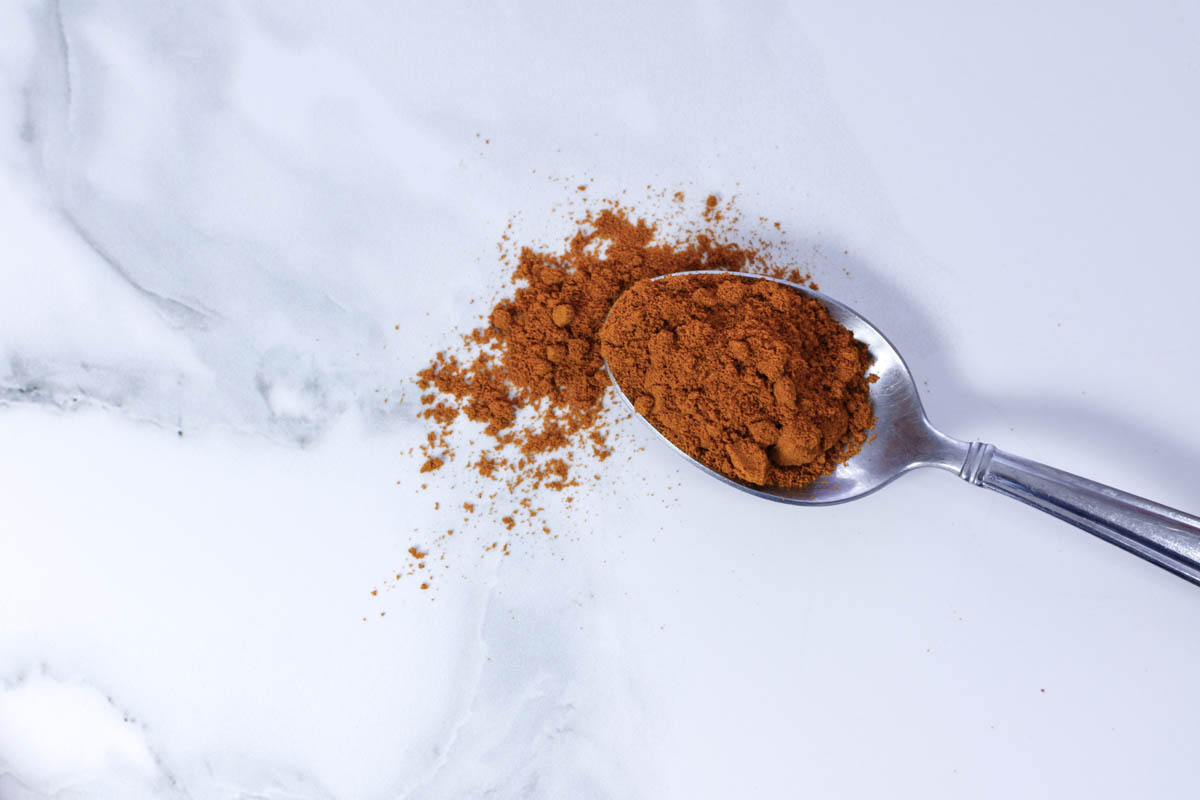
- 6 Tablespoons Turmeric
- 1 Tablespoon White Vinegar
- 4 Cups Very Hot Water
Combine all ingredients and stir until all the turmeric is dissolved. That’s it! Totally just as easy as popping one of those store bought dye tablets in a cup, am I right?
Natural Blue Easter Egg Dye Instructions:
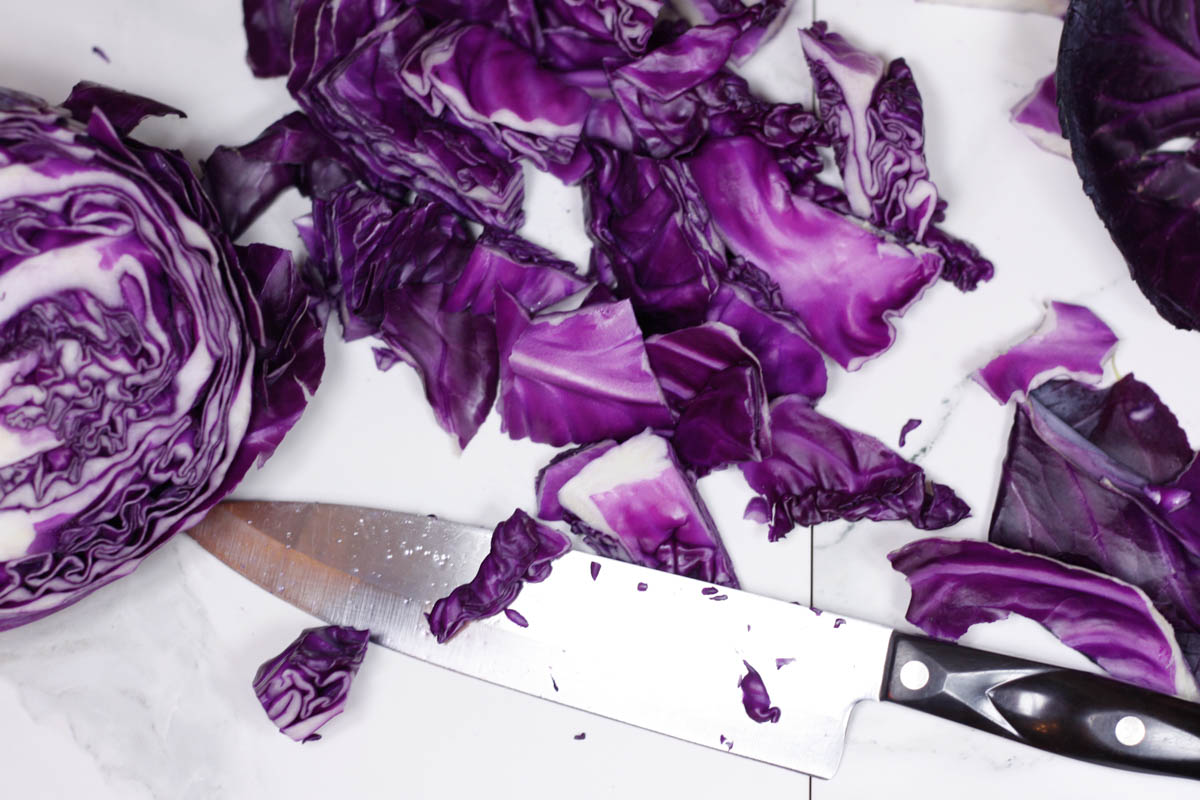
- 1 Head Purple Cabbage
- 1 Tablespoon White Vinegar
- 4 Cups Water
Roughly chop the head of cabbage into medium sized pieces. Bring the 4 cups of water and vinegar to a boil on the stove in a saucepan. Add the chopped cabbage and boil on medium-high for 25-30 minutes. When it’s done, strain the cabbage from the liquid. Even though it has a purple hue, the remaining liquid is the blue dye.
Now, this liquid will be enough to make about 2 batches of each color of dye. The coloring process will go faster if you do two eggs at a time.
I poured my dyes into small red Solo cups, which seem to be the perfect size. Who even knew there was another use for these?
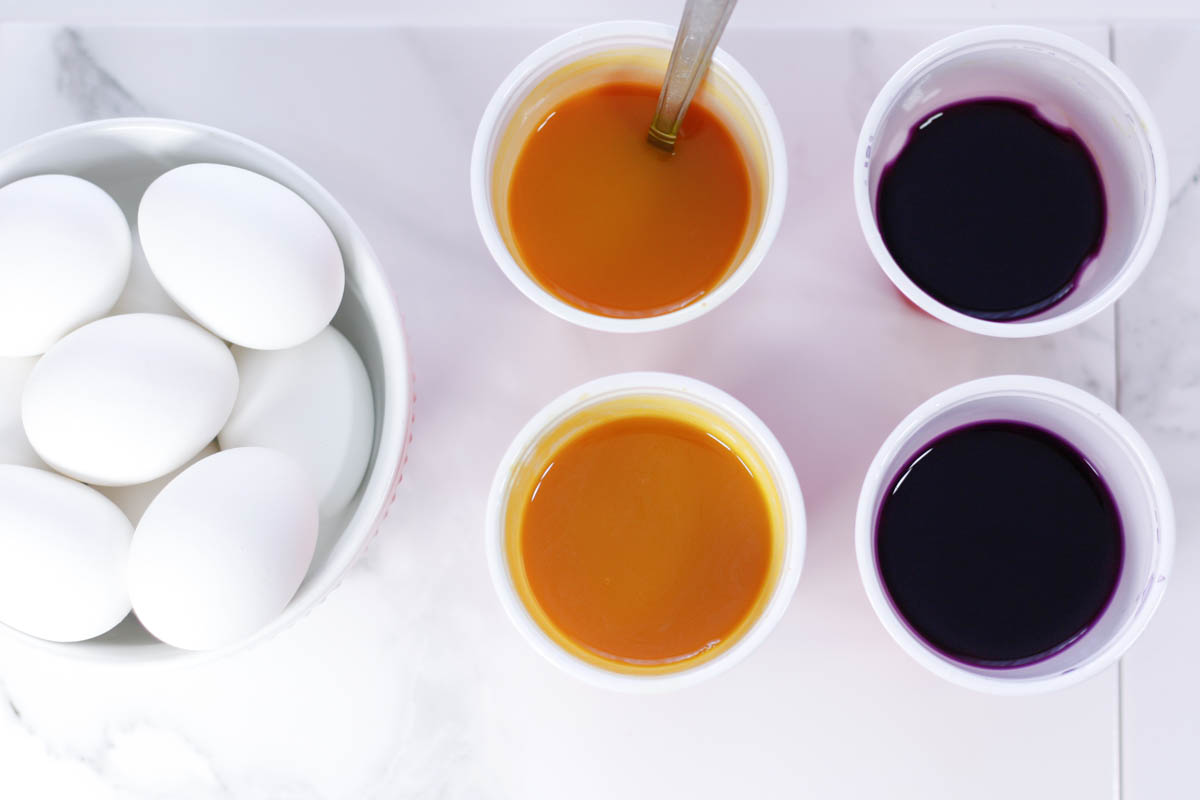
Start by dipping the eggs first in the yellow dye. They must always go in the yellow dye first, because using the blue dye then the yellow will contaminate the yellow and it will not produce the vibrant shade we’re looking for.
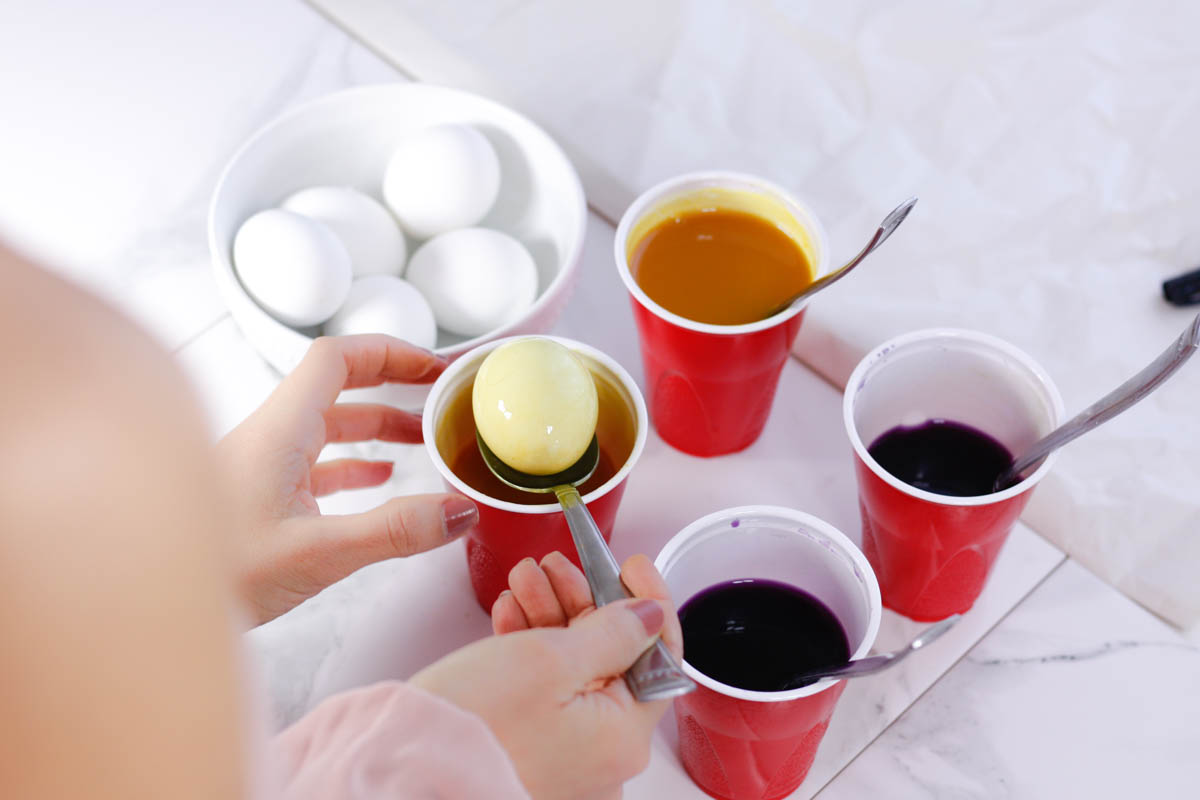
I found that leaving the eggs in the yellow dye took about 10 minutes to get a nice color. You could leave it in longer if you’d like a brighter color.
The same goes for the blue dye. A light green forms after about 5 minutes, and a more medium green after 10 minutes. You can leave it in for up to 20 minutes for the darkest green. Just keep experimenting with both colors to see which timing works best for you.
Also remember, these are natural dyes so the colors won’t be as vibrant as the store-bought ones. But that is the whole point of using these, so we get a nice natural color for our cactus.
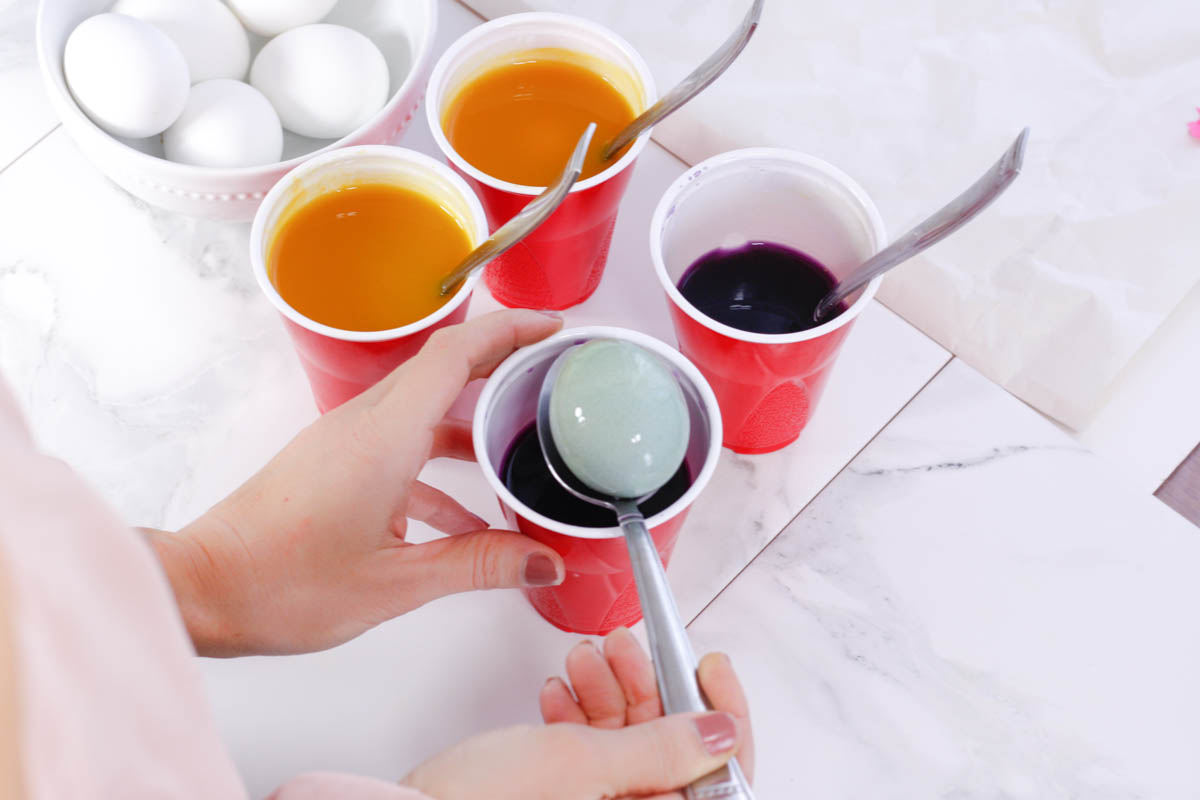
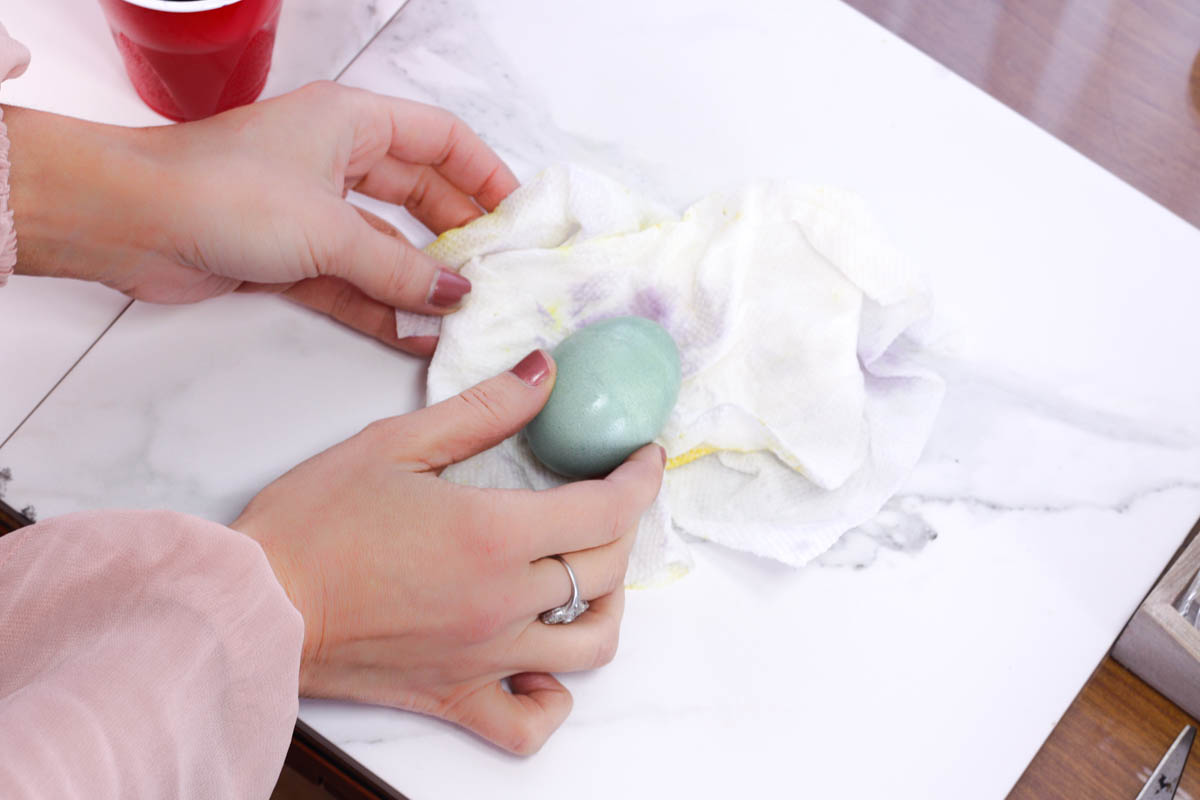
After you take them out of the blue dye, you can blot them on a paper towel to get rid of any excess moisture (optional). Then, let them dry, either in the cardboard egg carton or on plastic bottle caps as I did below. (Reuse, recycle!)
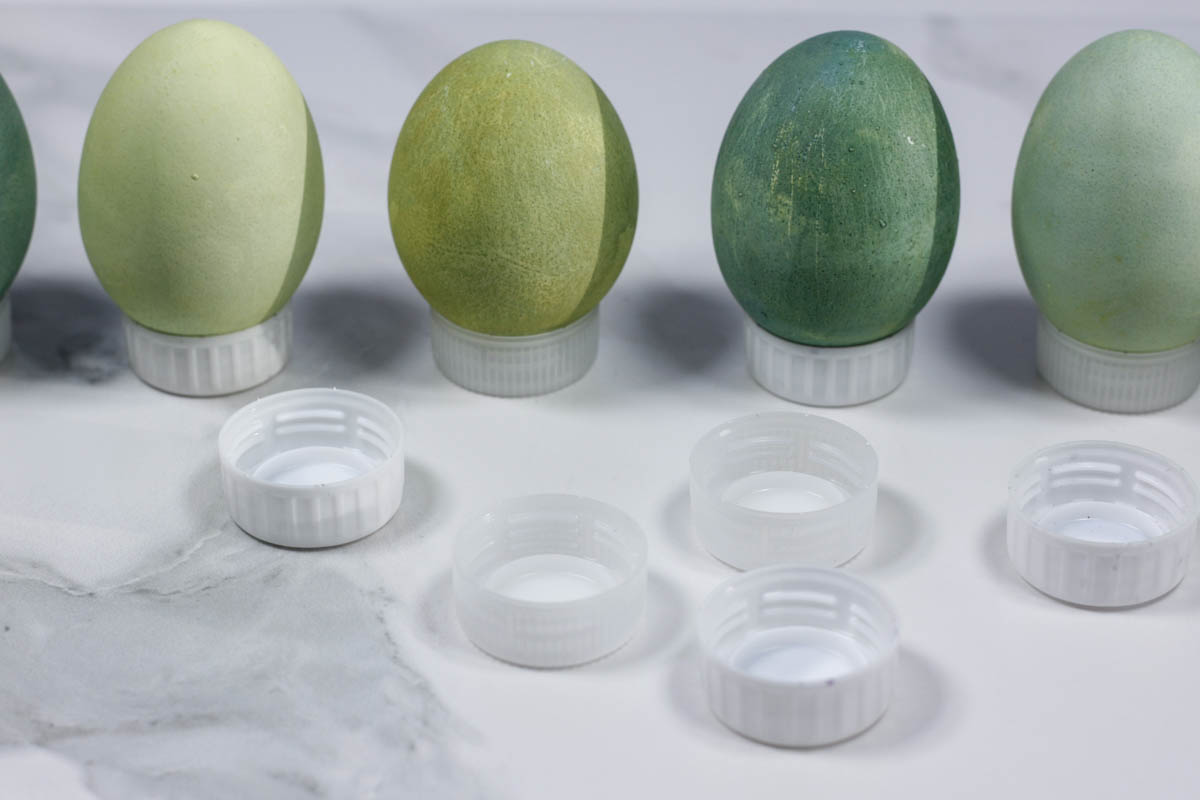
Sorry, but these green eggs were just so gorgeous I couldn’t help but take tons of pictures of them! Honestly, you could probably just leave them as is, pile them in a bowl, and they would make a gorgeous Easter centerpiece.
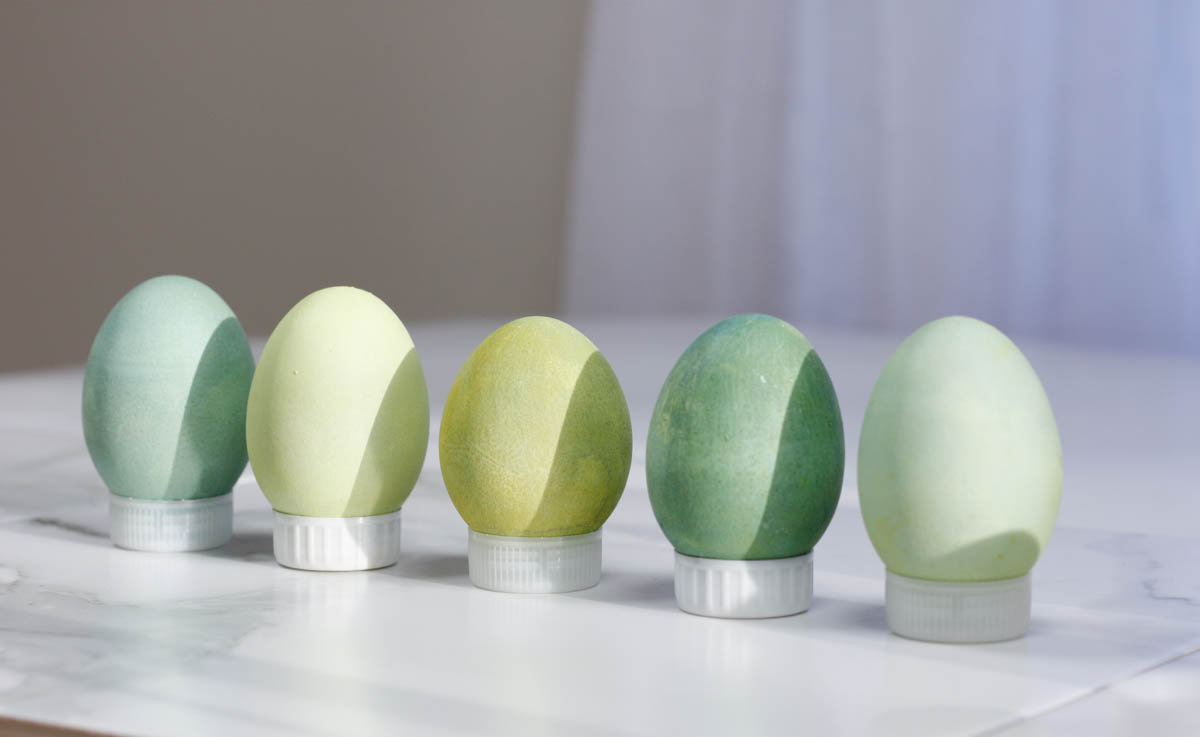
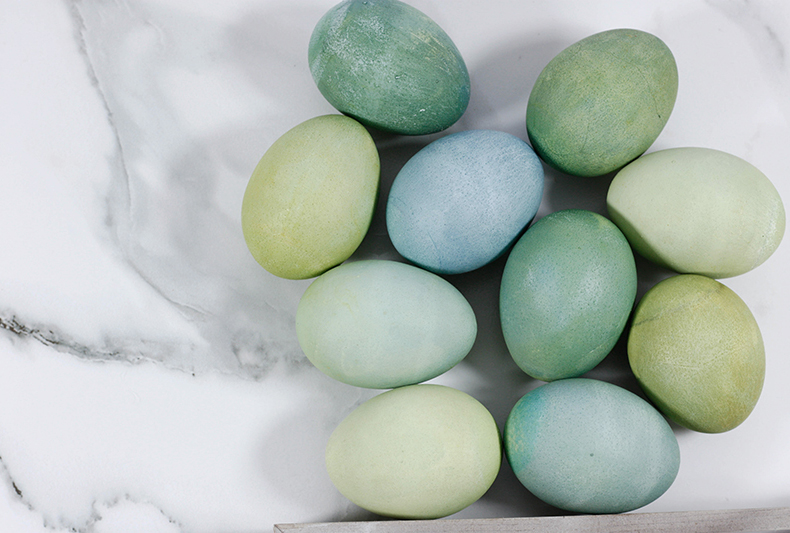
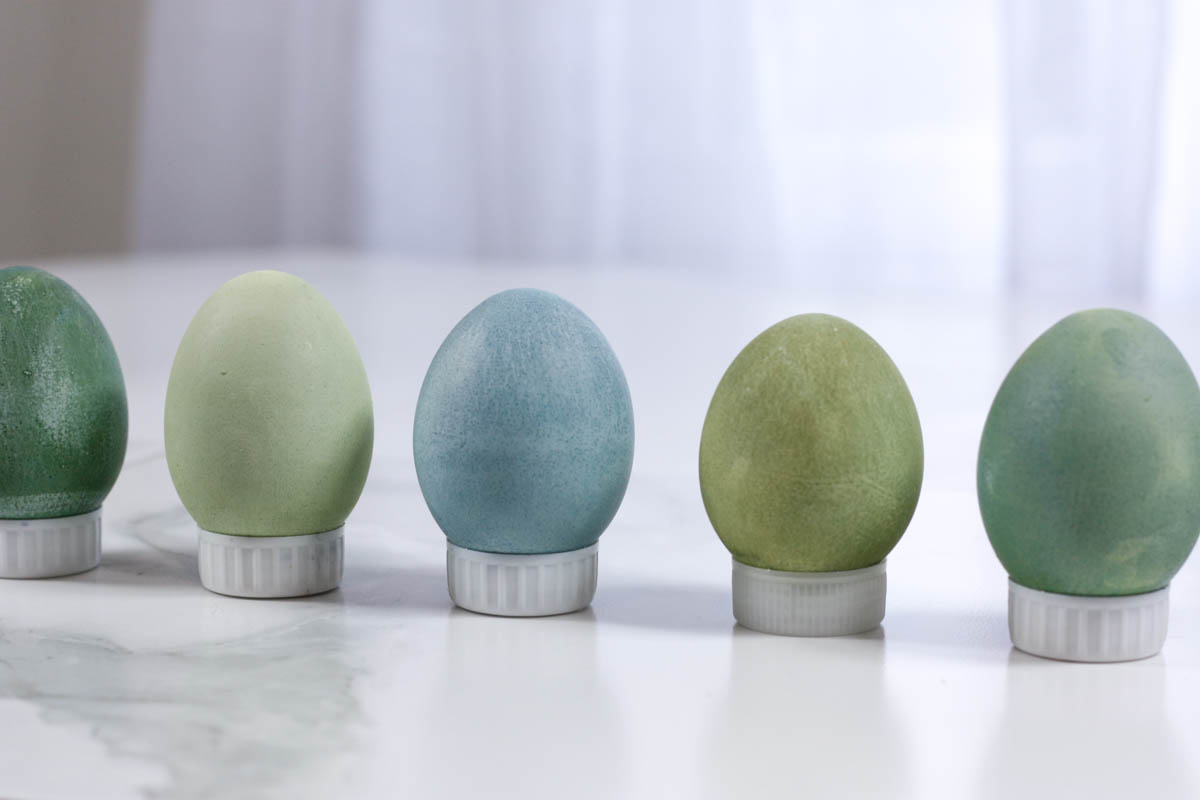
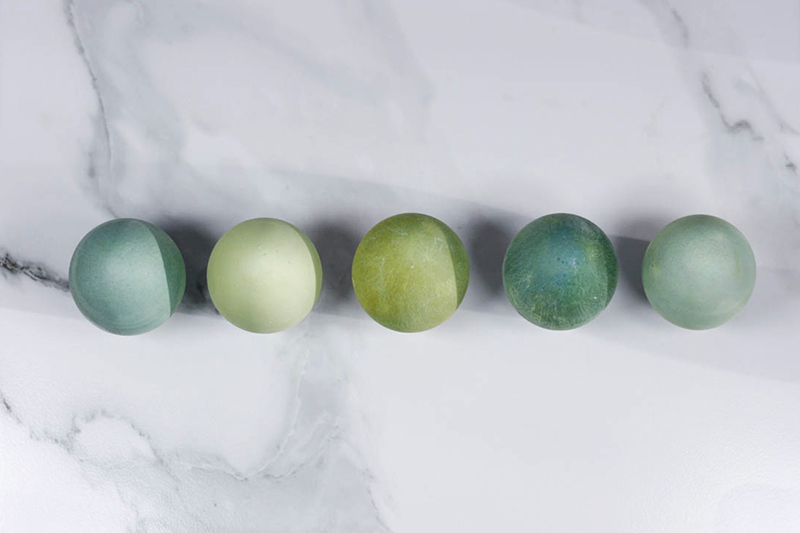
Ok, so now that your eggs are all dyed and dried, onto the fun part…the decorations!
Related Post: 
To Make the Cactus Roses:
You’ll need to cut out several circles of colorful tissue paper. Now, I started doing this one-by-one and it was taking foreverrrr. So, I said to myself, “there’s got to be a faster and easier way to do this!”
And, yes, there is, and I’m going to show it to you now, so you don’t waste half as much time as I did.
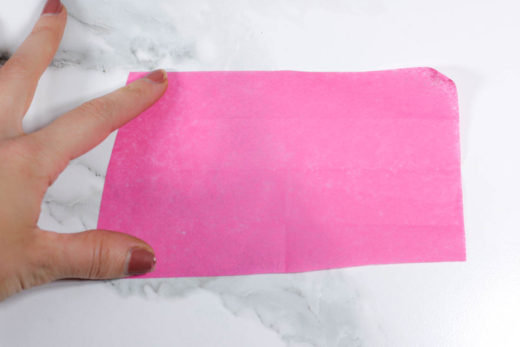
- First cut a small rectangle of tissue paper in whatever color(s) you’d like. I used hot pink, light pink, yellow, orange, and brown.
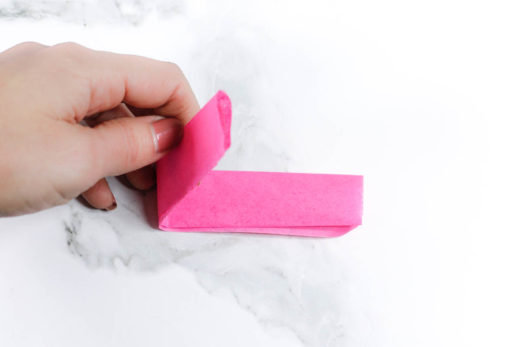
- Then, fold the rectangle in half length way, and then fold again length way.
- Next, fold it over once width way to create a small thin rectangle with lots of layers of paper.
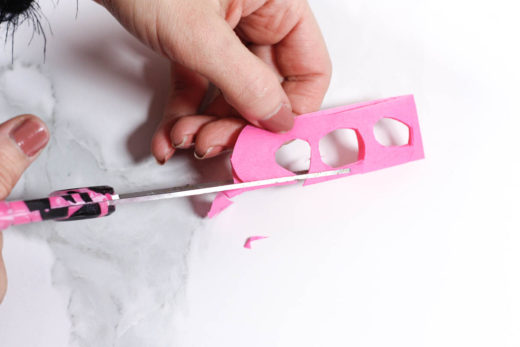
- Begin to cut small circles (about the size of a dime) into the paper. The circles do not have to be perfect, it’s actually more realistic if they’re odd shaped.
- You should be able to get about 32 circles from each rectangle, and that took all of about 30 seconds! (So proud of myself for figuring that one out).
And now that you have about a million of the little tissue paper circles, we’re going to build our flowers. Don’t worry…again – it’s way easier than it looks!
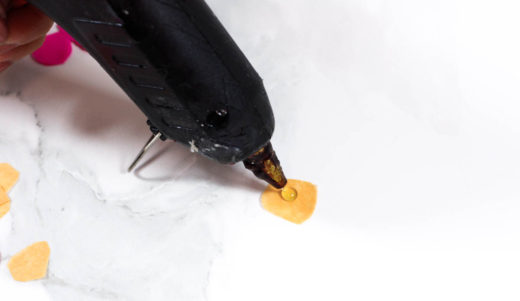
You will need a hot glue gun for this part. I tried other glues, but you really need the “bulk” that the hot glue provides to give the flower petals some height in between each layer. Not to mention hot glue dries in about .0841 seconds so you’ll be ready to do the next step almost immediately.
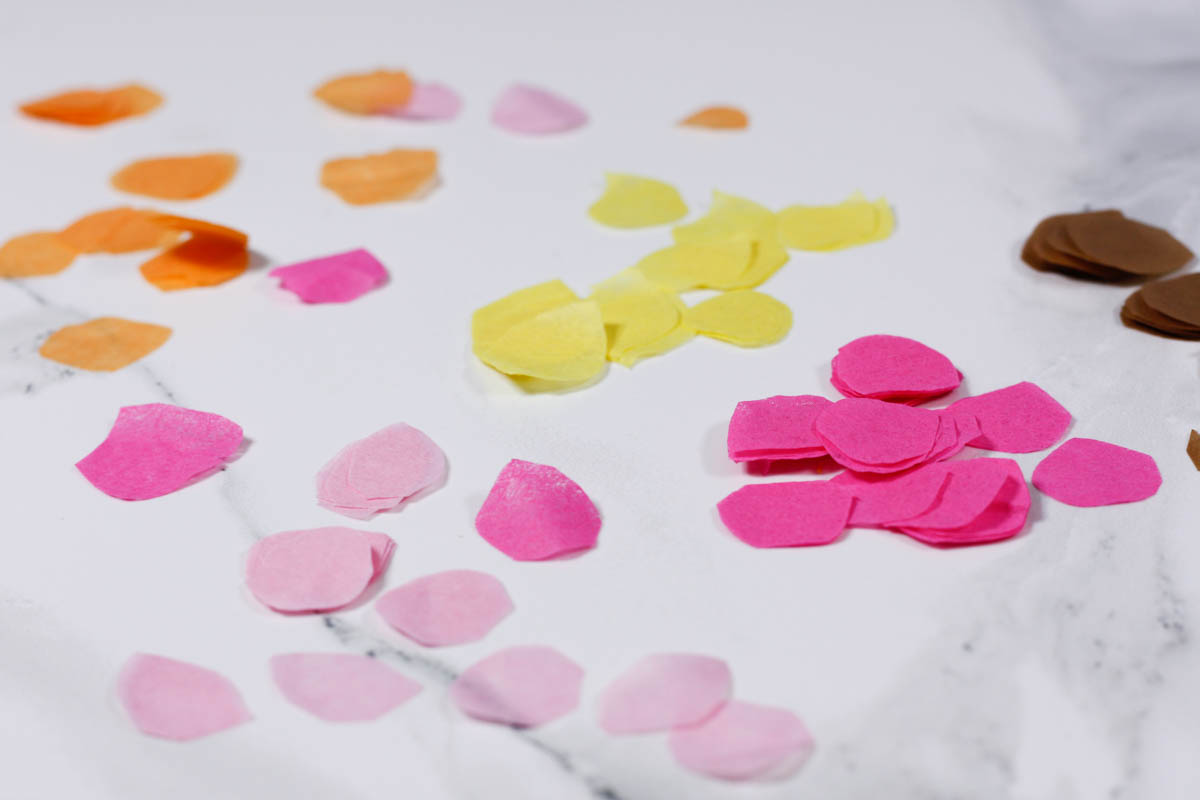
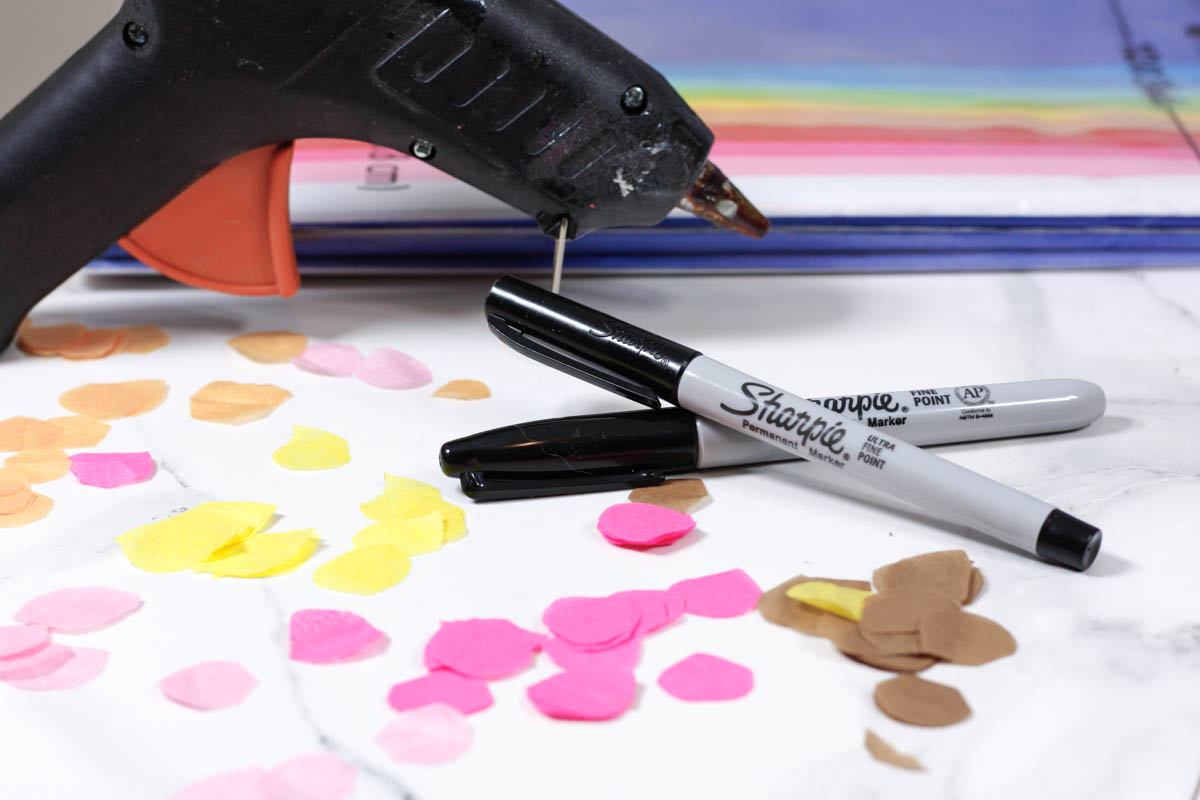
First, take one circle and put a small drop of hot glue in the center. Then take another color circle and quickly glue it directly on top of the first circle.
Keep repeating this step about 6-8 times, until you have as many petals as you’d like. The more petals, the more realistic, in my opinion.
Then, take the glued circle and pinch it together into a star shape. Keep pinching and rotating until all the paper edges are crimped.
After all the edges are pinched, start opening each layer and spreading the paper out into the “petals.”
Super easy, right?!
Also, it’s worth mentioning that I tried this with a heavier weight paper and it didn’t work nearly as well because the petals just didn’t fall right.
I bought that entire pack of 120 sheets of tissue paper at TJ Maxx for $3.99, just an FYI! (See above picture).
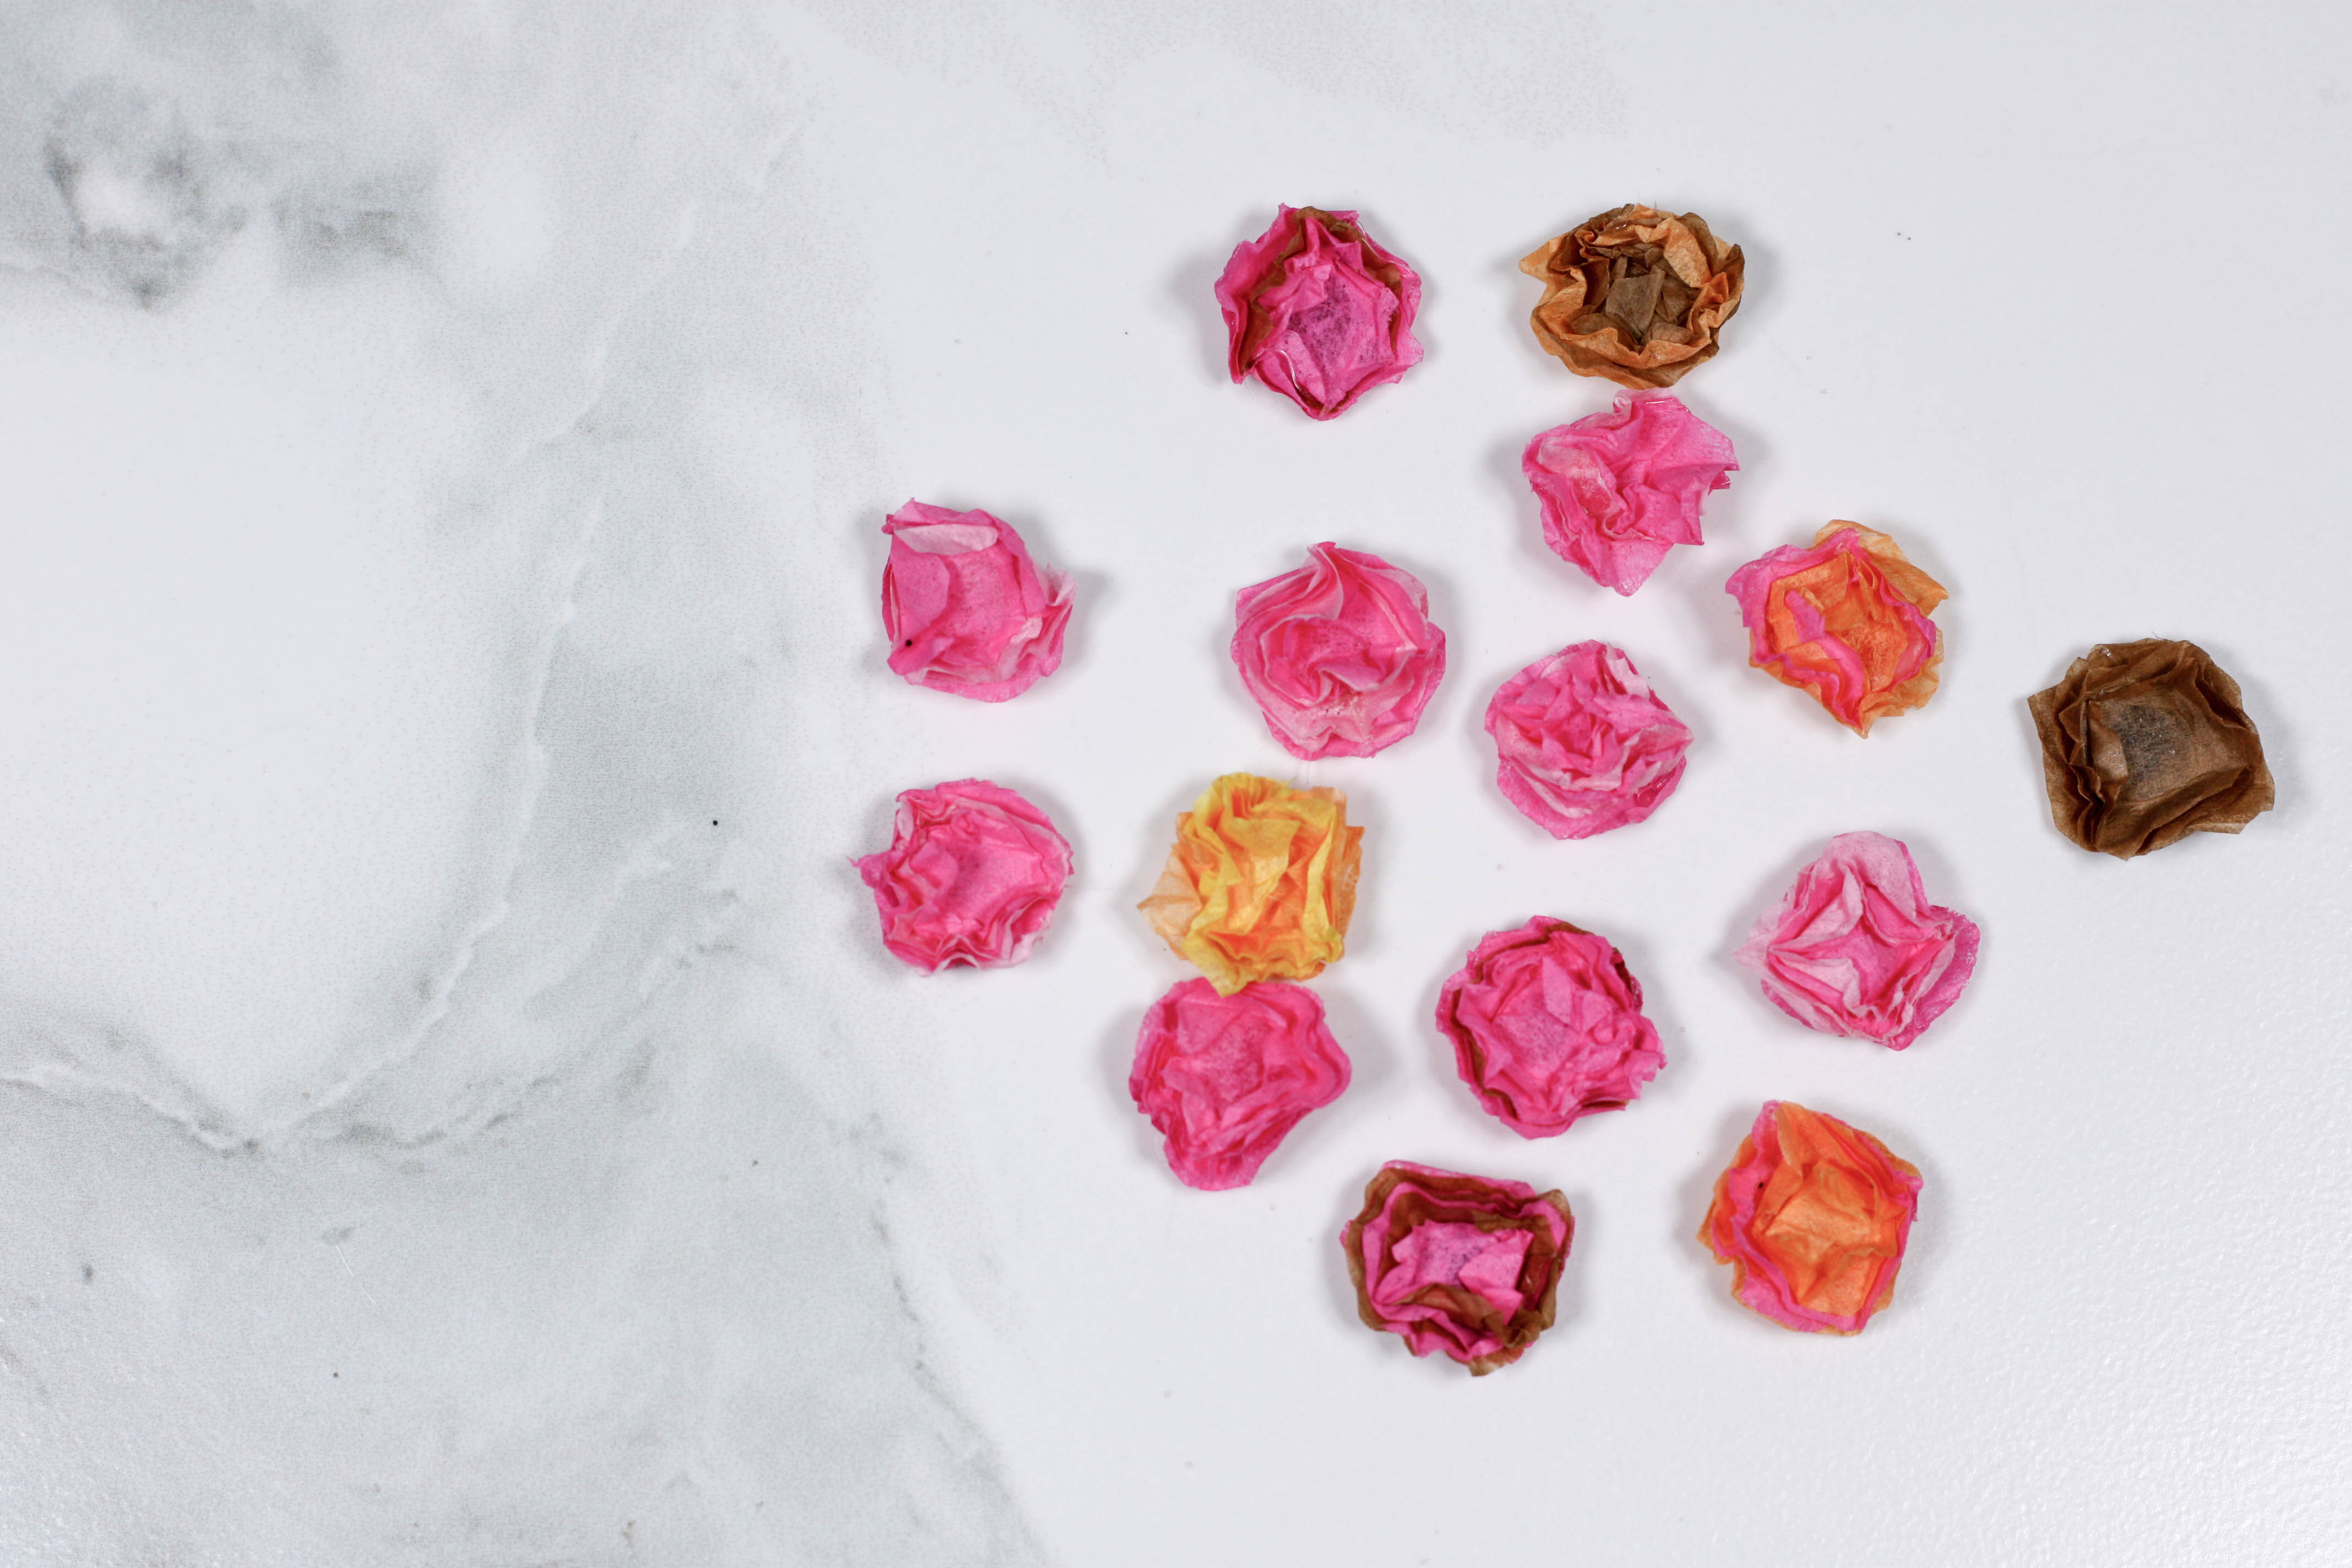
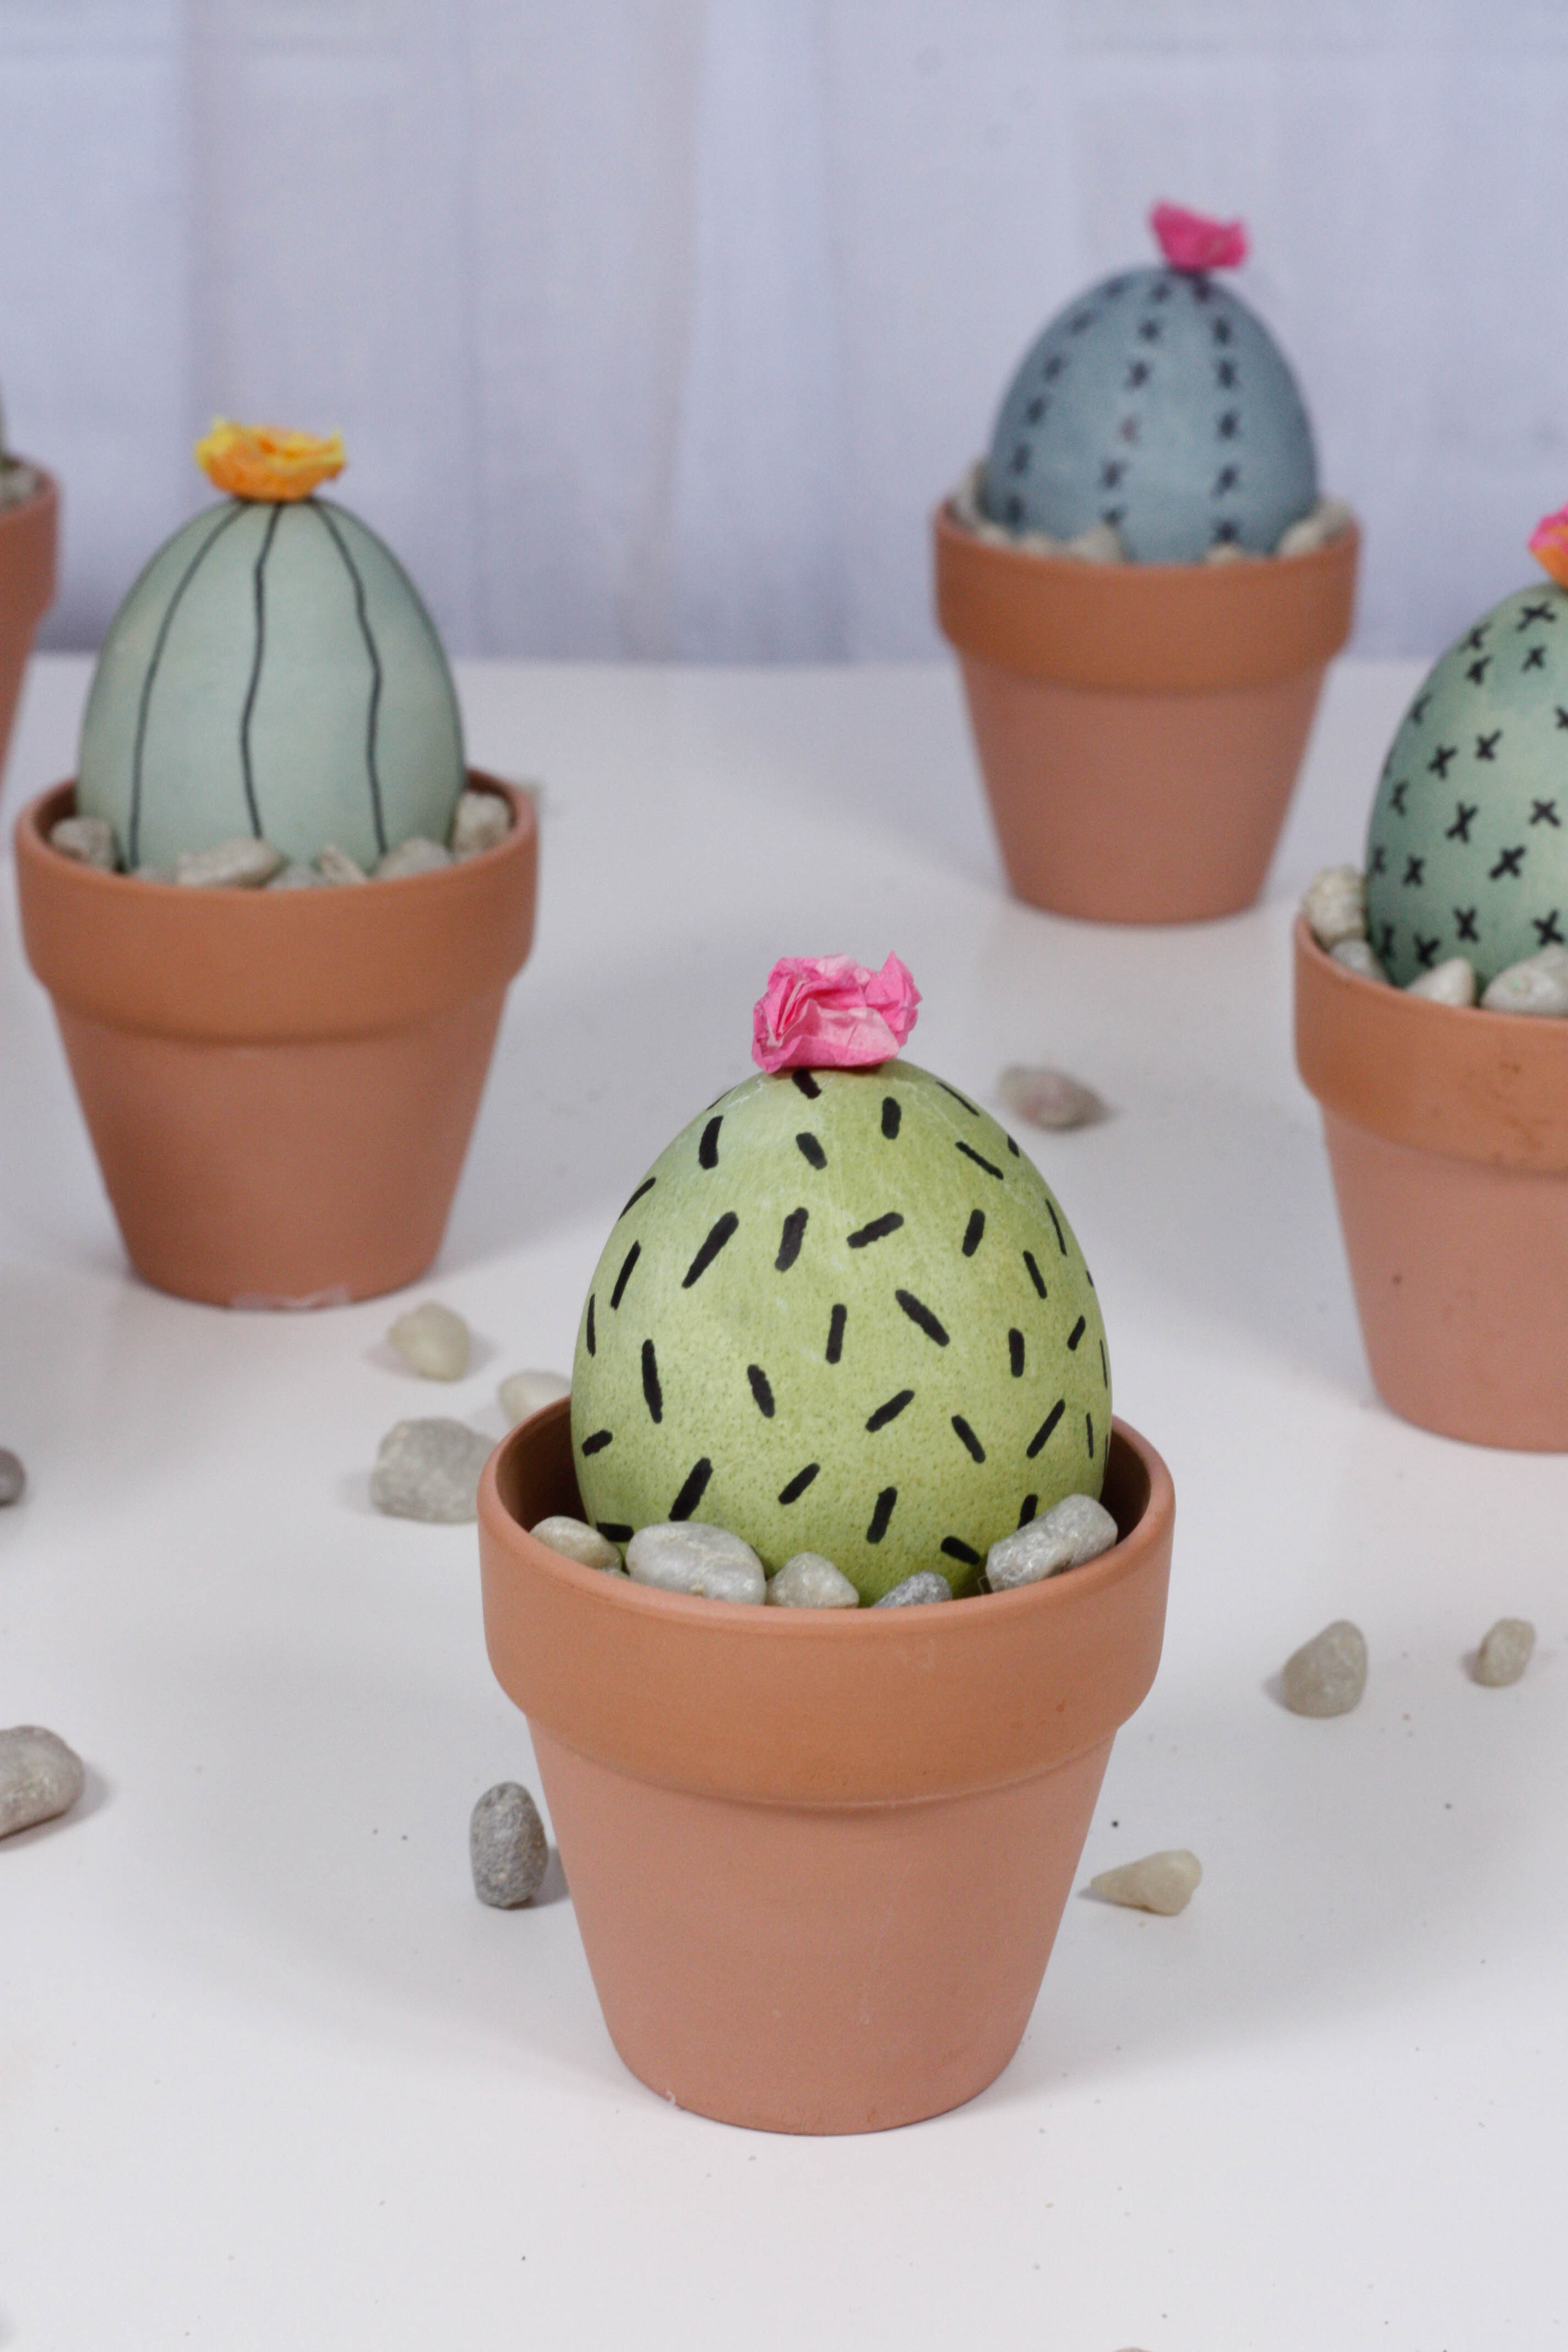
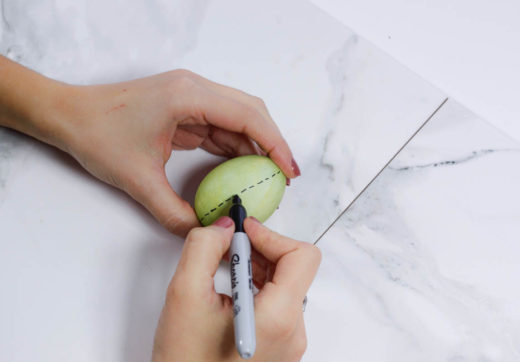
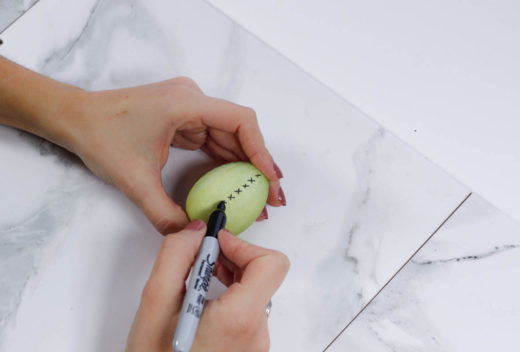
Now it’s time to decorate the dyed eggs. Using your Sharpie, start making patterns and lines around the eggs. It’s ok if your patterns aren’t perfect, everything in nature has it’s own unique beauty!
After you’re done marking up the eggs with the Sharpie, take a small dot of glue and stick the paper rose to the top.
After all your roses are glued, take your tiny terra cotta pots and fill them halfway up with sand. Place the egg inside the pot and fill the remaining space around the egg with small pebbles or stones.
And that’s it! I am so excited with how mine came out…I am planning on giving them to my mom, who is hosting Easter, to use as place settings for everyone at the dinner table.
But, they would also make great little decorations for a Cinco de Mayo party, favors for a boho bridal shower…or even just for Taco Tuesday!
If you end up trying these, please let me know how they turn out. I absolutely love to hear feedback from my readers!
And if you’d like to see what else I have planned for Spring, sign up for my newsletter! You can also follow along on social media, I can be found on Instagram, Twitter & Pinterest! 🙂






26 Comments
how darling is this!
http://heyprettything.com
Hi Carolyn! So glad you like them! 🙂
xx
Im also a big fan of succulents and I love this idea. Im excited to make these but want them to last all year long so I can I use the white plastic eggs that are sold for decorating?
Yes! I love that idea and I think it would work well!
Let me know how they turn out!
Hi,
Tried these yesterday for an Easter charity at my daughter’s school, turned out excellent. I used a more vibrant green on styrofoam eggs and filled the pots with crepe paper because I didn’t have enough sand 🙂 Thanks for the great idea and happy Easter!
That’s a great idea! So glad you enjoyed the tutorial and Happy Easter!