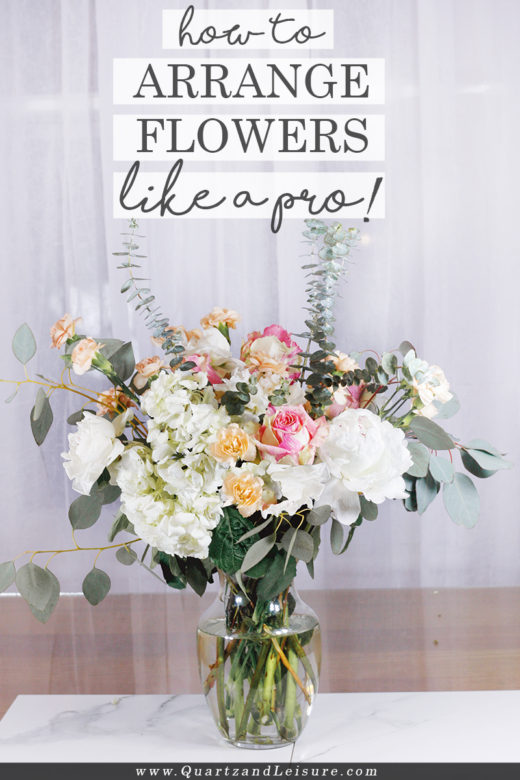
 In honor of Mother’s Day this weekend, I wanted to do a post featuring my Mom and one of her greatest talents…floral design! She’s such a pro – and with her tips – this post is going to teach you how to arrange flowers like a pro.
Not only does she love to make floral arrangements, but the gardens in her yard are chock full of beautiful blossoms year-round and she makes gorgeous bouquets from things she’s grown herself in the gardens.
She’s also been known to make wedding flowers for family friends, just for fun. (This sounds like a stressful, anxiety-ridden nightmare to me, but whatever floats your boat.)
So, today is Part 1 of a 3 part series on floral decoration that I’ve created with her help. I am going to show you 3 ways to easily arrange flowers to look like a professionally made arrangement, all for less than $35.
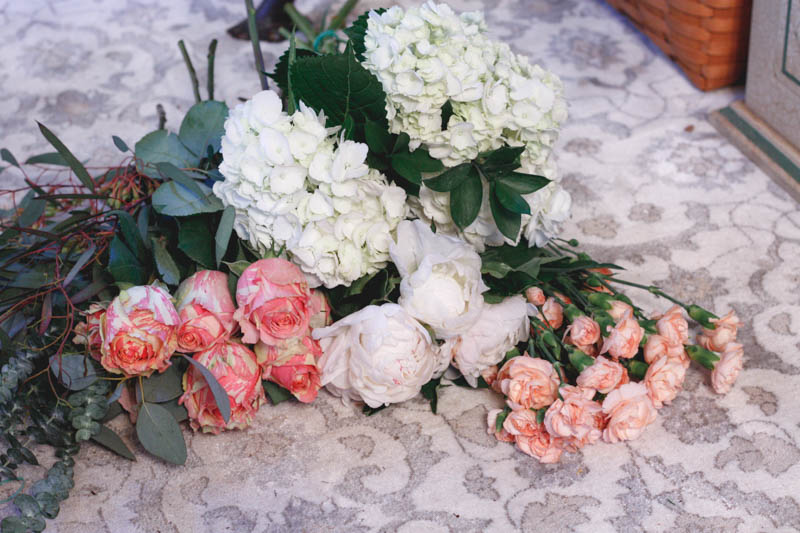
So, for starters, here is a list of the flowers we bought:
- Peach Mini Carnations: $4 at Trader Joe’s
- White Peonies (5 stems): $10 at Whole Foods (the most expensive flowers I purchased, and one flower broke off the next day which was totally annoying)
- Bunch of Greenery: $5 at Whole Foods
- Pink Marble Cottage Roses: $7 at local grocery store (on sale from $9). These kind of look dead in the photos, but I promise it’s only their ruffled edges, not dead petals!
- White Hydrangeas: $7 at local grocery store
So, I purchased all these flowers for a total of $33, which may sound like a lot, but it is enough to make 1 very full arrangement and one smaller arrangement. If you’re wondering how many bunches of flowers to buy, I would aim to get an amount that is equivalent to 3-4 times the size of the opening of the vase.
Below is a picture of all the flowers I bought. As soon as I got them home I put them in a “holding” vase with some water so I could easily pull out each stem when I started the arranging process.
To make it easier (and more cohesive) when buying flowers I try and stick to mostly neutral tones, with a small pop of color (the pink roses and peach carnations, in this case). I also try and stay within the same color tone (light pink & peach) because it makes the arrangement look more professional.
All of these tips & tricks are brought to you courtesy of my mom, so if you have any trouble with the following steps, you can bring it up with her…although she (sadly) declined to be on camera.
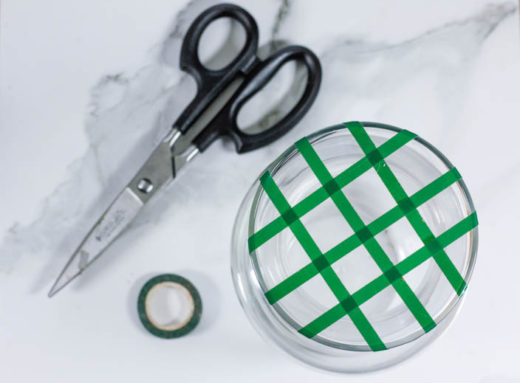
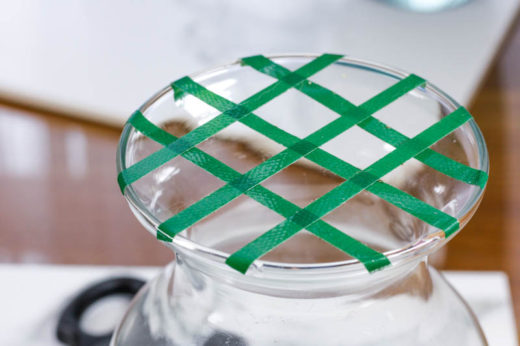
Prep for the Flowers:
Using floral tape, create a grid like pattern on the opening of the vase. You can also use clear scotch tape if you don’t have floral tape, but floral tape is waterproof and really sticky so it will stay put. We used this green floral tape because my mom was all out of her favorite clear floral tape, but you can get it here. (I’ll remind her now to replenish!)
Then, add a bit of water to the vase and add the flower nutrient packet that came with the flowers from the store.
Another pro tip – if you don’t have a nutrient mix you can add 1/4 teaspoon of bleach to each quart of water in the vase. You’d think the bleach would kill the flowers, but it actually kills the bacteria that grows in the water, making your blooms last days longer than they normally would! I learned this cool tip from Erica over at Coming up Roses (you can read her full post here).
Arrange the Flowers:
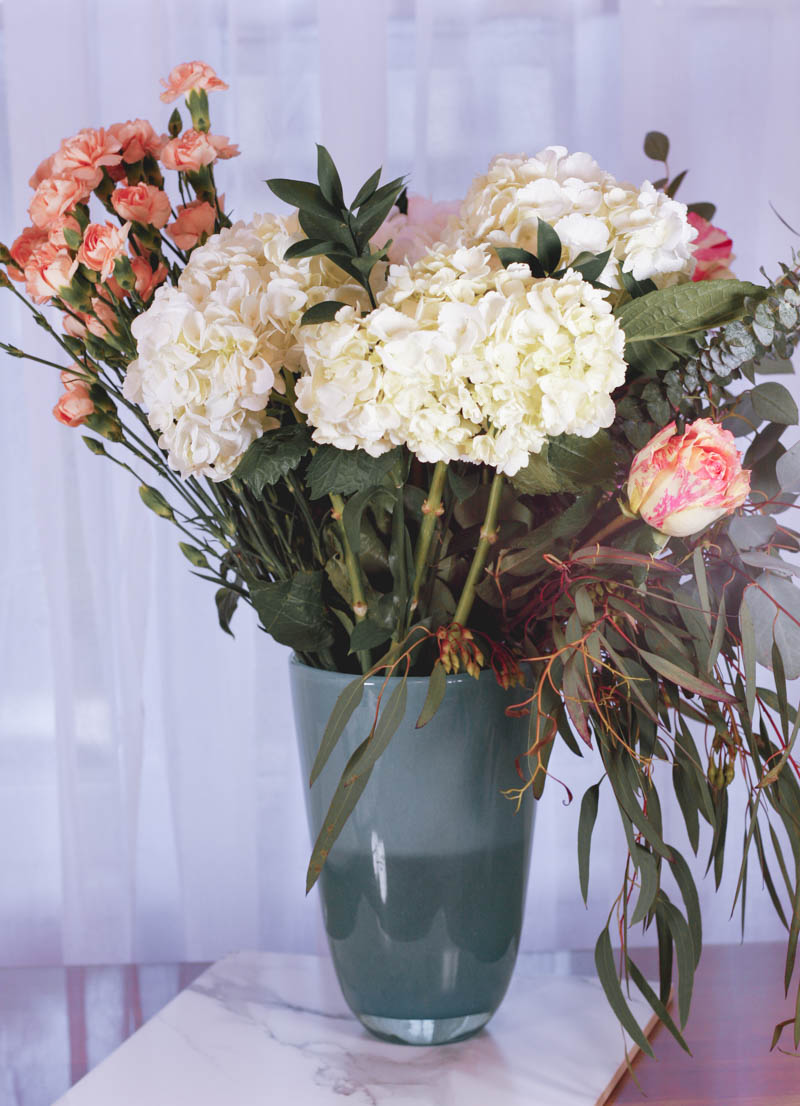
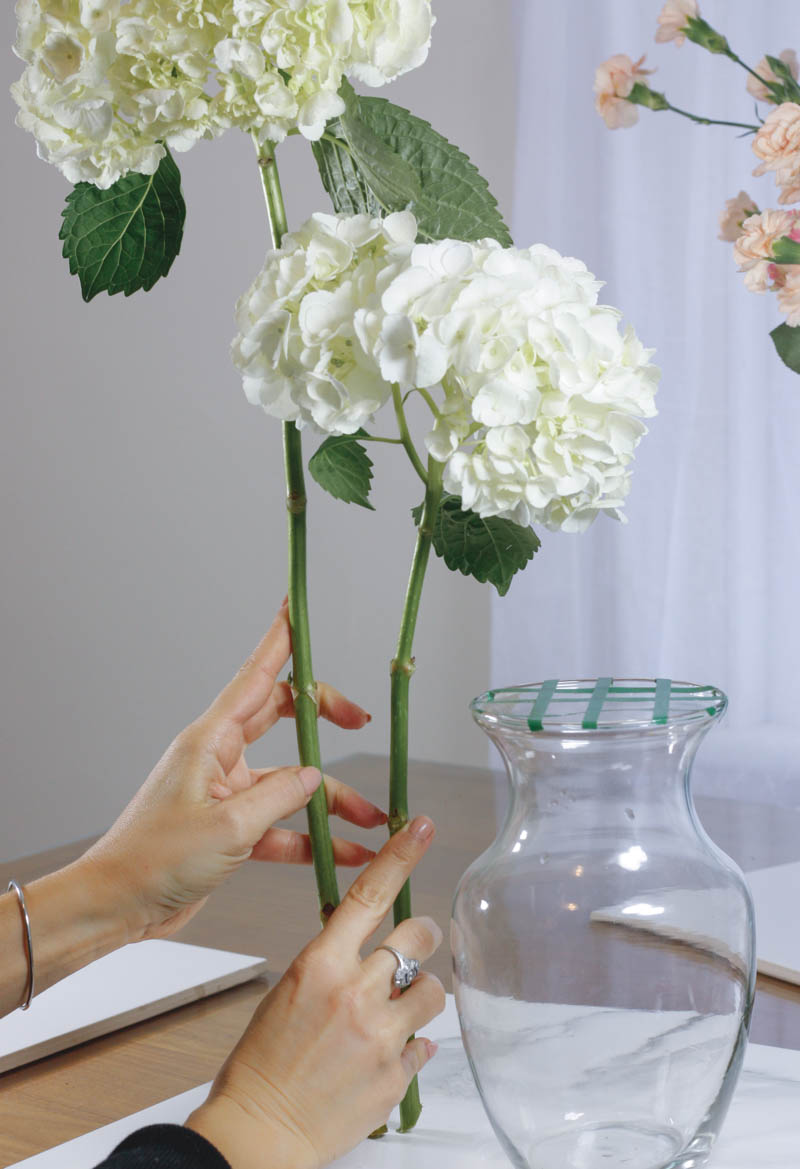
Now, for this arrangement we’re going to start placing the largest and heaviest flowers first. So, for this example I am going to take the white hydrangeas that I bought and put them in the vase first.
Some experts say to place the greenery first and fill in with the flowers, but we’re doing it this way because we don’t want to place the big, heavy flowers on top of some of the more delicate flowers we’ll be adding next.
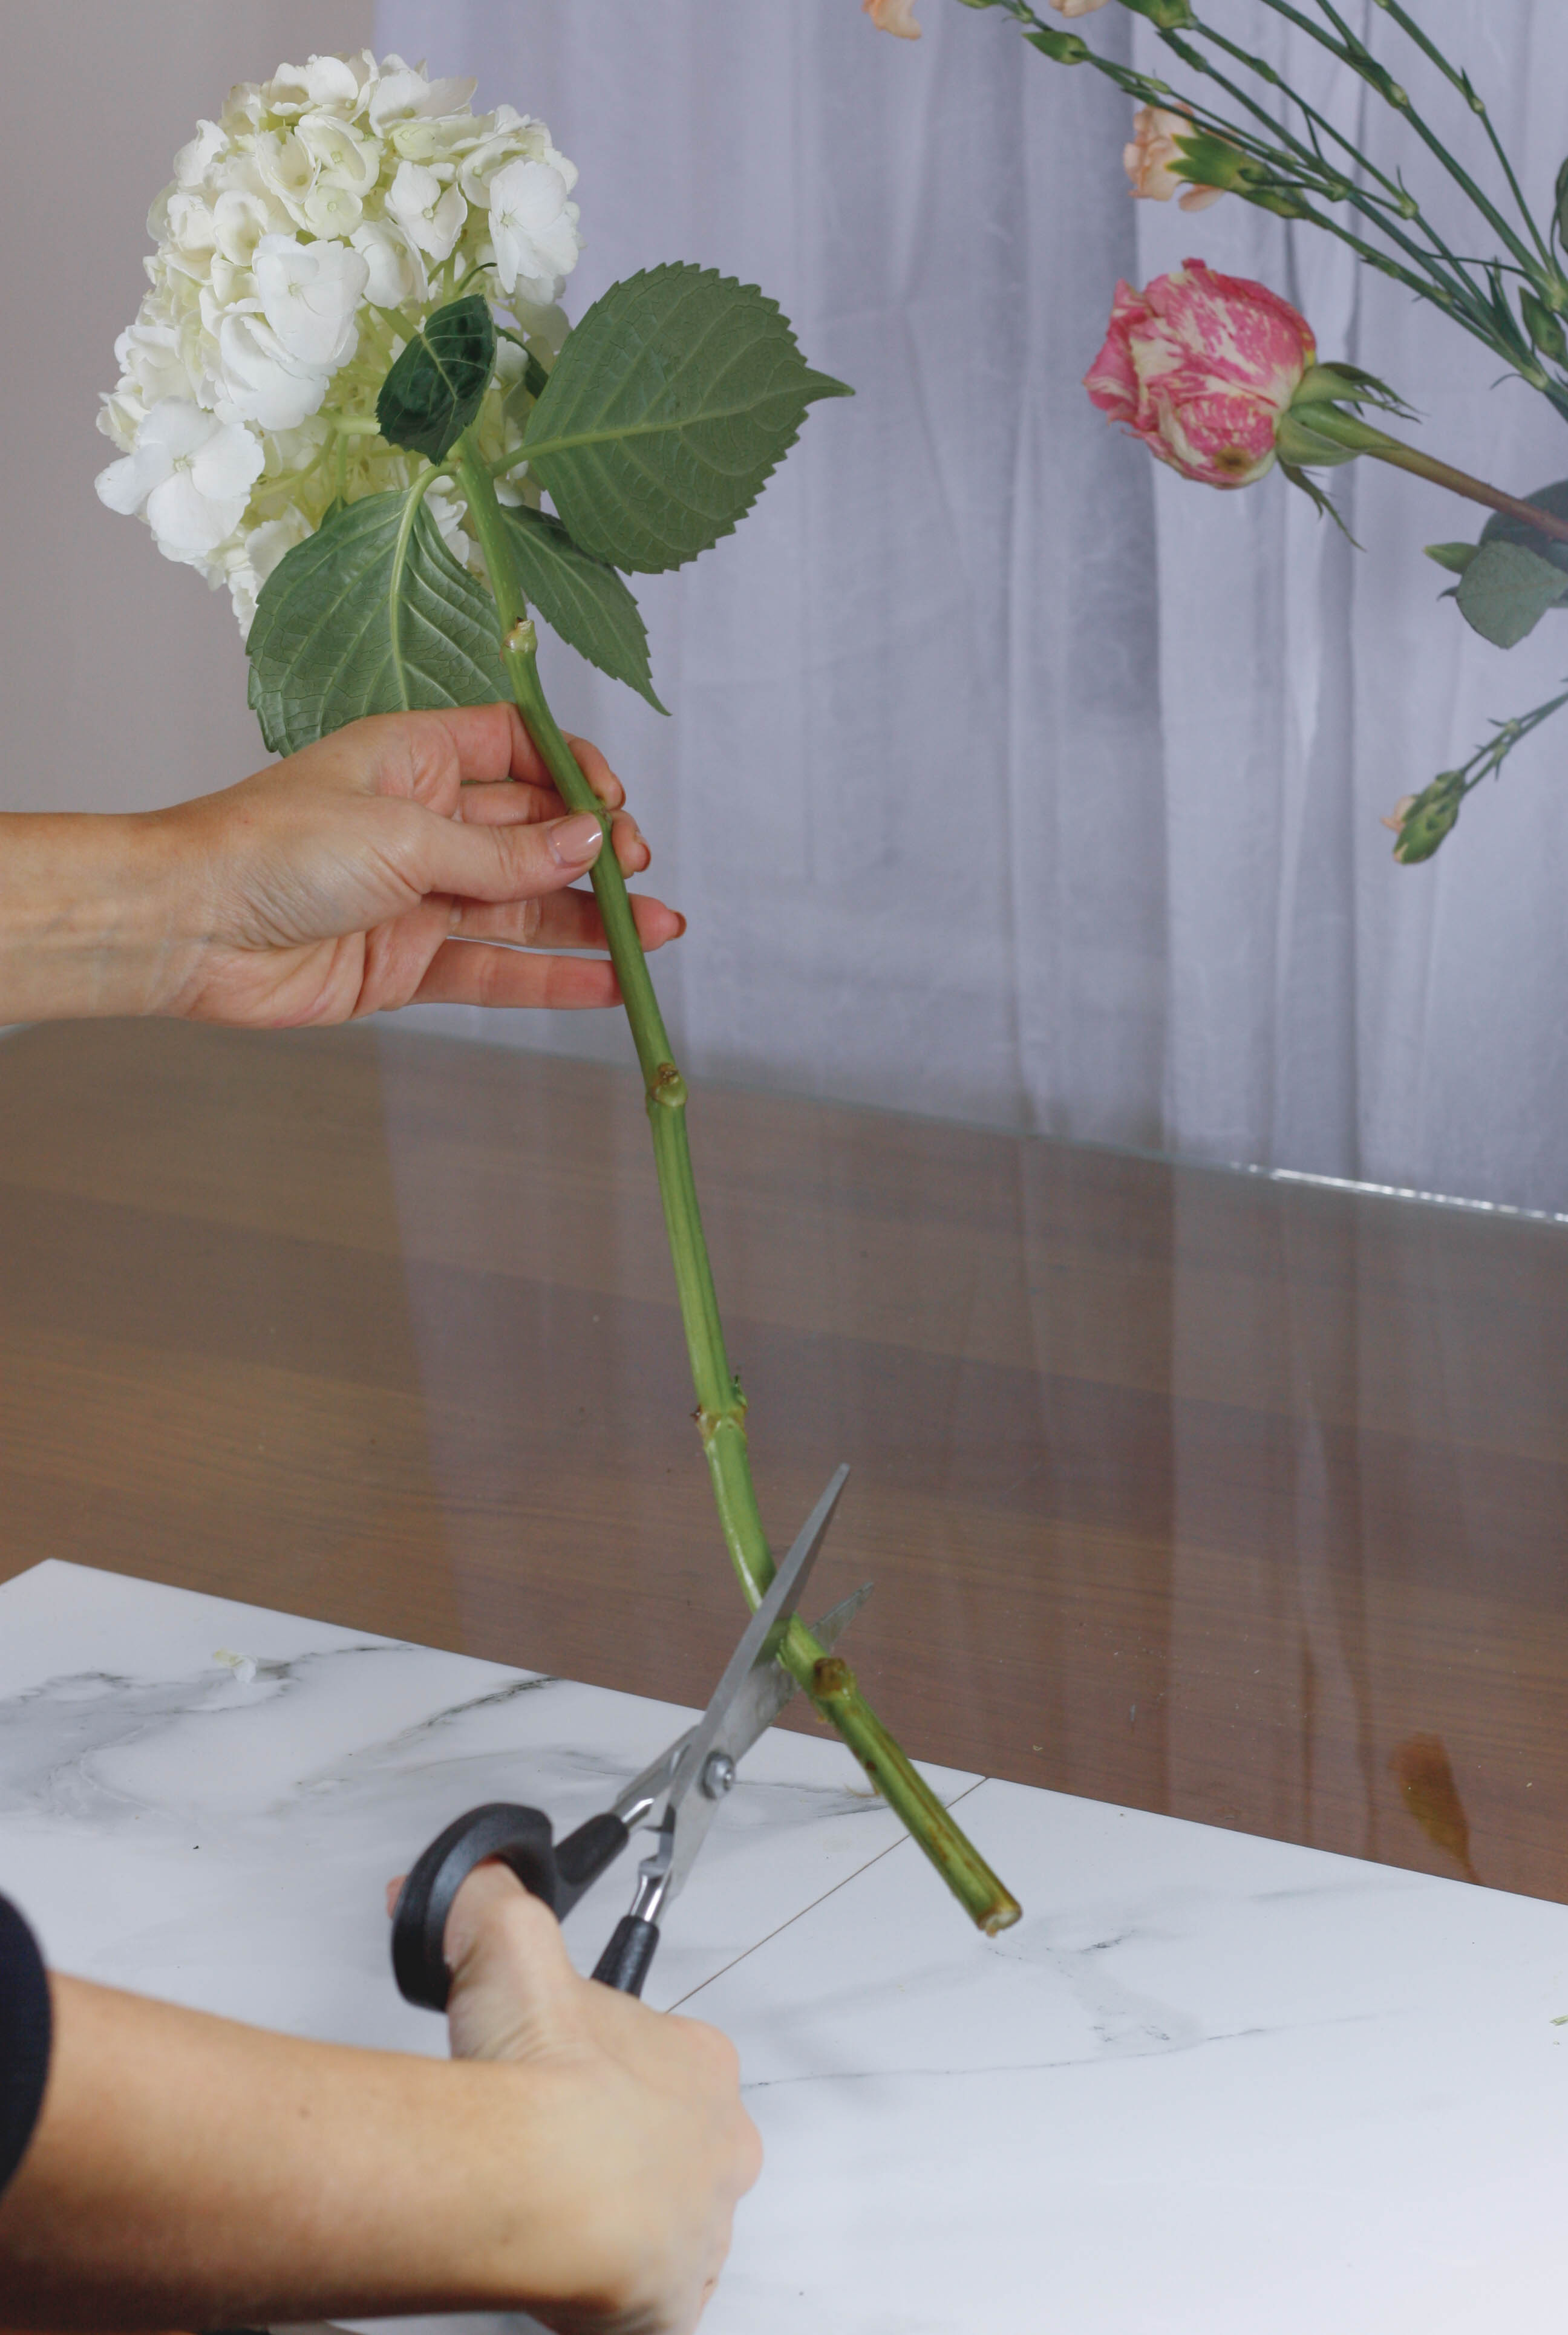
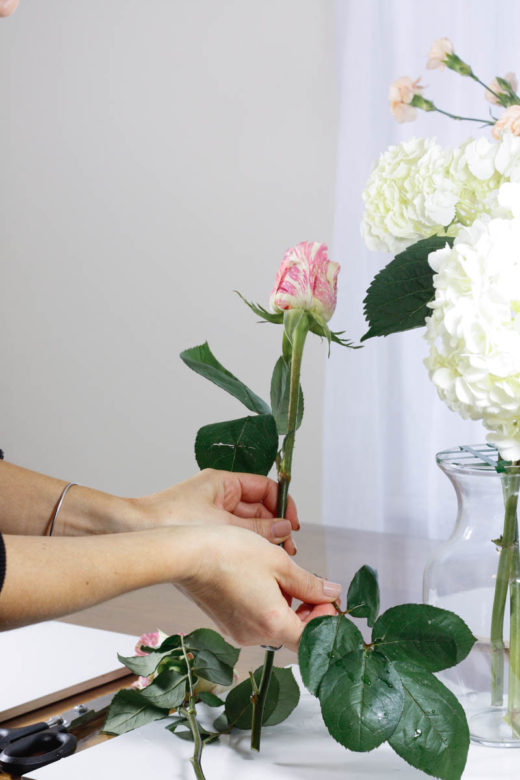
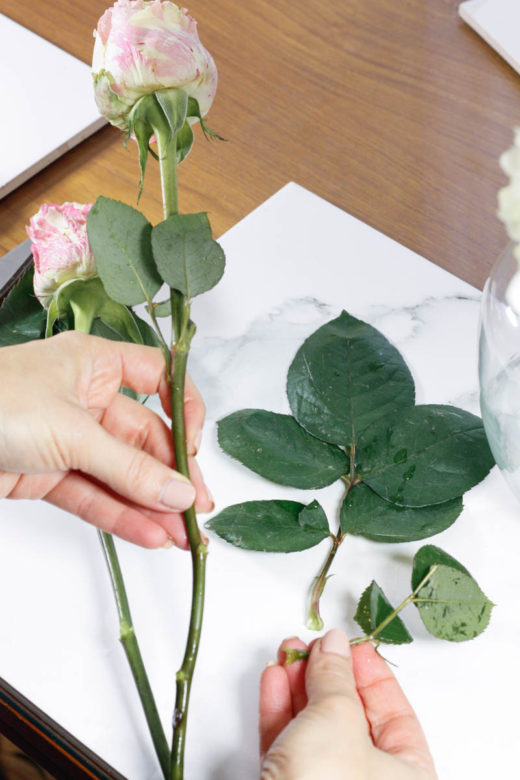
Take one flower and clean any leaves or greenery away from the bottom of the stem that will be submerged in water. Any of the leaves that are in the water will begin to rot and will be more susceptible to growing bacteria (and cause that nasty/funky smell that flowers sometimes get after a few days).
Depending on how high you’d like the arrangement to be, I usually cut each stem 2-3 inches from the bottom. You can measure this by holding the stem up to the vase and seeing how much you’ll need to chop. The flowers along the edge should be cut shorter than the flowers in the middle, which will need to be taller in order to give a dome shape to the bouquet.
The below picture shows the hydrangea stems before and after trimming the ends.
Also, you should only cut stems using floral shears and always cut them on an angle, as this allows the flower to get the maximum amount of water, subsequently making it last longer.
Now, I’m going to take the 2 trimmed hydrangeas and place them on either side of the vase. We are doing this to create a cohesive and symmetrical design.
Next, follow the above steps for the roses, which are the next heaviest flowers. I am going to start by using 4 roses, and place each rose in a “corner” of the vase.
Then, I’ll take the peonies and place them in each of the corners as well, next to each of the roses, making sure to trim and de-leaf the stems beforehand. Hopefully by now your arrangement is starting to look full.
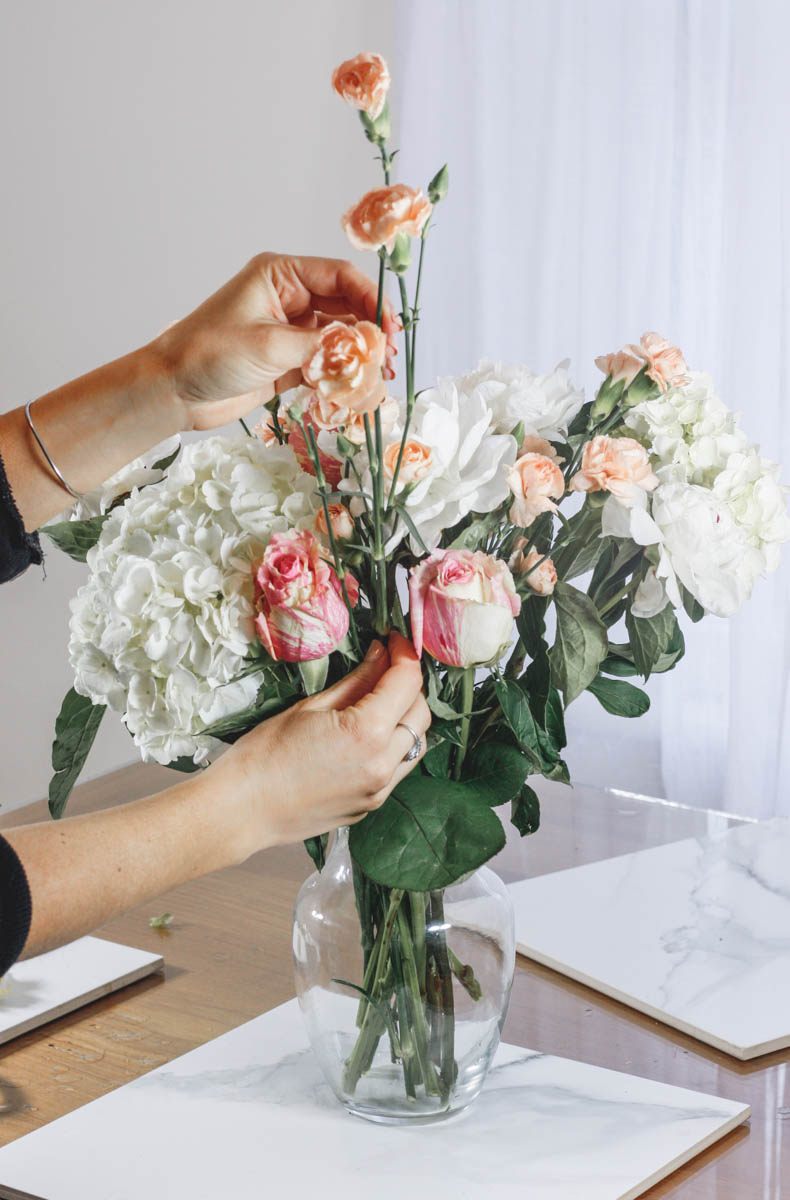
And next, add the delicate mini carnations. Since these are smaller, you can place them around the rest of the bunches, without being too overwhelming in the arrangement.
I also went ahead and added one more rose to the middle of the arrangement to add a bit more color in that section.
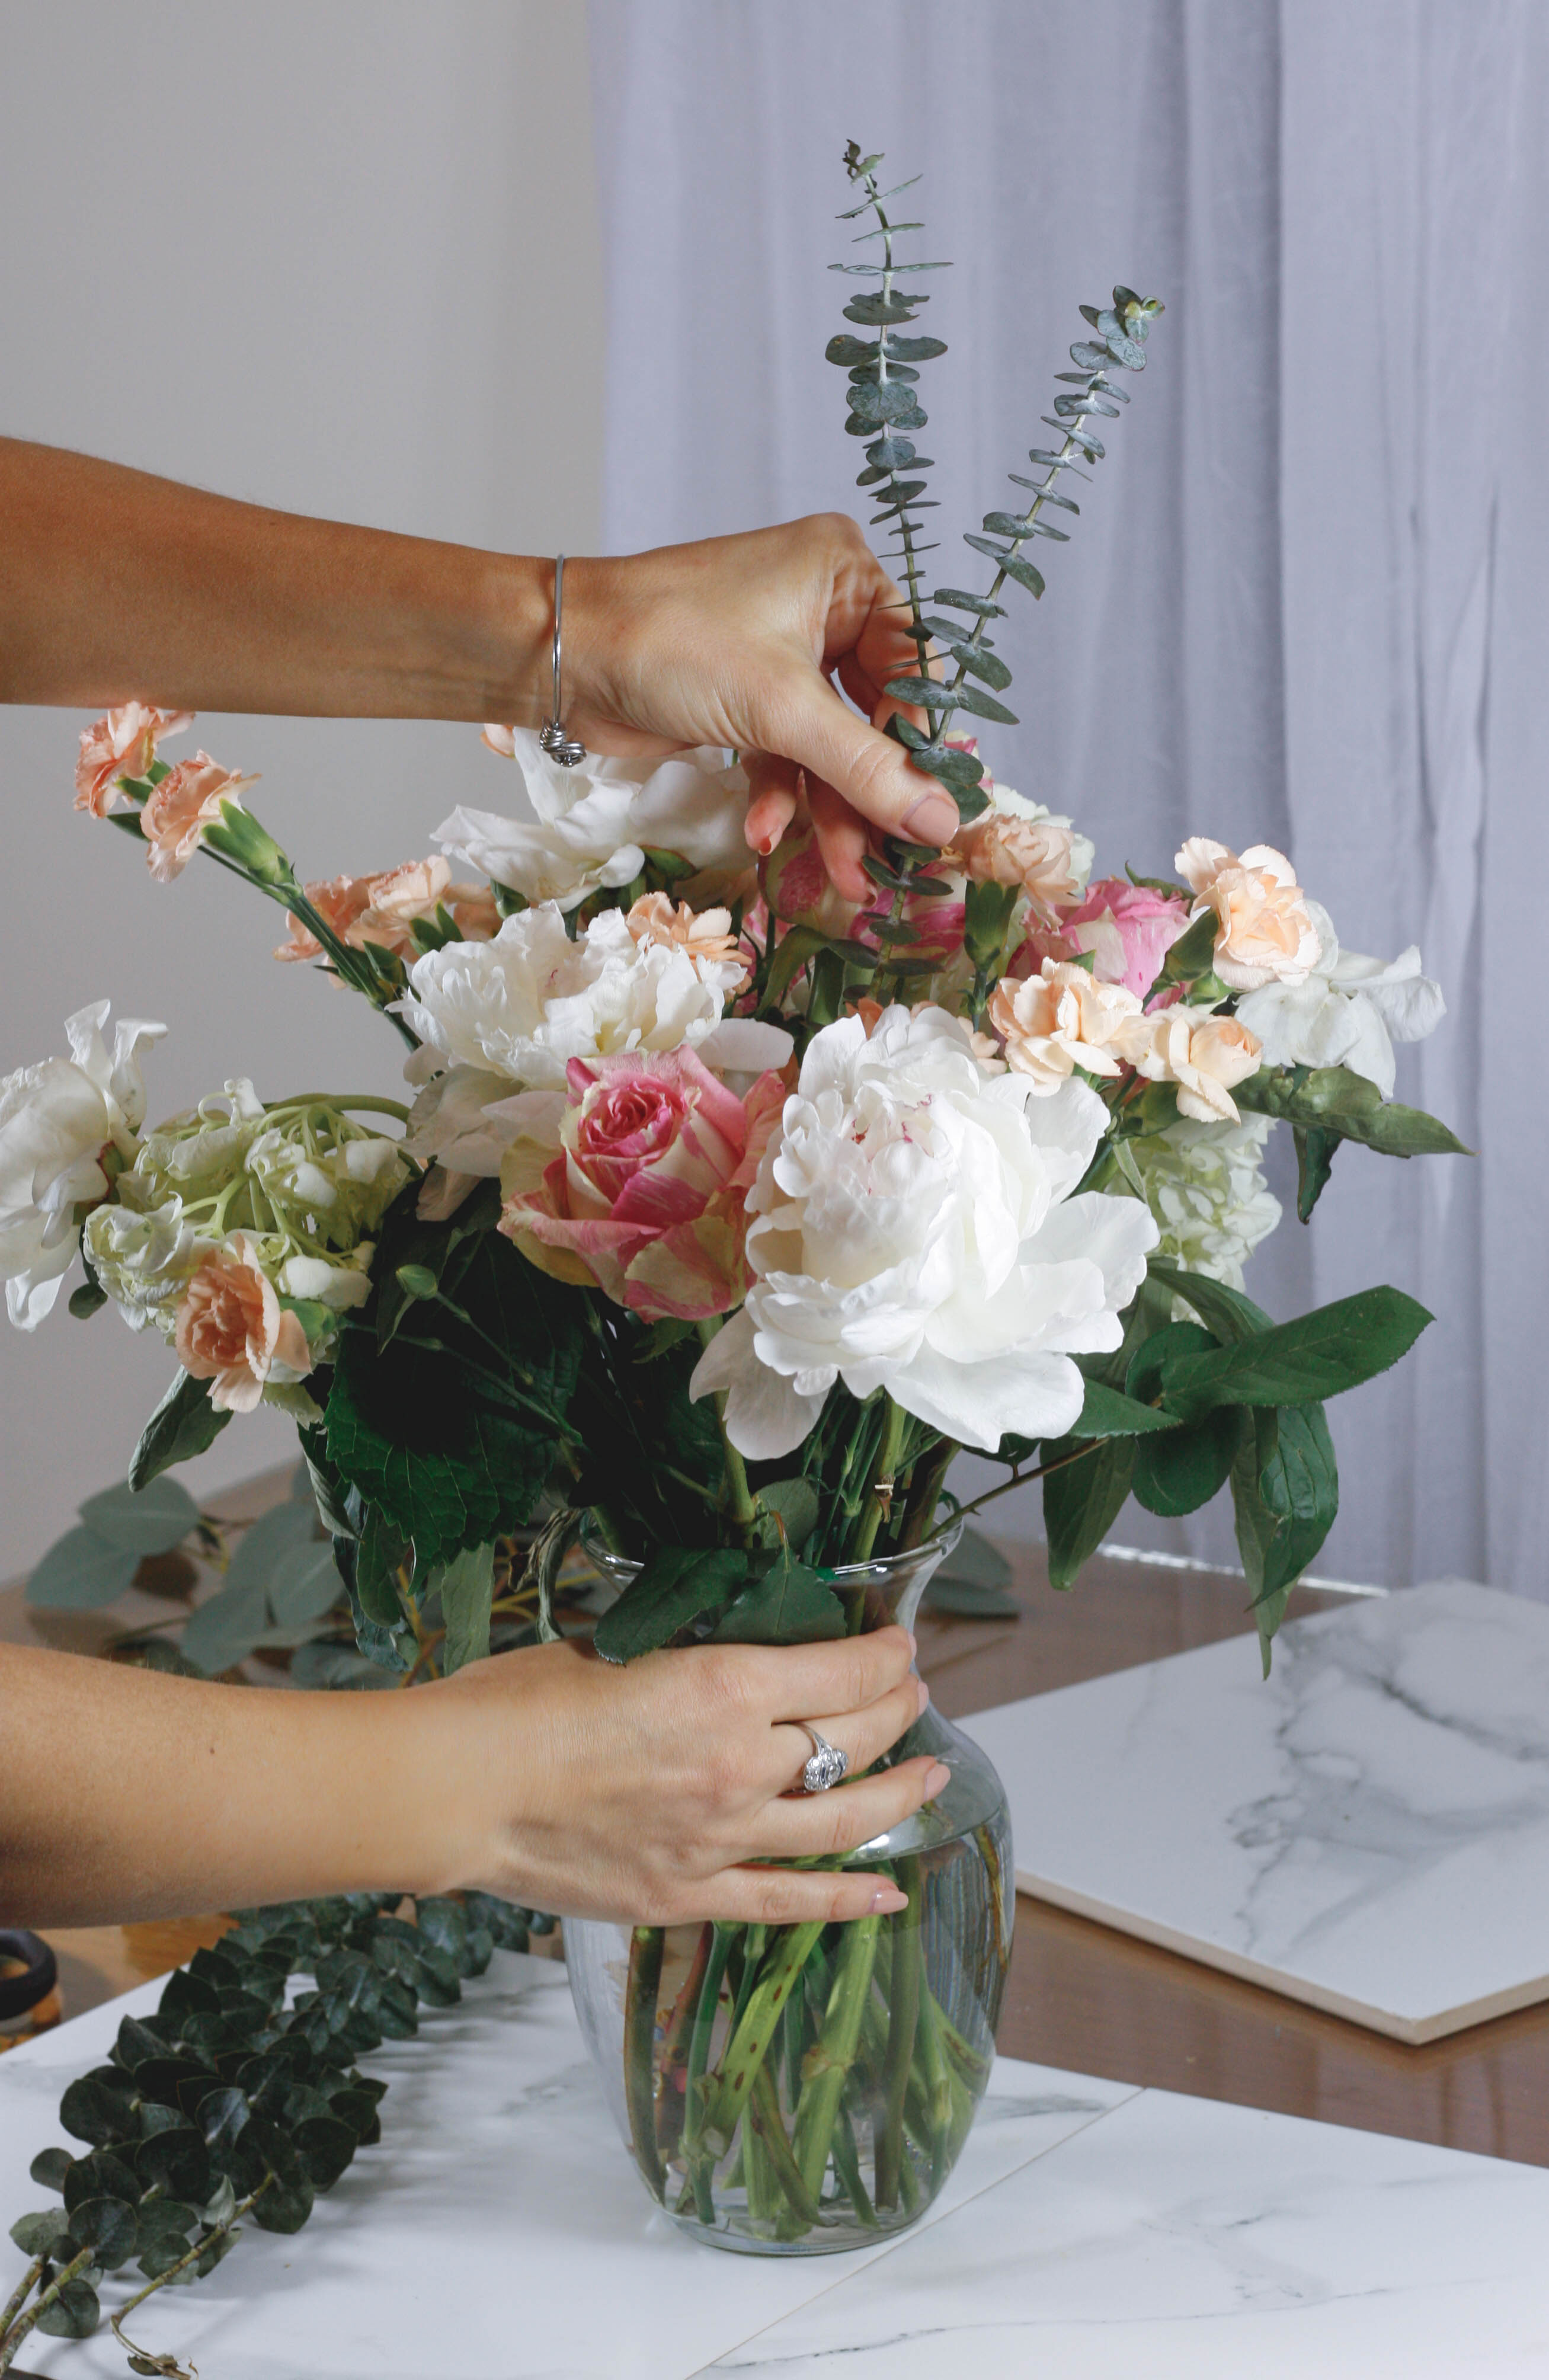
And finally, take the greenery and fill in spots that are looking bare or in need of some extra interest. The greenery, in my opinion, is really what makes arrangements look professional and polished. Anyone can plop a few stems in a vase, but arranging the greenery around them really adds that profesh touch!
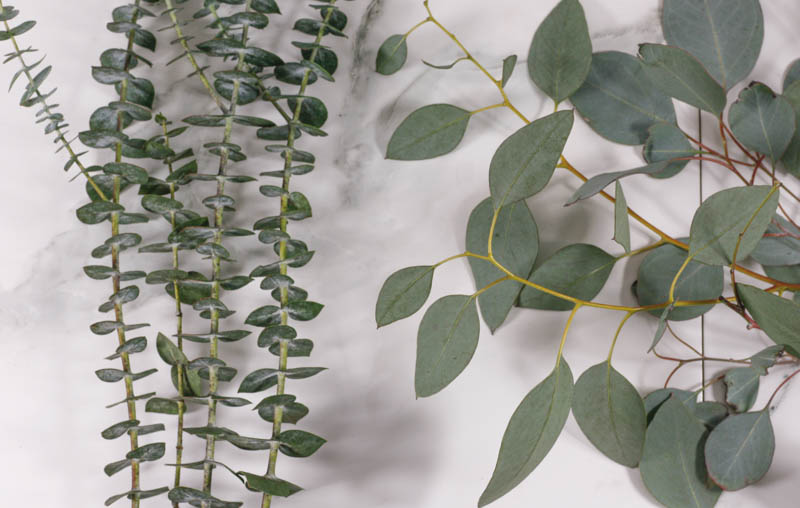
I separated the greens and ended up using only the eucalyptus branches and some delicate leaves. I placed 3 sprigs of eucalyptus in a “triangle” pattern around the arrangement, and then placed 2 of the leafy green branches on either side of the bouquet. This definitely gave it that finishing touch!
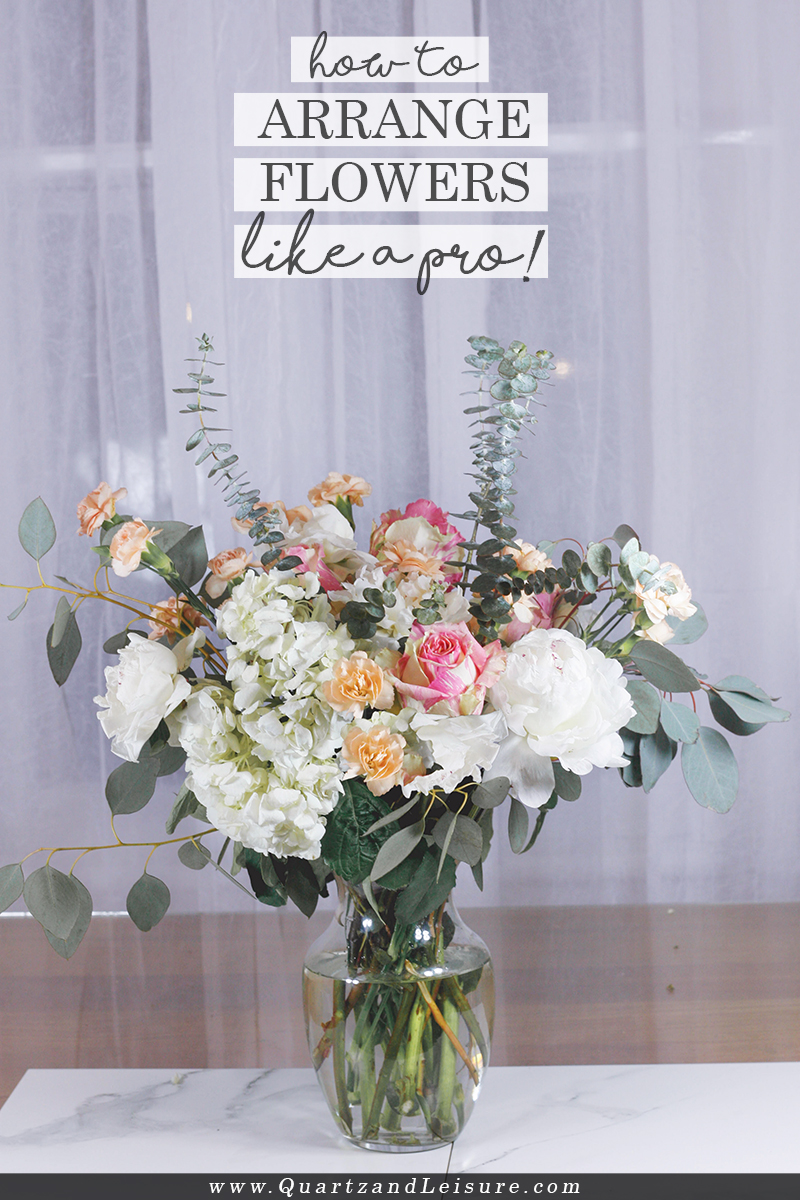
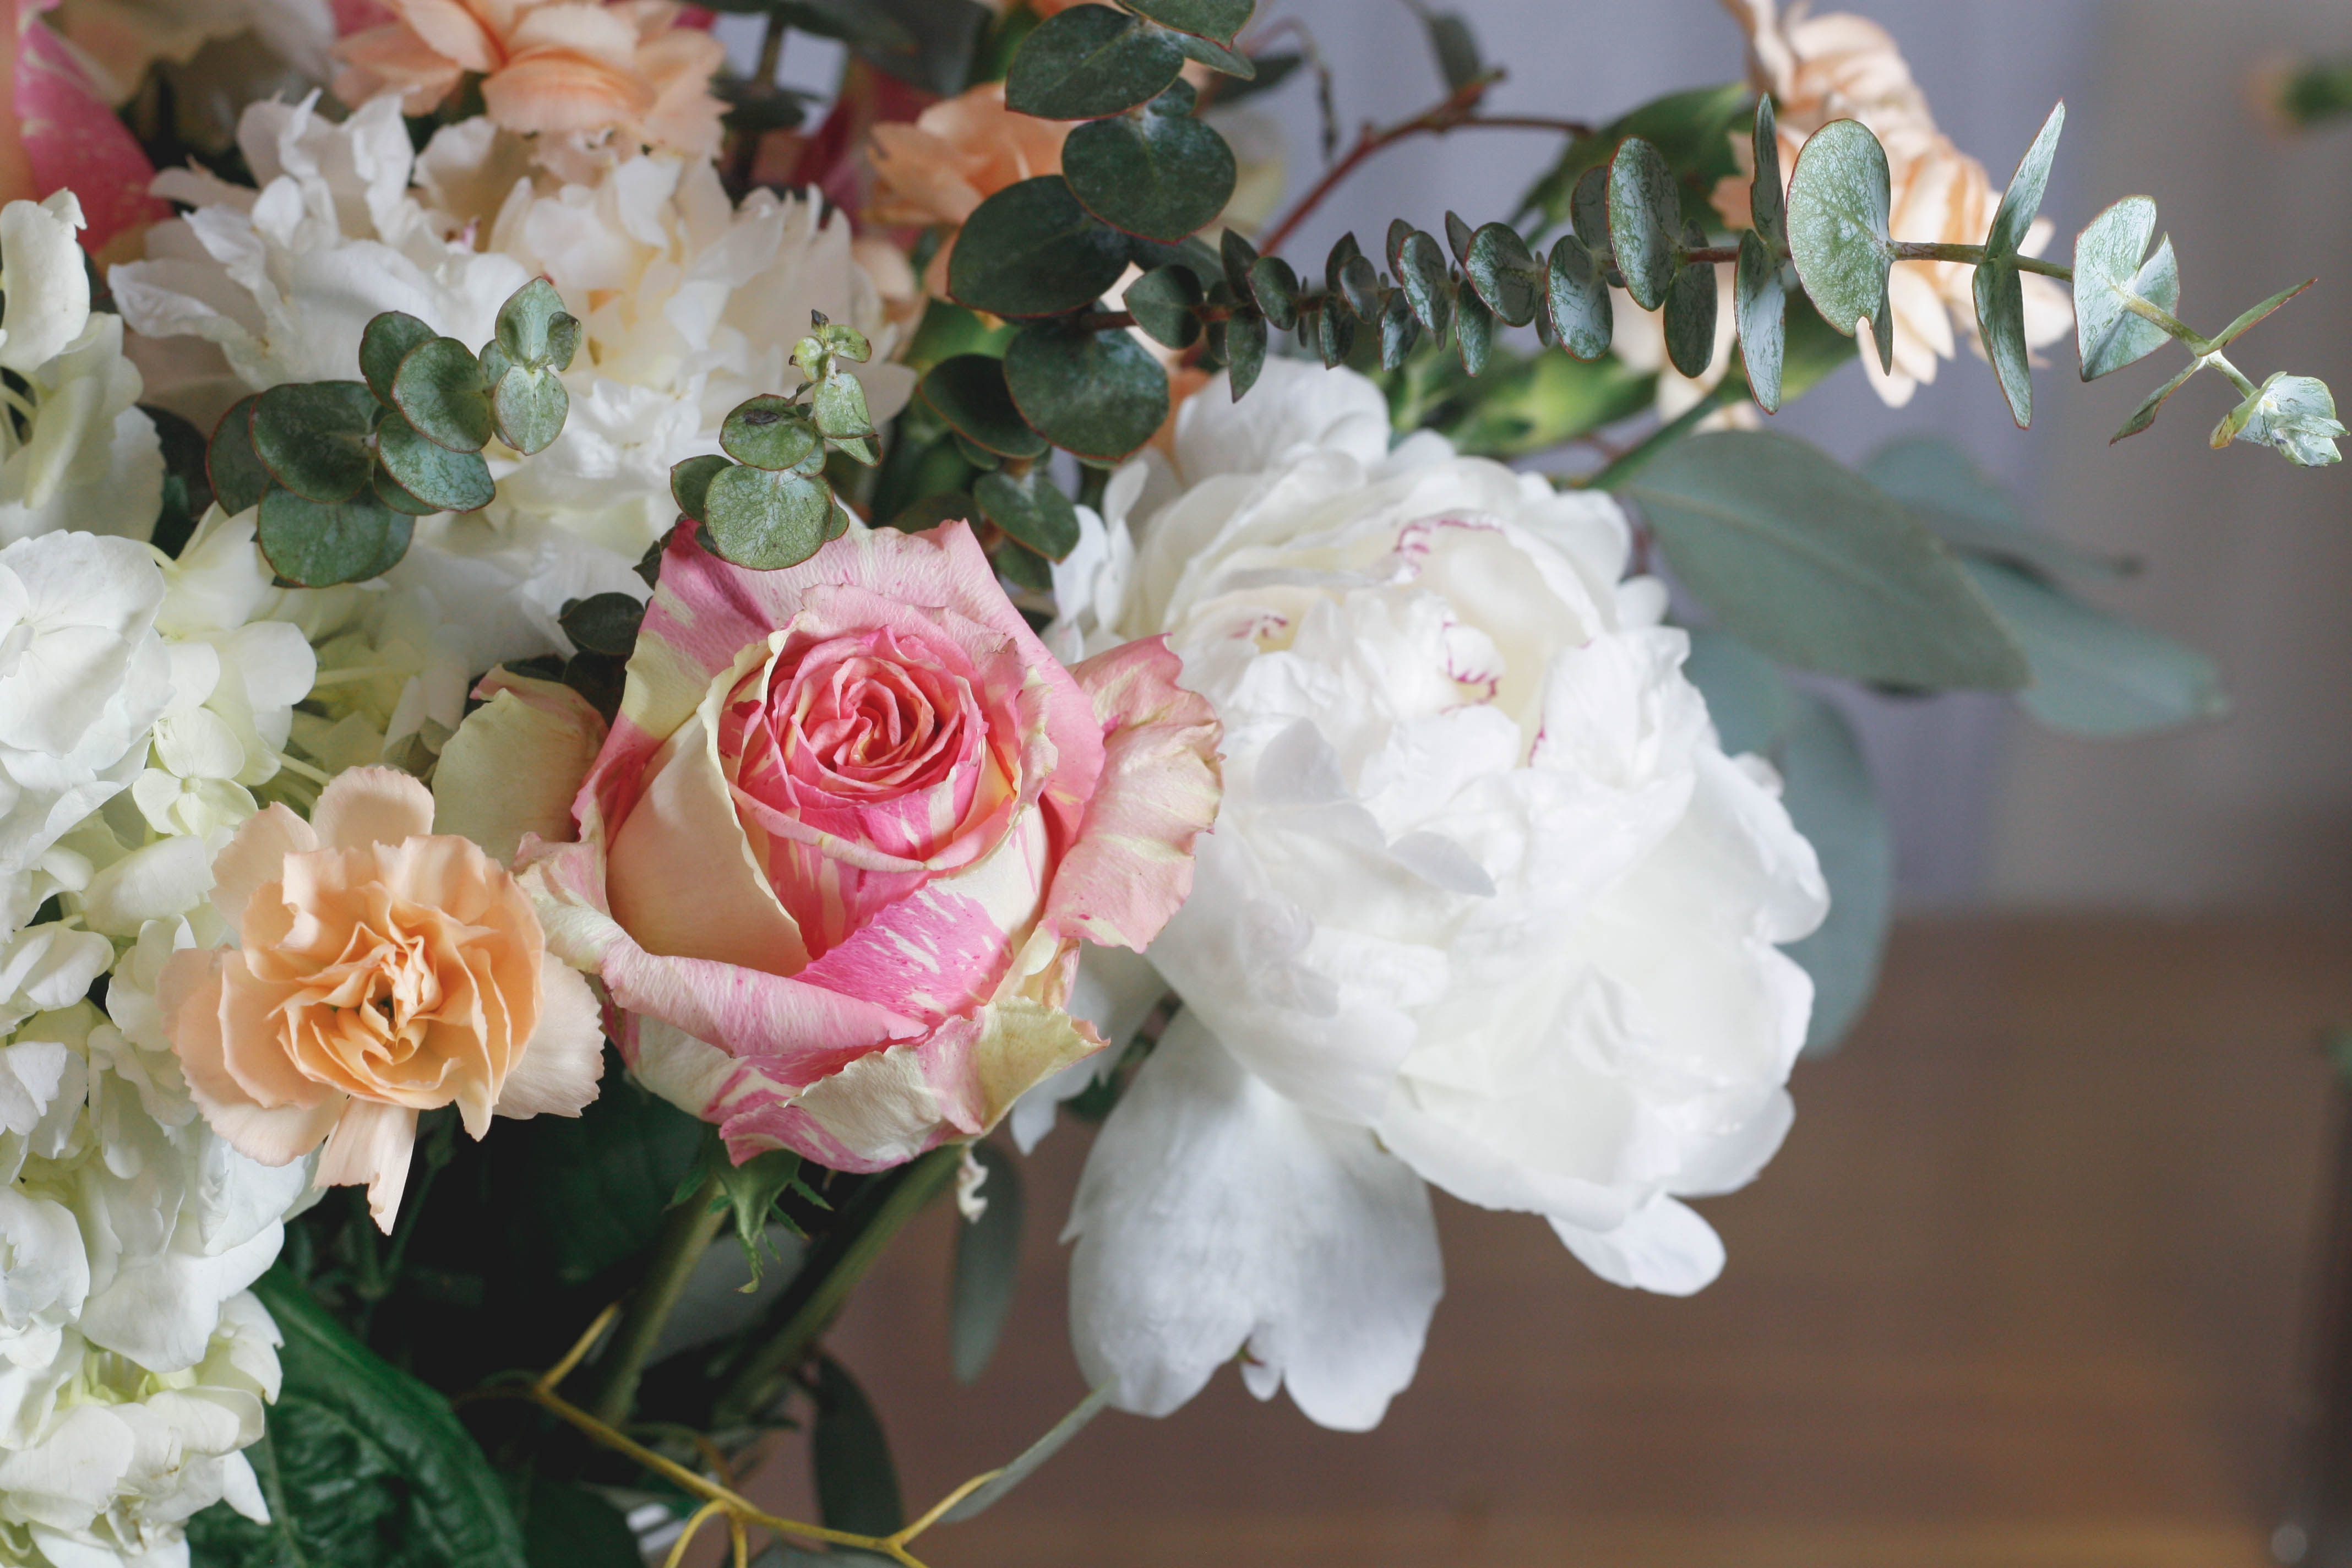
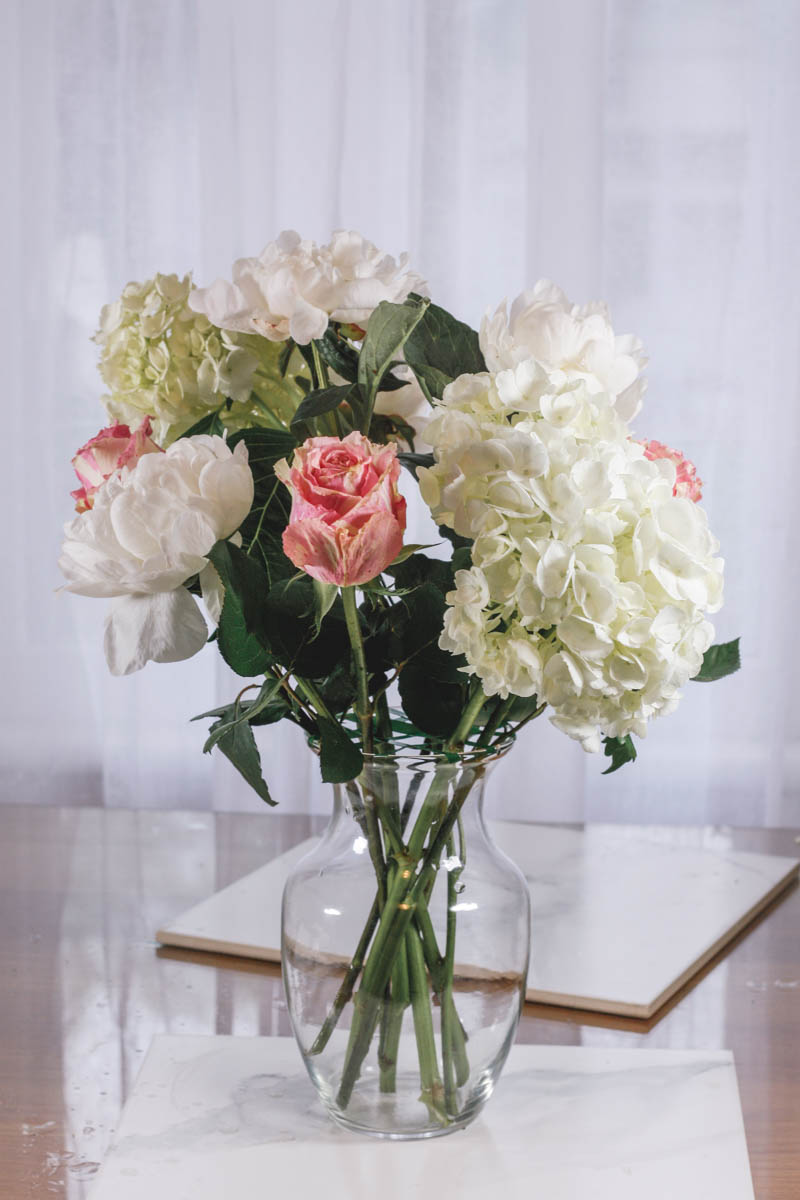
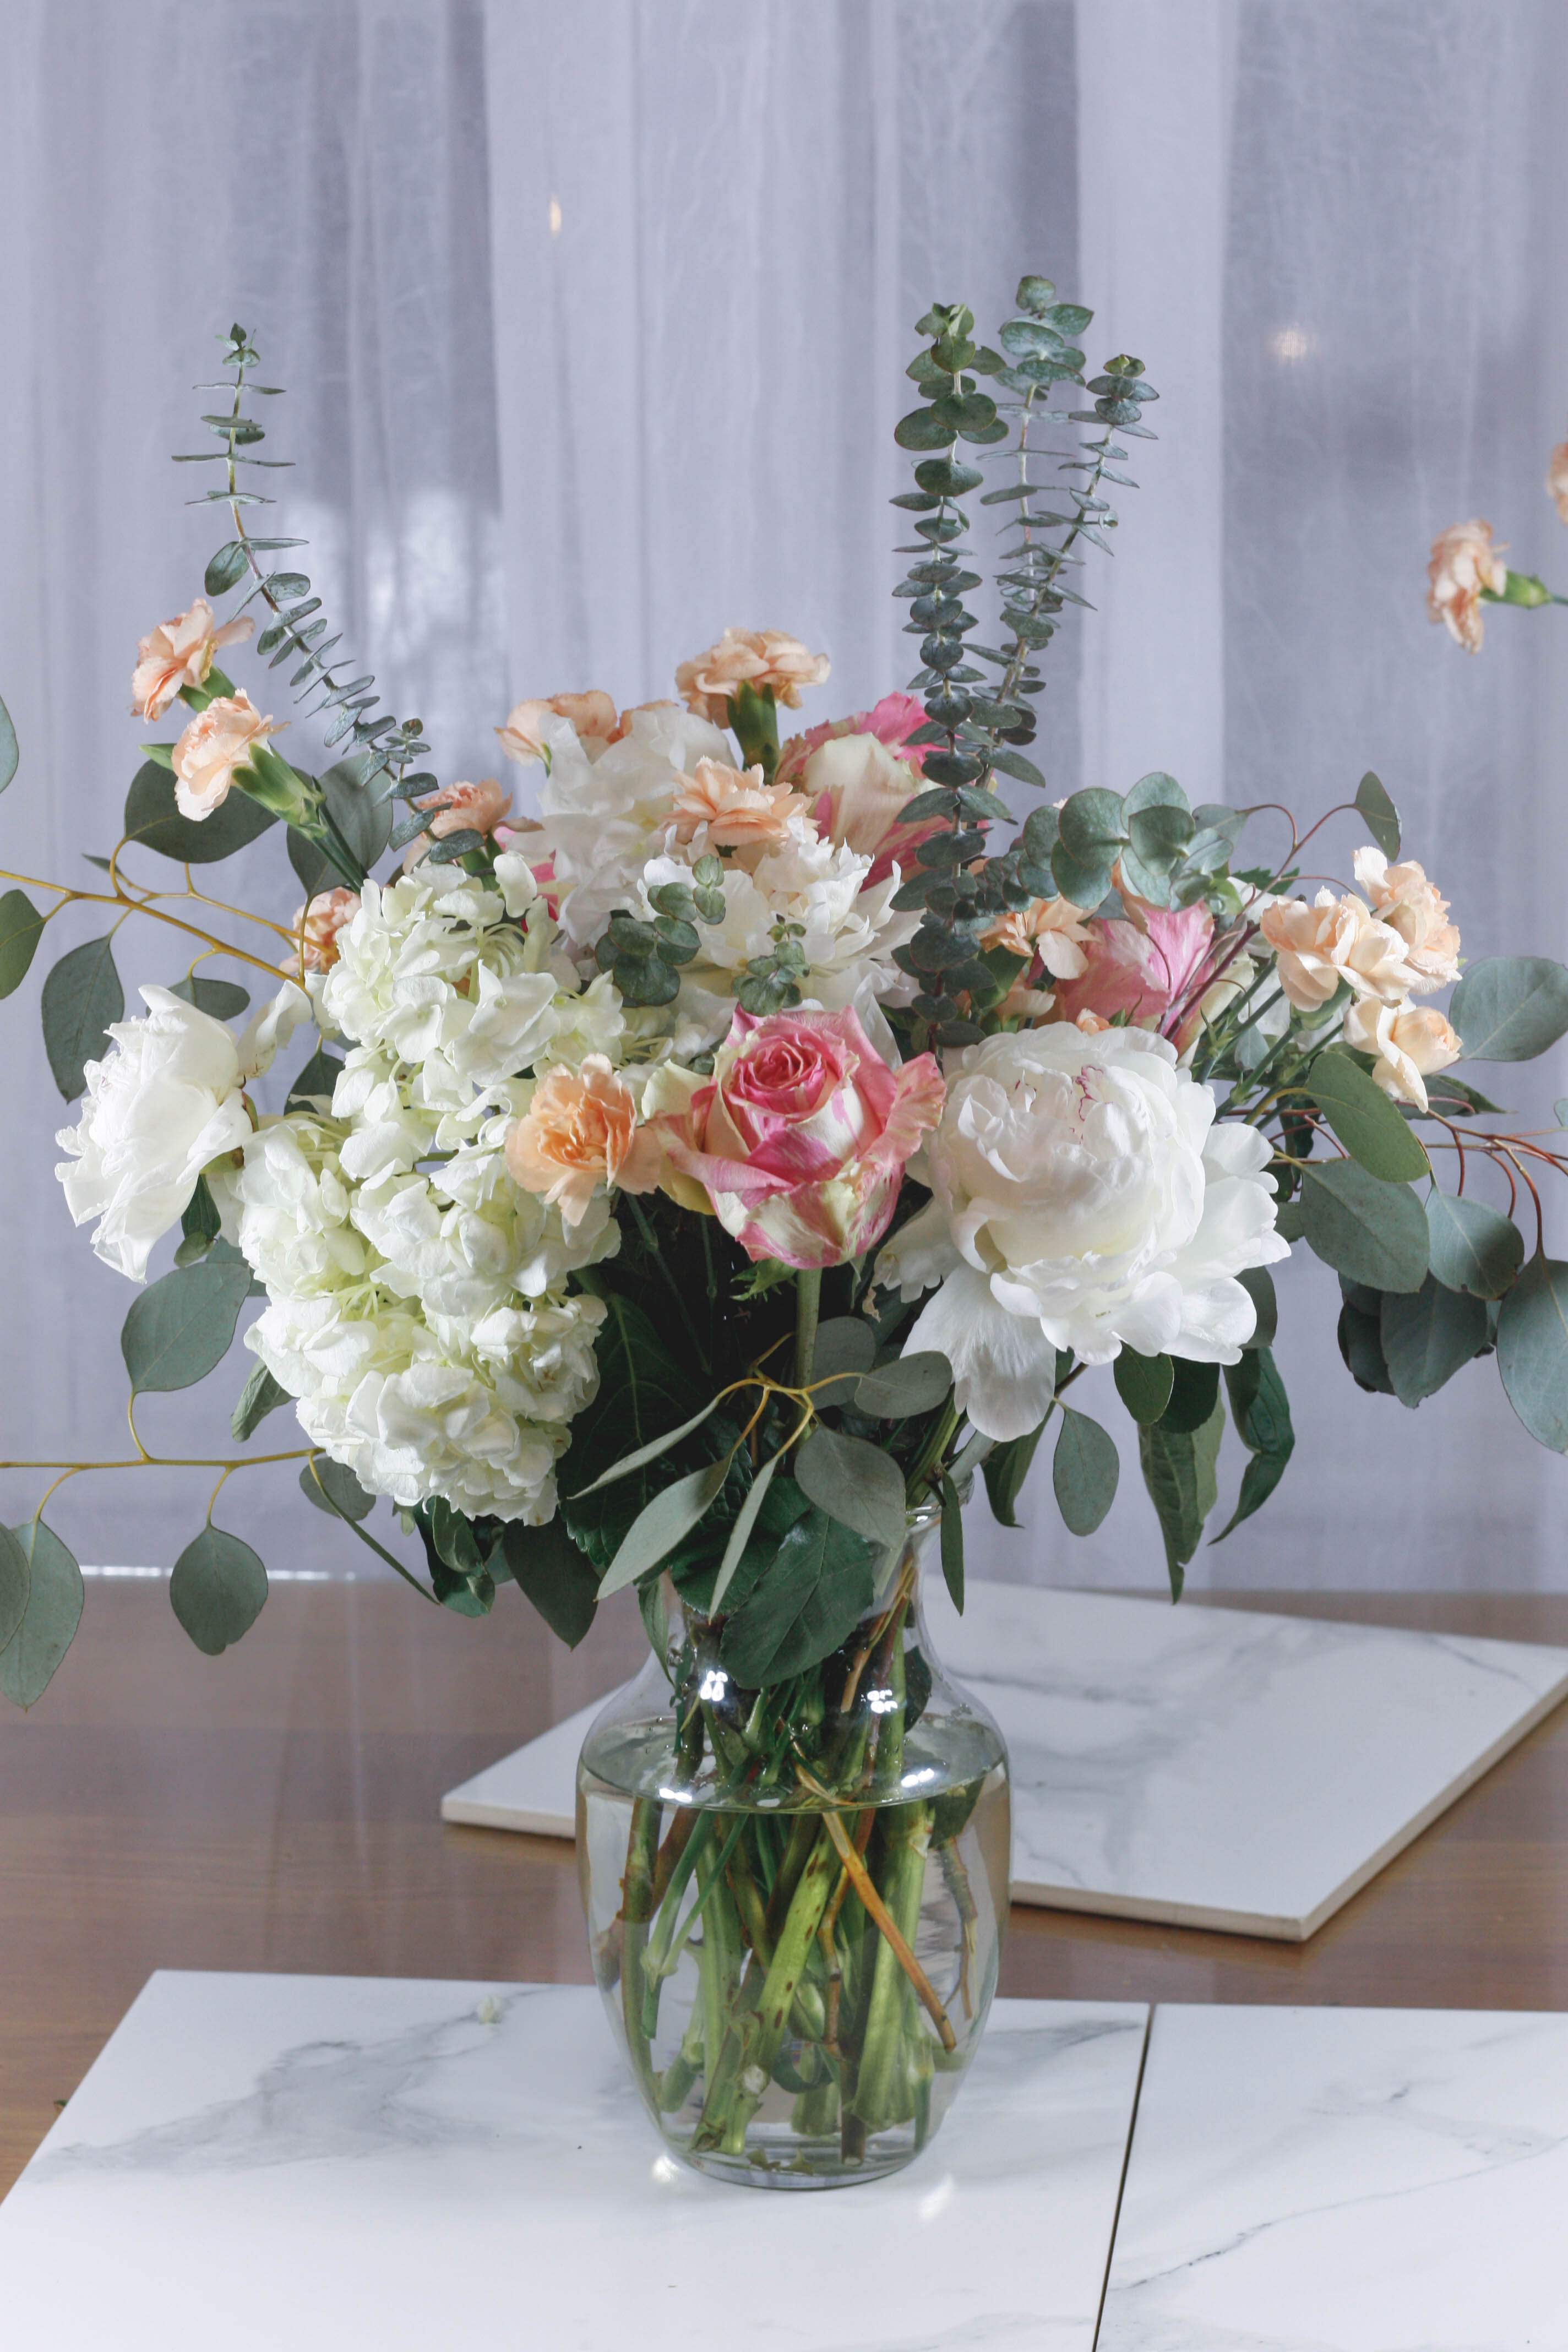
And voila, you’re done! Scroll down to see the final masterpiece!
Hopefully you’ll be able to part with their beauty when you give them to your mom for Mother’s Day.
And hello, *bonus points* because instead of taking the easy route and ordering online at 1-800-SendMomFlowers, you’ll need to deliver these by hand.
And I’m guessing the best Mother’s Day gift of all will be seeing your beautiful, smiling face in person!
So, I hope you enjoyed this tutorial! Stay tuned for Parts 2 & 3 of this series when I’ll be showing you how to create a lower vase arrangement as well as a unique terrarium arrangement (my personal fave).
If you don’t want to miss out on these, I suggest you sign up for my newsletter!
You can also stay up to date through social media, I can be found on Instagram, Twitter & Pinterest! ?
Thanks so much for reading and I want to wish all the beautiful mamas out there a Happy Mother’s Day! We definitely couldn’t do it without you! 🙂


7 Comments
I love getting flowers for my desk but they wilt really quickly in summers: I’m going to order the flower nutrients online and try out the arrangement tricks this week! Thanks so much
Awesome! 🙂 I’m so glad you found the tips helpful. If you buy flowers from a grocery store they usually come with a little nutrient packet inside. And be sure to add a bit of bleach to the water to make the flowers last!
Xx
What a beautiful arrangement! You make it look so easy! I feel like if I tried, it’d be a disaster, haha!
Kim
Simply Lovebirds
You can totally do it! 🙂
Xx