
If you’ve known me for any length of time, then you know that I am a huge fan of DIY manicures. Matter of fact, I’ve only had my nails done professionally once in my life. Yes, you read that right. ONE TIME. I mean, can I even call myself a girl? Nevermind a blogger?! Haha.
I had a really bad experience the first time I went to a nail salon and decided never to go back. (It started with her pinching the skin on all my cuticles with her nipper – can you say ouch!)
Plus, I usually hate how things come out when other people do them for me. For example: having someone else style my hair, do my makeup, etc. I usually have to redo it myself because I hate the way it looks. So having my nails done is no exception. I would just rather do them myself! And I strangely find that doing my own nails is relaxing, too.
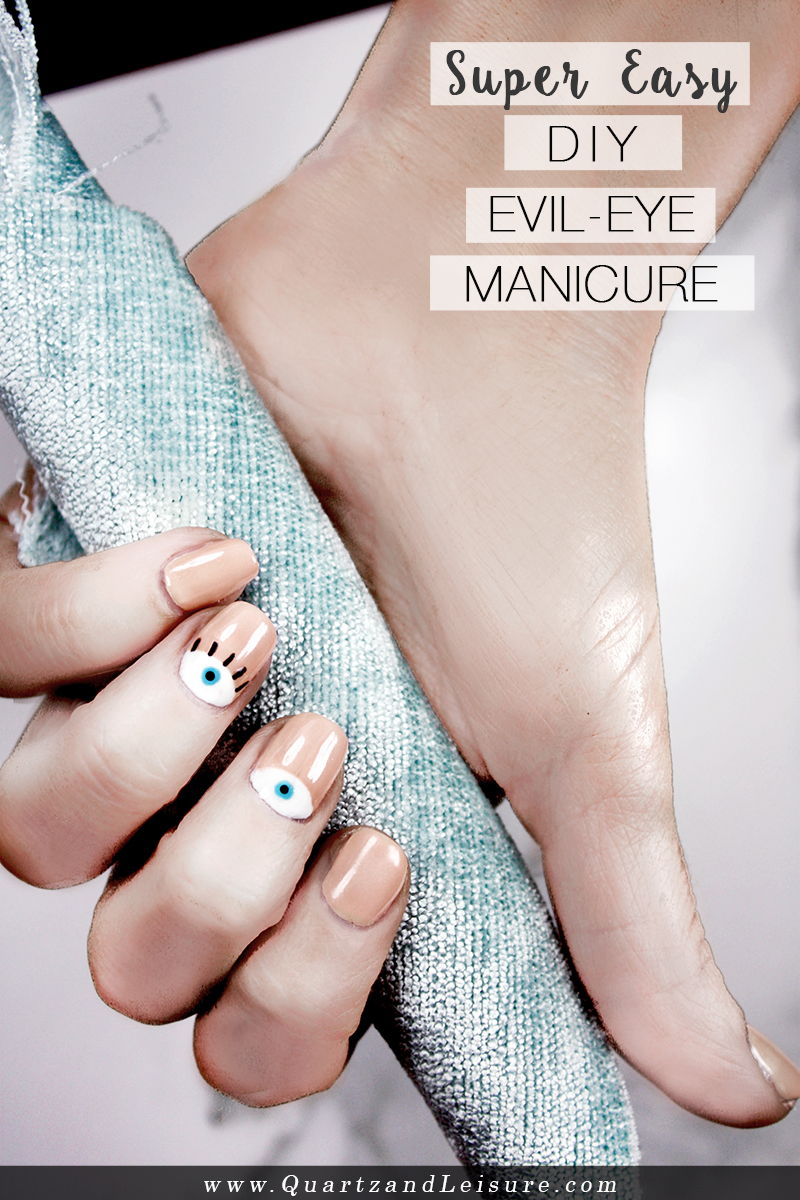
Since I do have an artistic streak, that carries over to my nails as well. But I do seem to have got some stunning holiday nails in my collection. I have also done some crazy complicated nail art, but I’ll save those for another day. This evil eye manicure is super simple and you’ll get a perfect edge every time with my secret little trick.
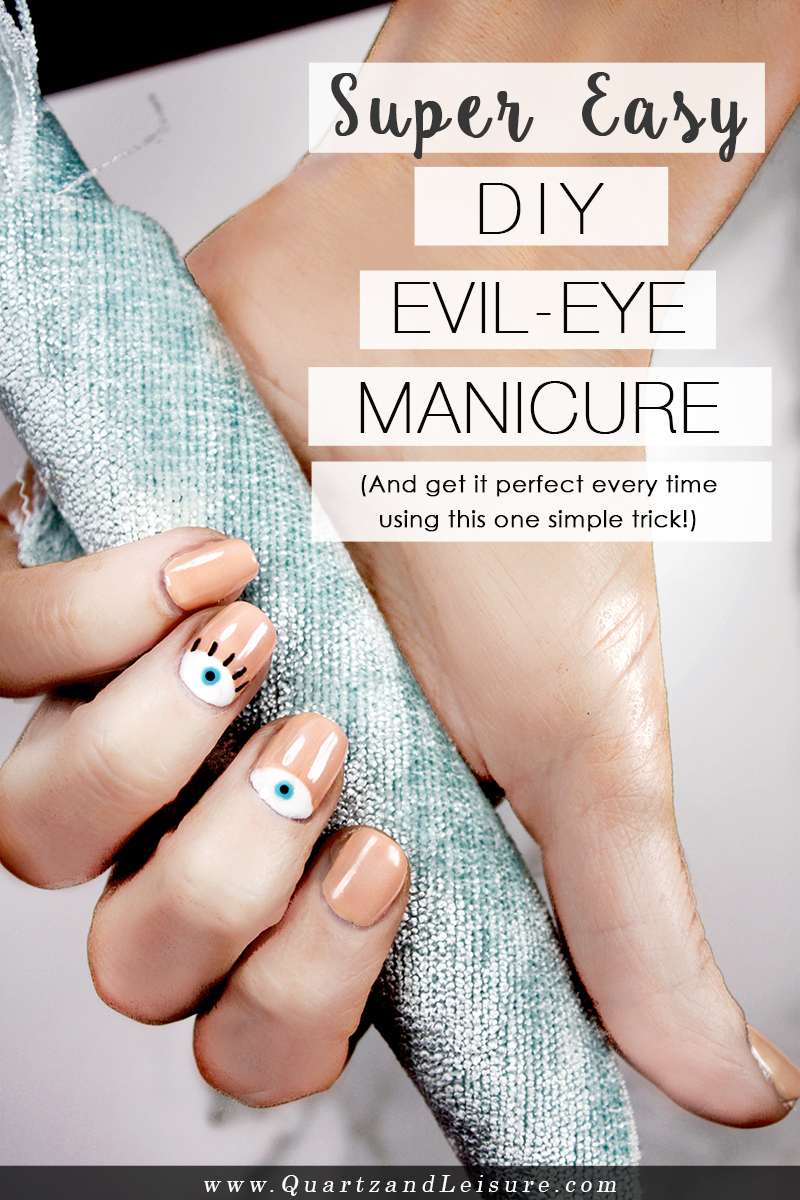
Evil Eye Manicure
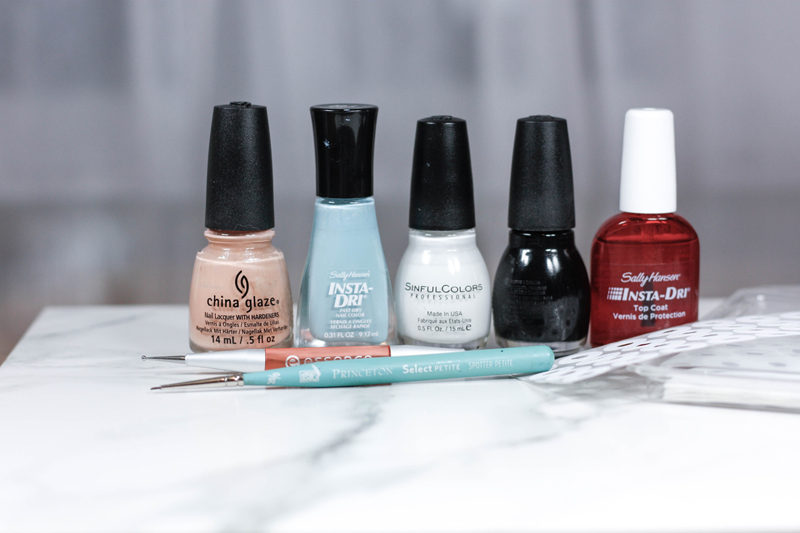
What you’ll need:
- Sand in My Mistletoes or Sunset Sail by China Glaze
- Insta Dry in Blue-Away by Sally Hansen
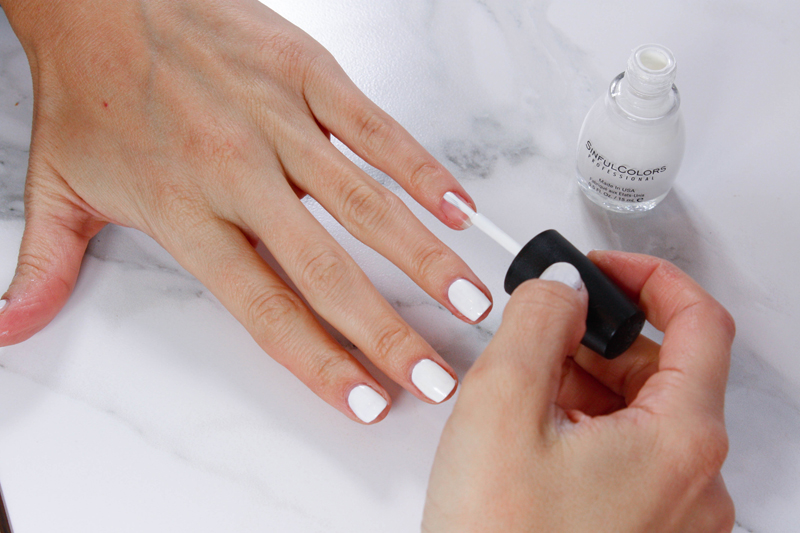
- Snow Me White by Sinful Colors (the best one-coat white!)
- Black on Black by Sinful Colors
- Insta-Dri Topcoat by Sally Hansen
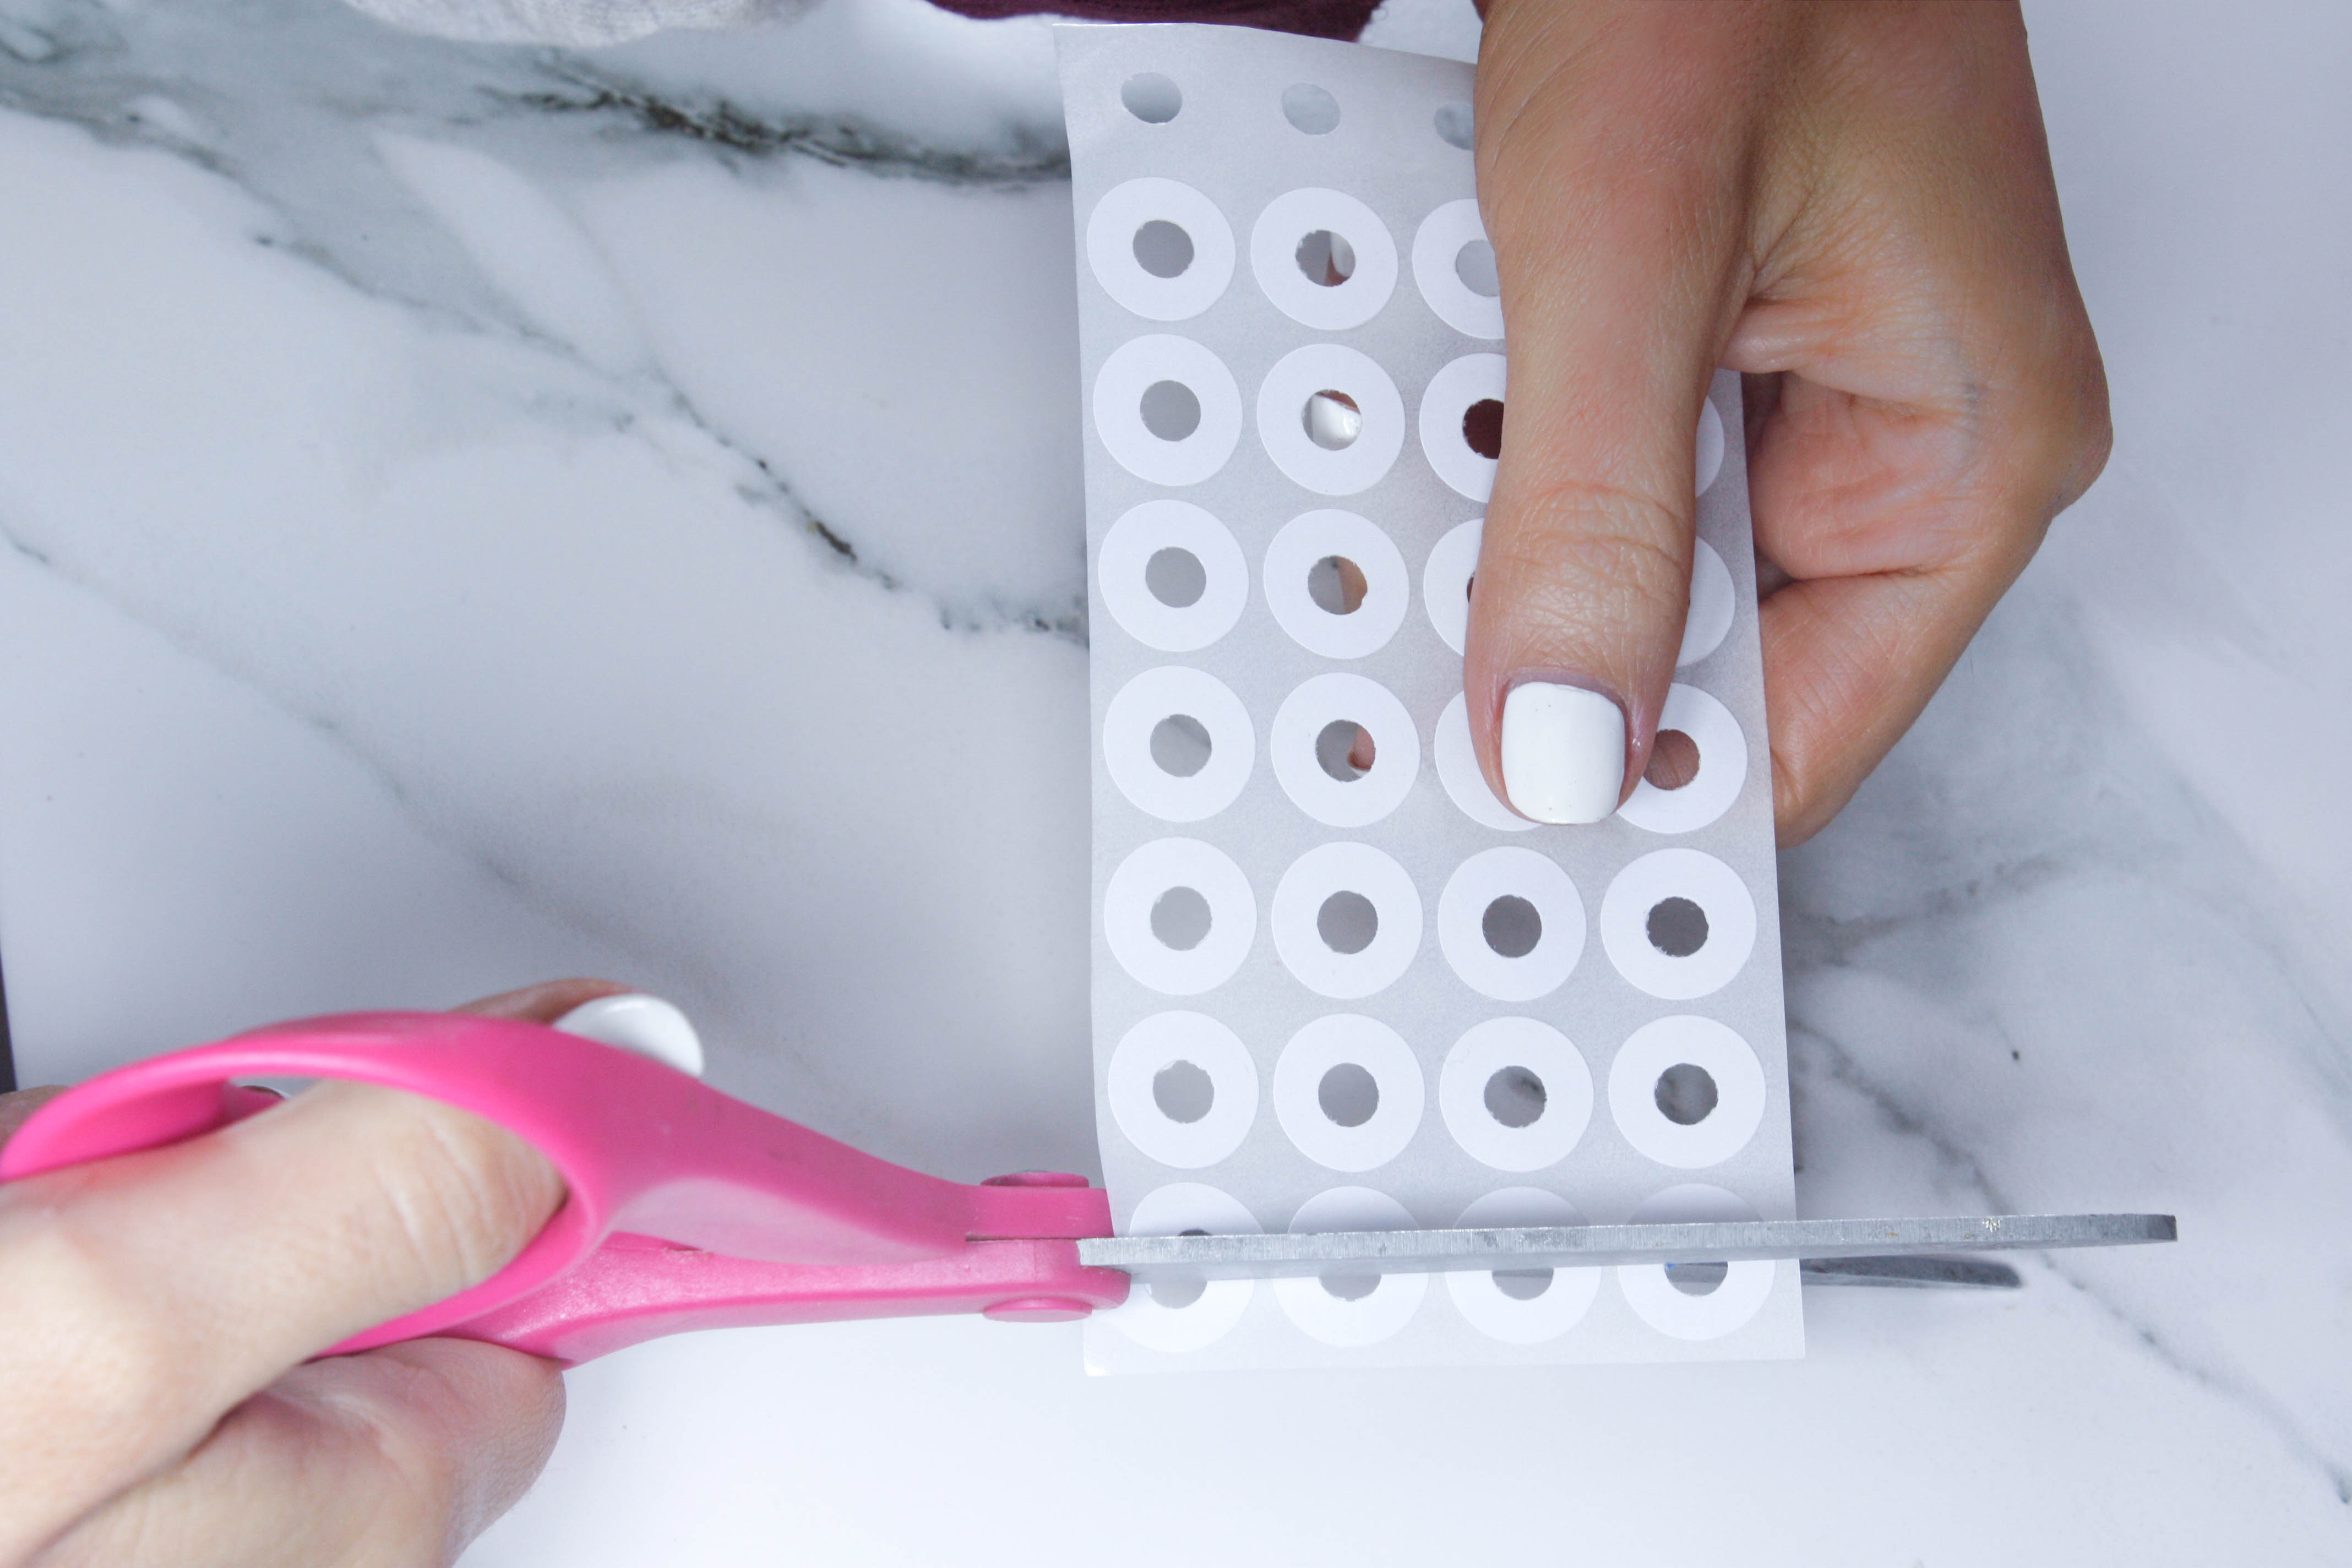
- One sheet of Avery binder reinforcement stickers
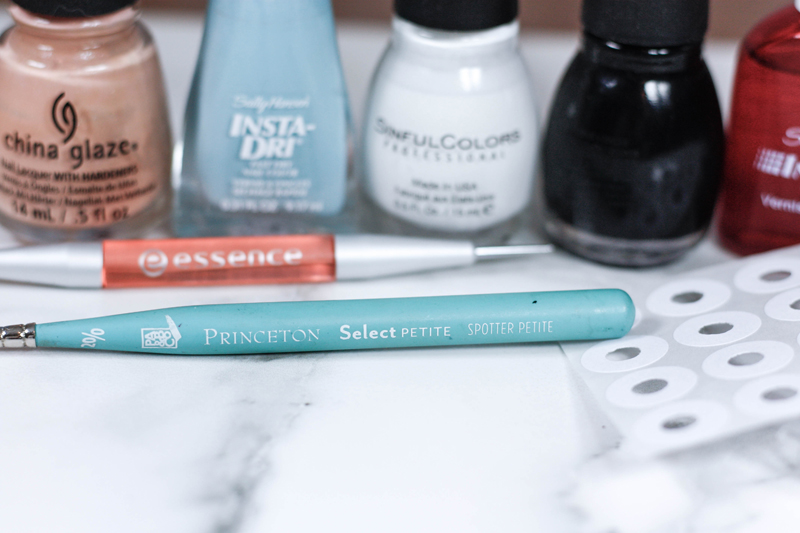
- Dotting tool (I got this one for only $2.49!)
- Fine point paintbrush
Now, I know I will get some questions asking if you can just use nailpolish you already have, and you can, but it is important to use a nude polish that is completely opaque in one coat (you’ll see why below). That is why I recommend using either of the ones I mentioned above. They both give a nice full coat (no streaks) in one easy step.
Also, the white nailpolish I mentioned above is by far the best white I’ve ever used. It gives you a nice opaque finish in one coat, although I did do two coats for this project, just to be on the safe side.
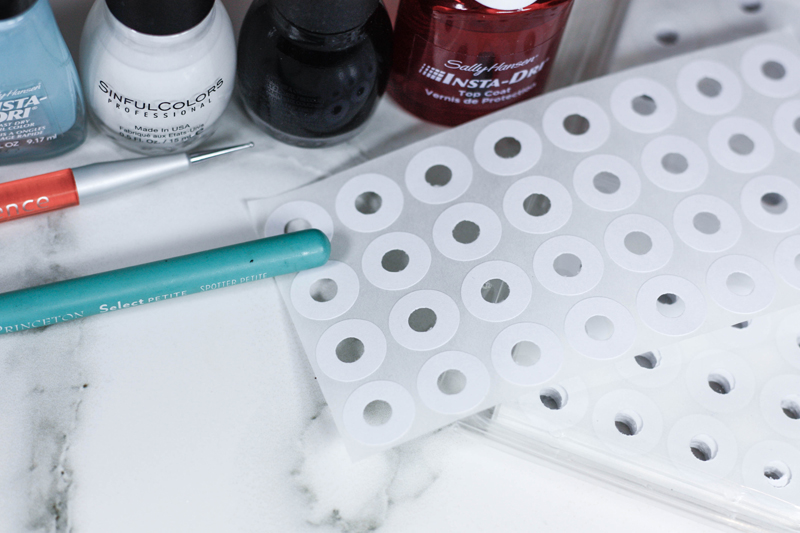
You may be wondering what we’re doing with these reinforcement stickers, but those are coming up in a few steps…
The first step is to paint all of your nails with the white polish. This allows them to have a uniform base color, even if we’re not painting eyes on all of them.
I like to do this step ahead of time to allow it to dry completely. Because the next step won’t work if they are the least bit tacky or not completely dry underneath.
Next, take the sheet of reinforcement stickers and cut them in half to create U-shaped stickers.
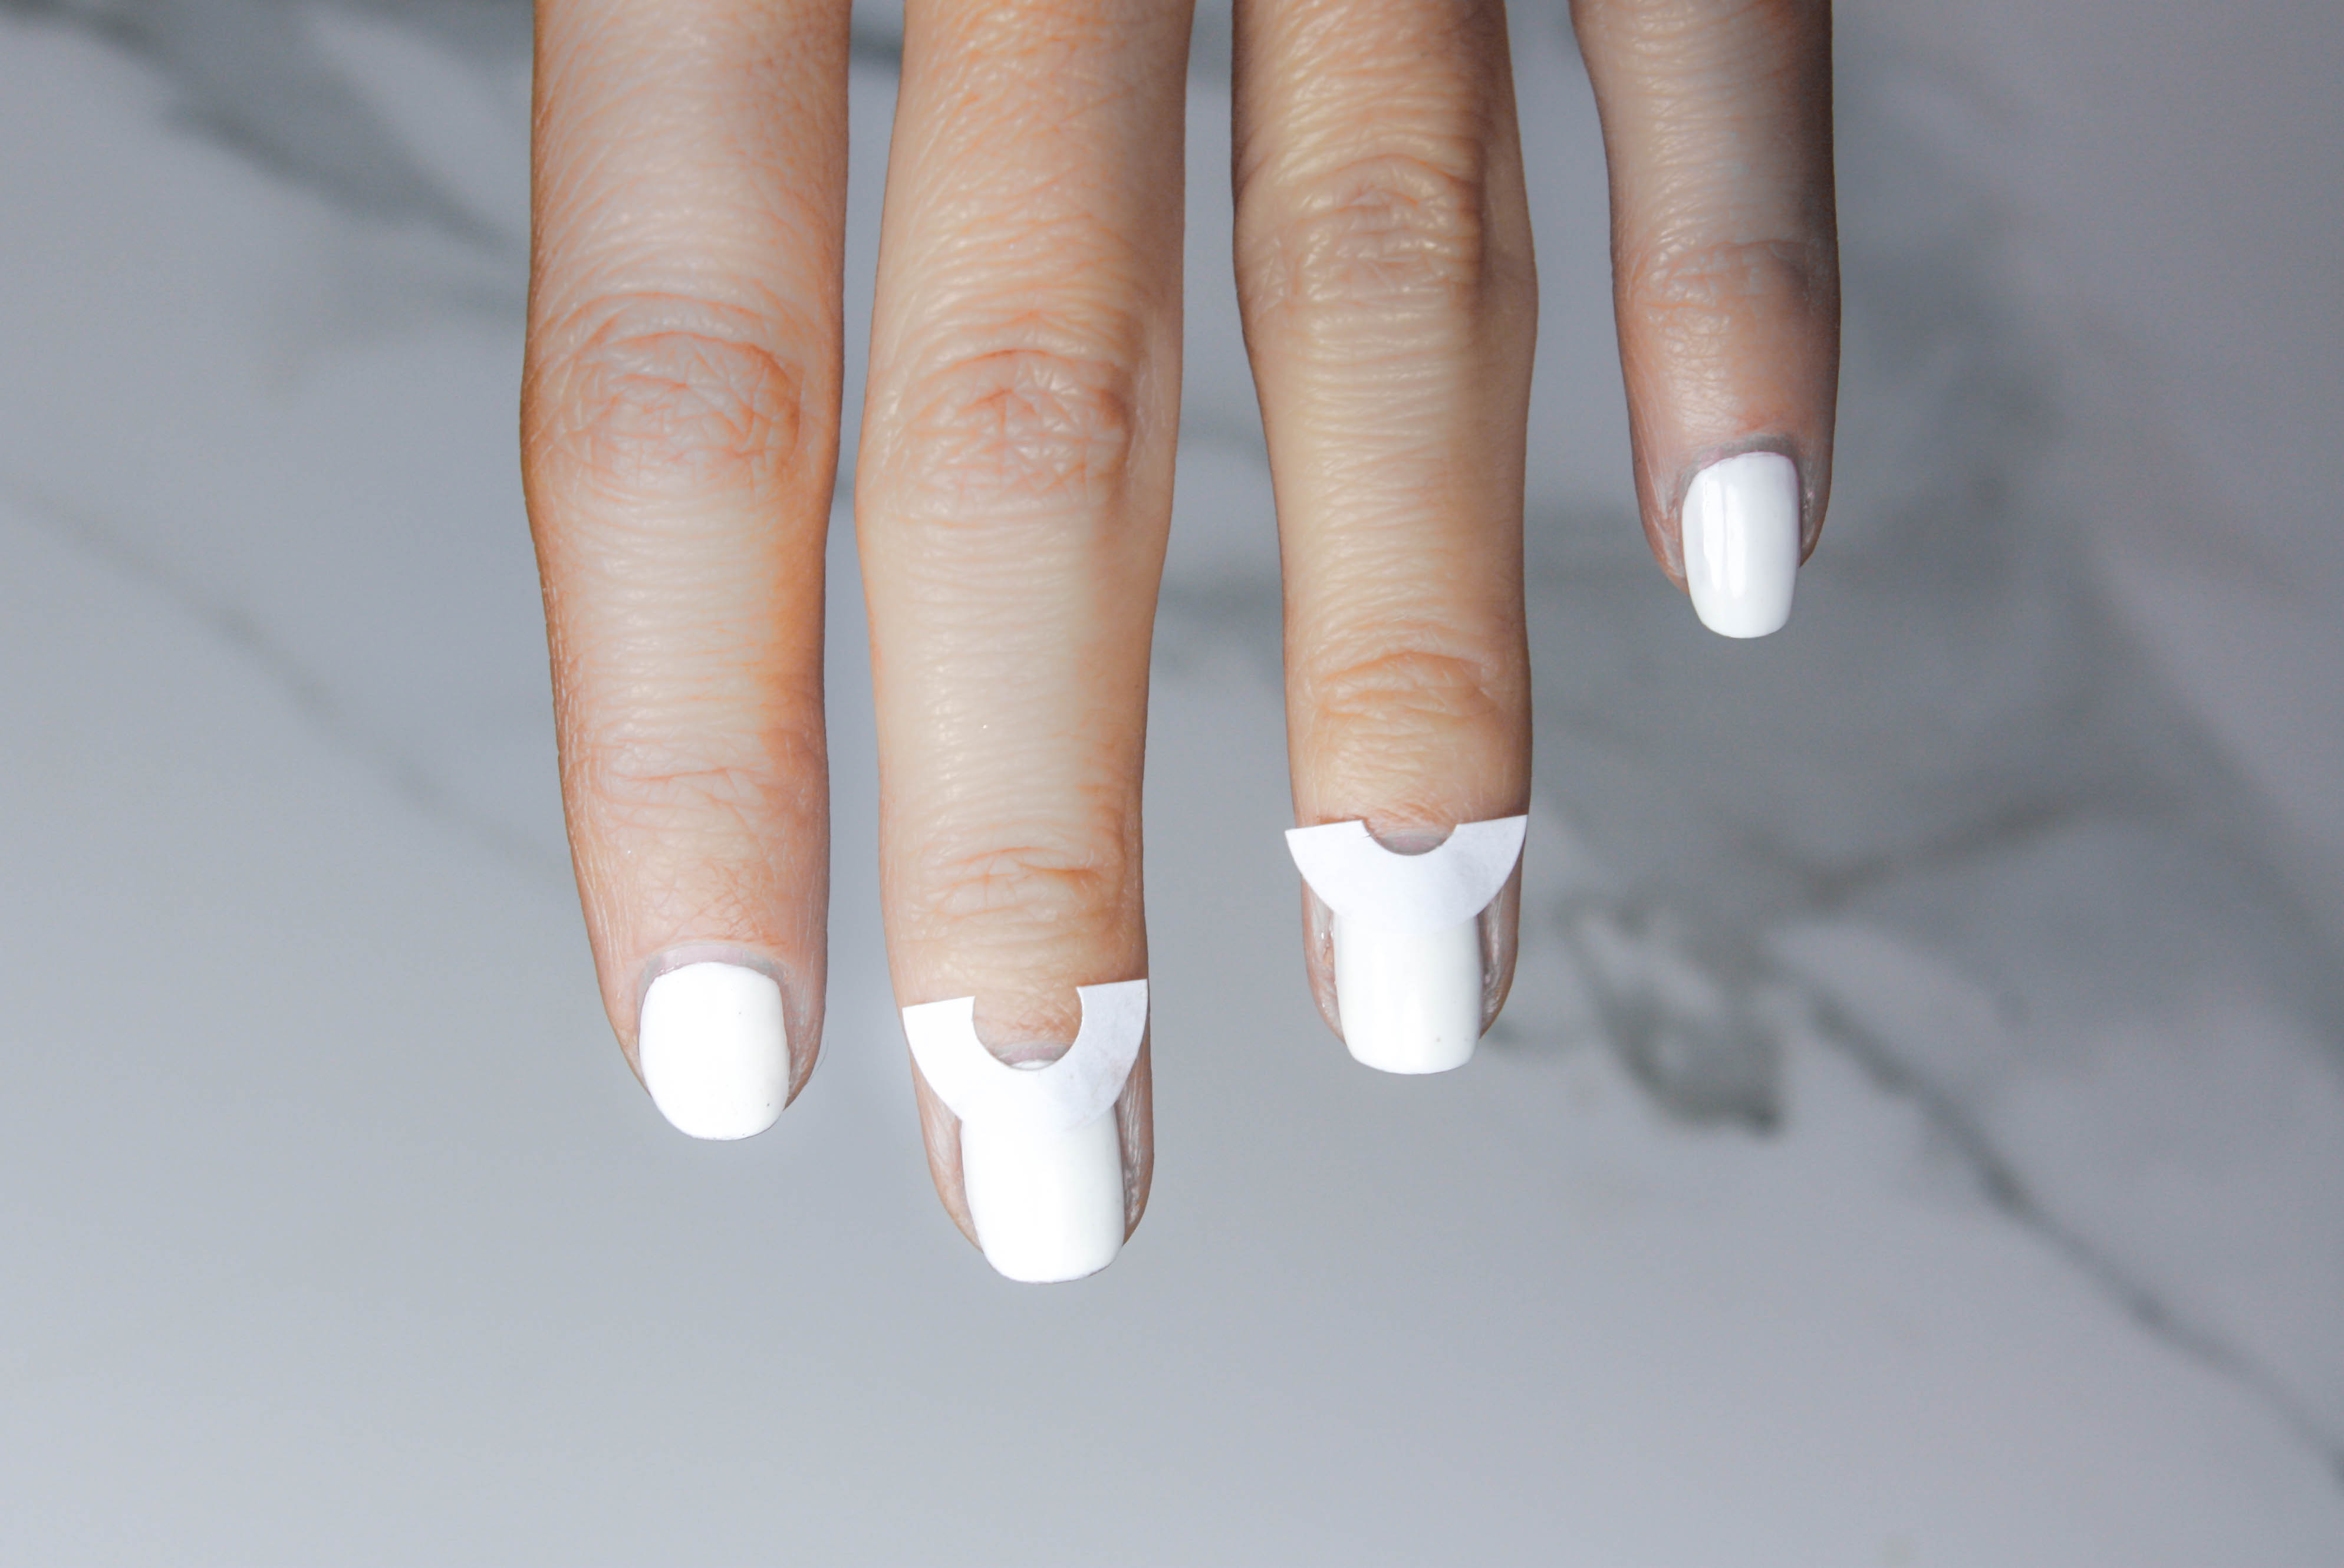
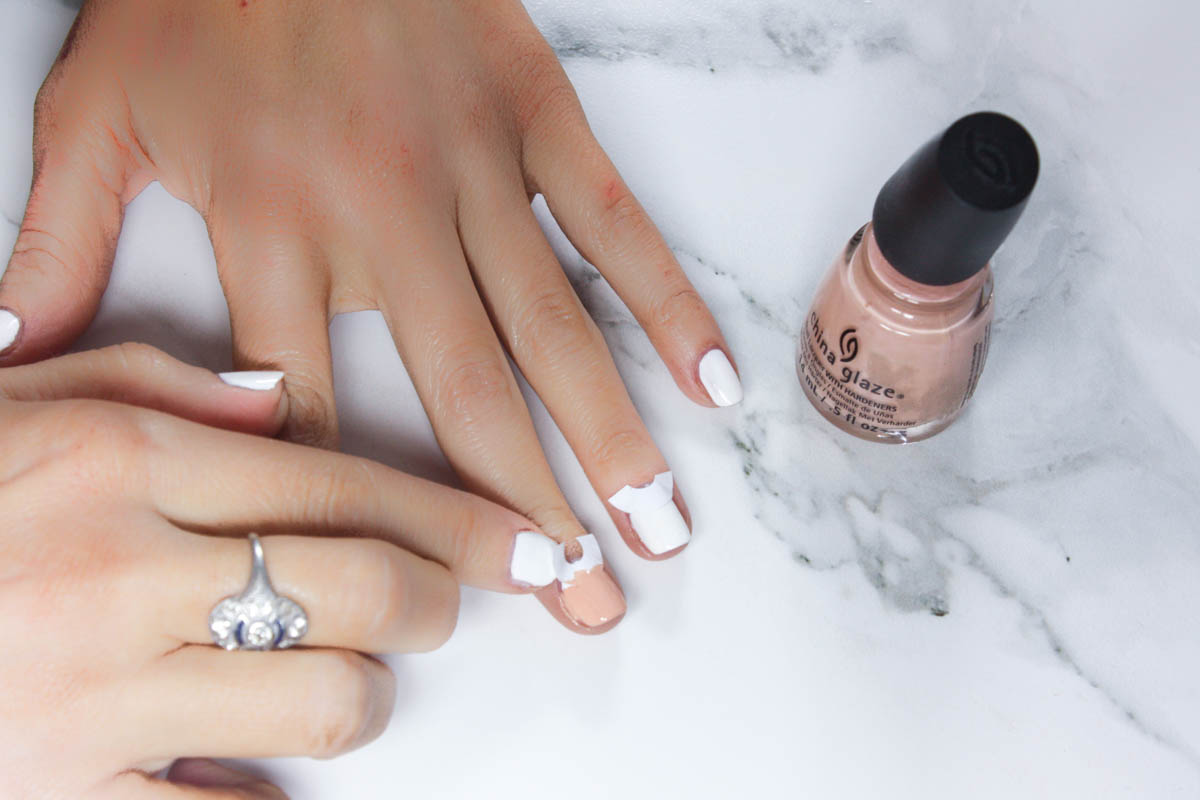
When your nails are completely dry, place the U-shaped stickers on the base of the nail near the cuticle. Make sure to press them down tight so that there is no gap between the sticker and the nail, or else the polish will seep into the border. Put the stickers on however many nails you’d like to make eyes on. I chose to do only 2 nails this time.
Then, take your nude polish and paint over the top of the sticker, up to the tip of your nail.
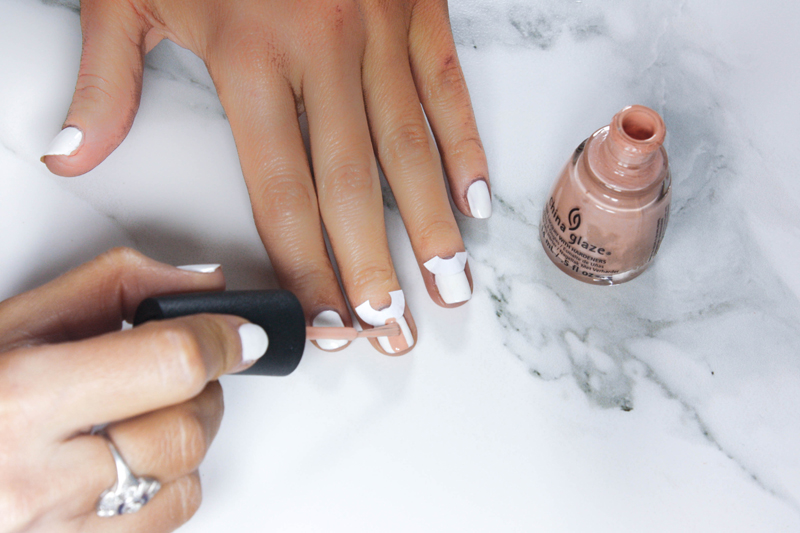
As you paint each nail, slowly lift off the sticker to reveal a clean border. Remove the sticker as soon as you paint the nail with the nude polish or else it will not leave a clean line.
Although it is more efficient to paint them all at once, the crescents will look better if you remove them immediately after painting each one. This is also why it’s so important to get that opaque nude color with the first (and only) coat.
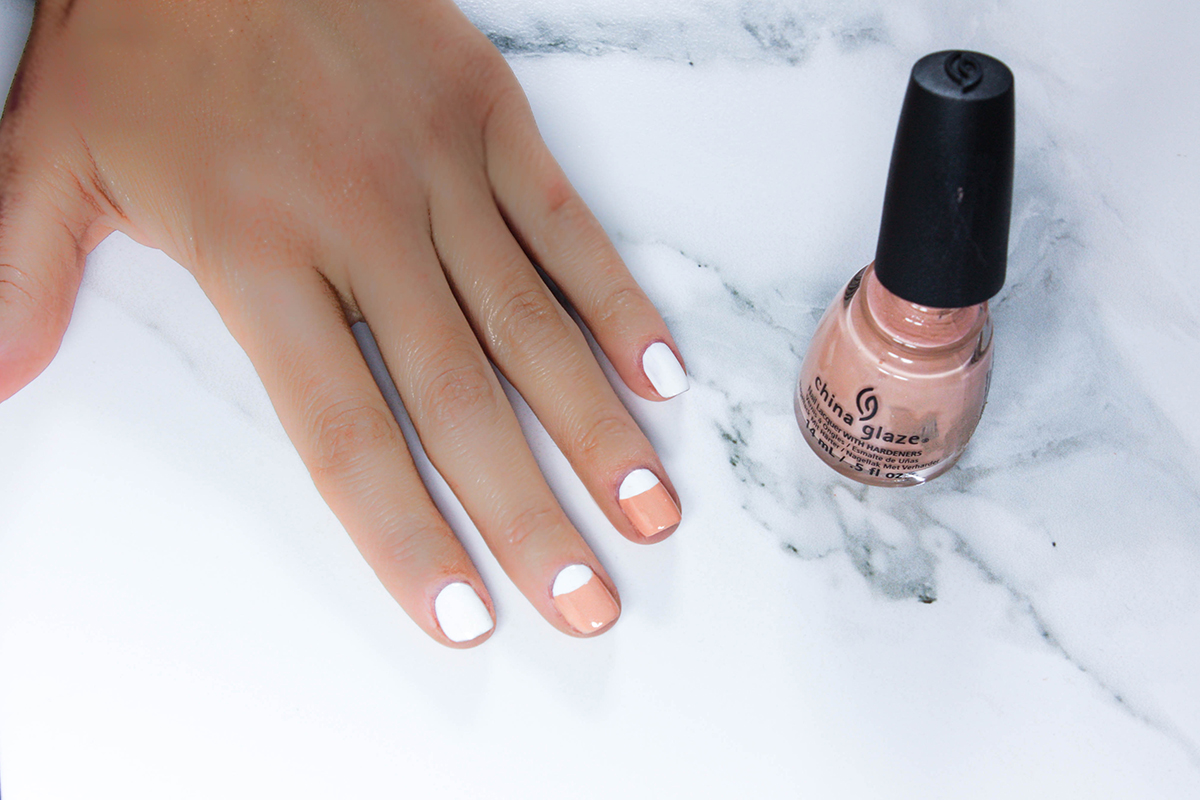
The result should be something similar to the below picture. A perfect crescent on each nail! You can make your crescents as big or as small as you’d like, simply by adjusting the placement of the sticker.
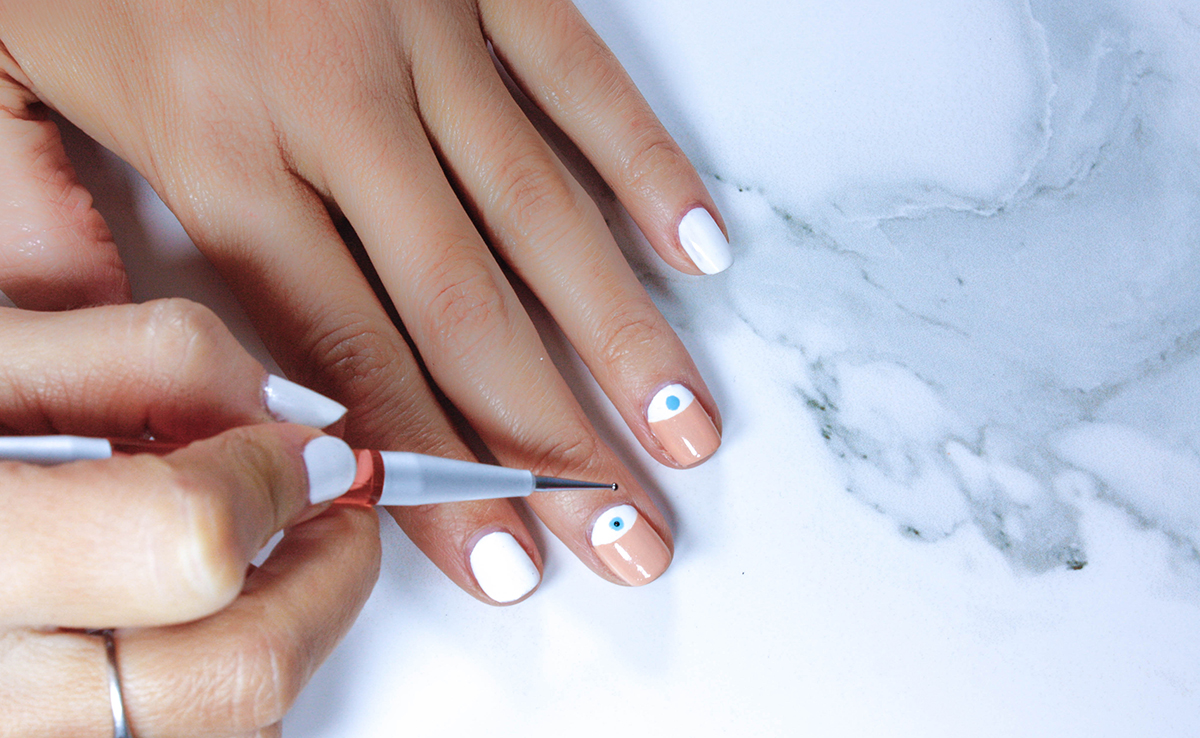
Now, to make the eyeballs, take your dotting tool and dip the larger end in the blue polish. Be careful not to dip into too much polish or the circle will be sloppy and uneven.

Then, carefully take the dotting tool and place it in the center of the white crescent. You may need to dot in a circular motion in order to make the circle larger. The size of the circle will depend upon the size of your nailbeds and how large you made your white crescents.

Next, take the smaller end of your dotting tool and dip it in the black polish. Then carefully touch the center of the dotting tool in the middle of the blue circle. The blue polish doesn’t have to be dry in order to put the black on top of it. Repeat these steps on all white crescents.
If you don’t have a dotting tool you can also try dotting the eyes with a toothpick and the tip of a dried up ball-point pen (not one with ink still in it!). It is harder to get the sizes right, and sometimes the toothpicks leave uneven circles, but in a pinch, you just might be able to get it to work.
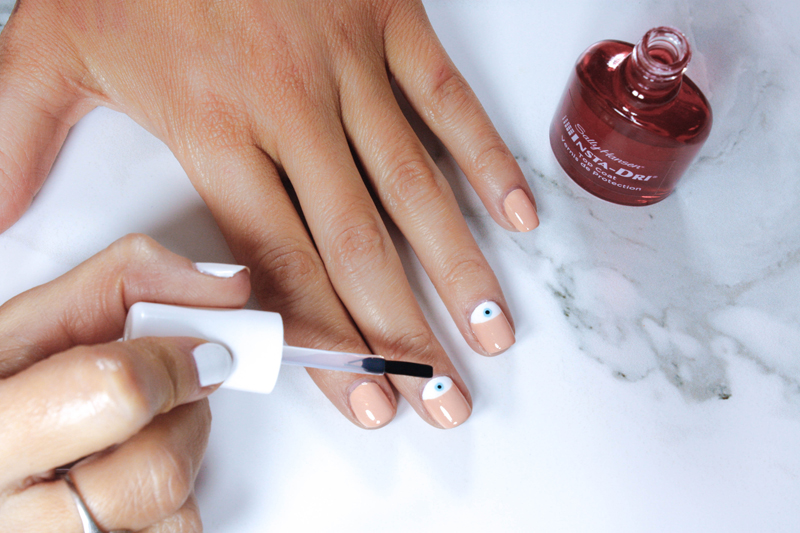
Allow this polish to dry for 2-3 minutes before putting on one coat of the Sally Hansen Insta-Dri Top Coat. When painting on the top coat, be careful not to smudge the polish underneath by putting too much pressure on it. Just gently drop a bit of clear top coat on top of the nail and carefully spread it around, without disturbing the polish underneath.
I always advise putting on this layer of topcoat before painting the lashes. The lashes are the trickiest part and if you mess up, it’s a lot easier to rub it away if you have a clear coat to protect the work you’ve already done.

Now is also a good time to paint the remaining nails with the nude polish and finish those with a layer of topcoat, too.
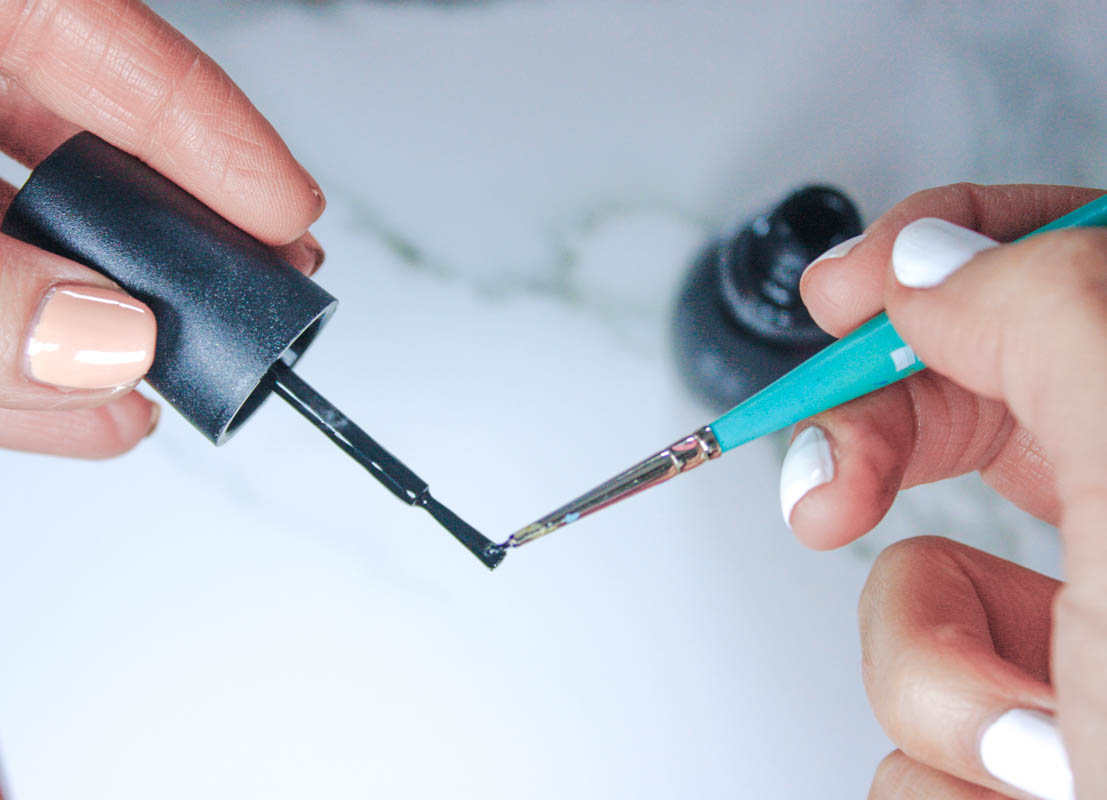
Now, take your fine tip paintbrush and dip just the very tip into the black nailpolish. Again, be careful not to dip into too much paint or the lashes will look too thick and clumpy. Clumpy lashes are never a good look, whether on your eyes or your mani!
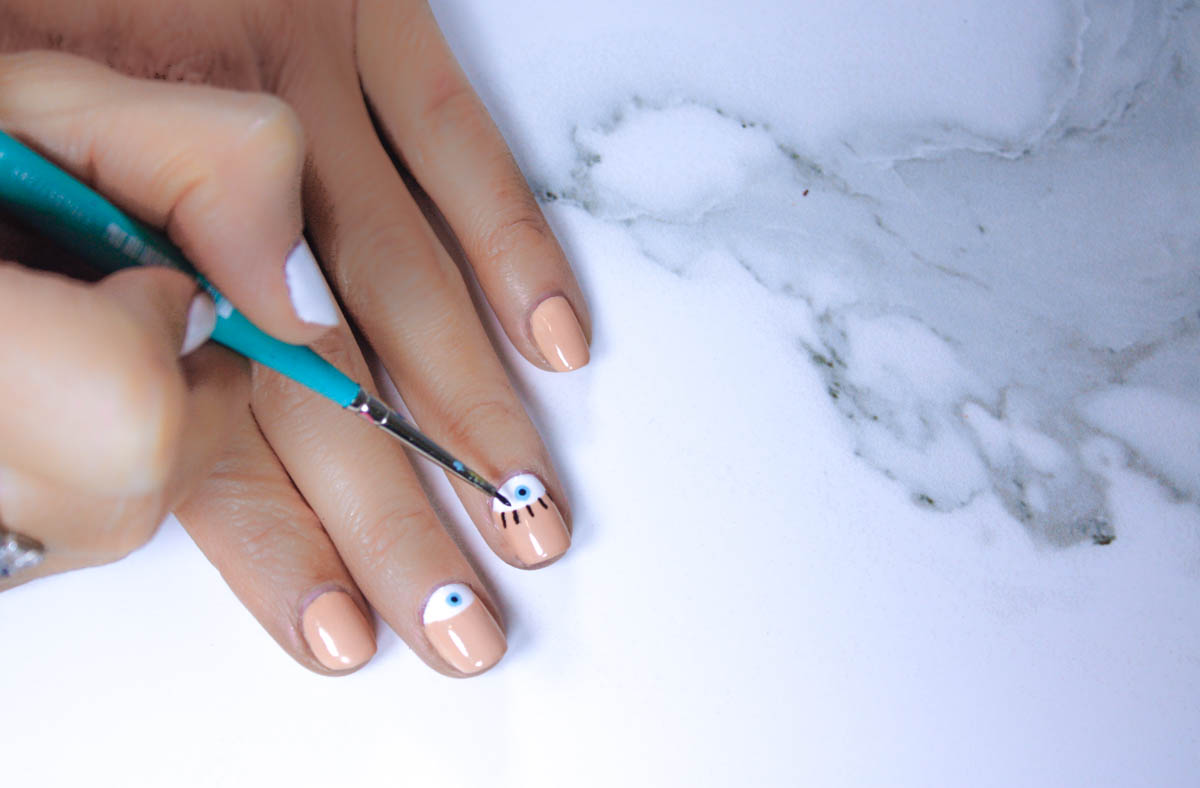
Carefully paint in 5 lashes around the white crescent. Start with painting one in the middle of the nail and do 2 more on each side.
This does take a steady hand, so if you mess up just take a Q-tip with nailpolish remover and carefully wipe it away. Since we already did a top coat this shouldn’t affect the rest of the nail. (But if you mess up and wipe away too many times you might want to reapply another layer of topcoat.)
You can paint lashes on one nail or on all the eyes, it’s totally up to you!

Allow the lashes to dry for a couple of minutes and then add one more coat of the Insta-Dri top coat. Again, I advise to drop a small amount on top of the nail and carefully spread it around, as not to smudge the design underneath. Make sure to paint up and over the tips of your nails to avoid chipping and shrinkage of the polish.
And that’s it!
Let me know if you end up trying this evil eye manicure, I’d love to hear how they turn out! If you have any questions about the process please leave me a comment below.
And, as always, if you enjoyed this post, be sure to sign up for my newsletter by clicking here, so you’ll never miss a thing. You can also find me on Instagram, Twitter & Pinterest! 🙂


2 Comments
LOVE this tutorial! I honestly would never in a million years think I could do this mani to myself … but with these instructions, I think I need to give it a try! Thank you for sharing girl!
xo-Monique
Monique Nicol || @monique_nicol
Hi Monique!
No problem, I’m so glad you enjoyed it! Please let me know if you end up doing the mani, I’d love to see how it turns out! 🙂