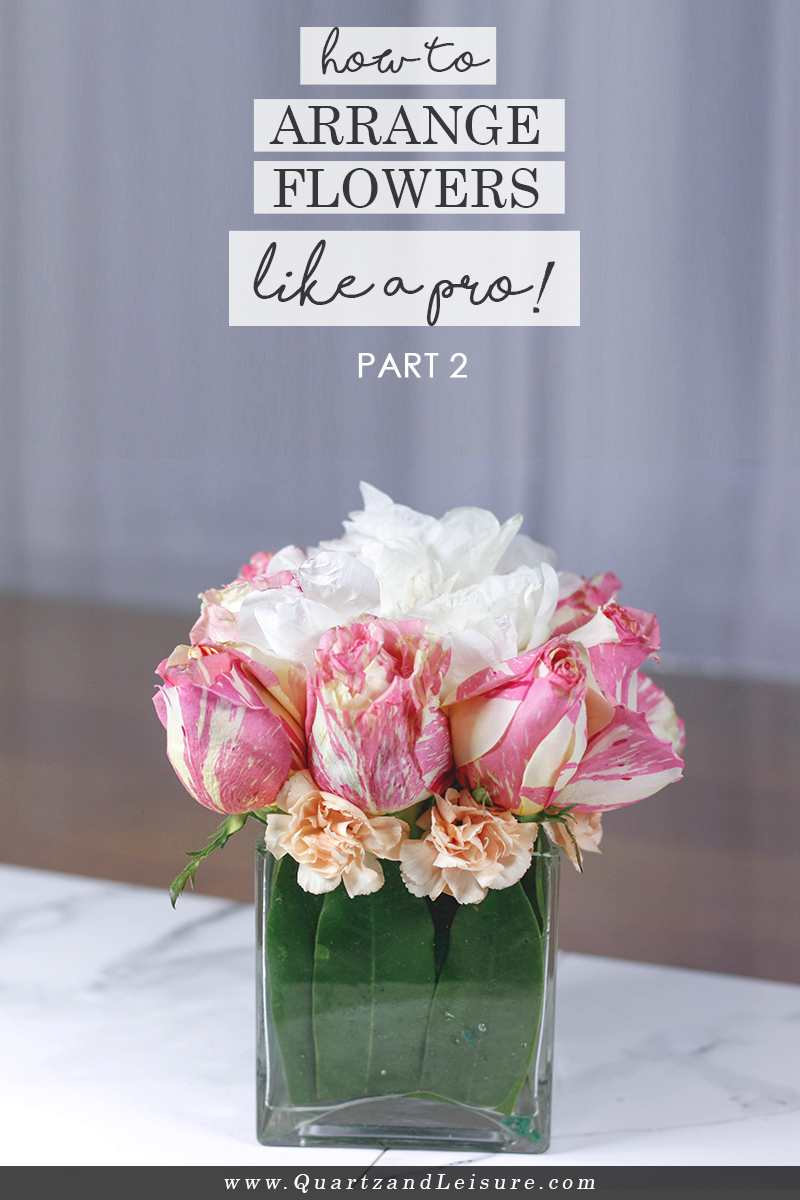
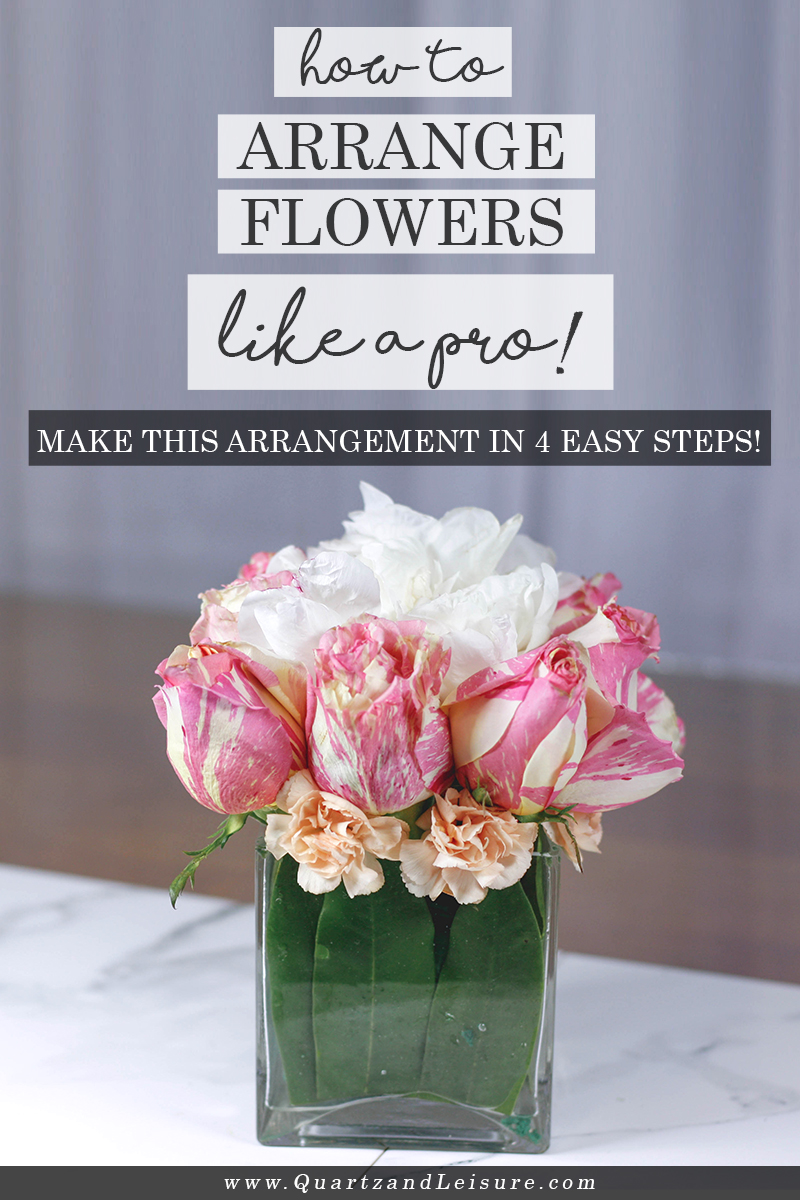
Today is Part 2 of my 3-part series on how to arrange flowers like a pro. If you missed Part 1, the standard tall vase arrangement, you can check it out here.
This series was part of my Mother’s Day tribute, and as I said in my earlier post, one of my mom’s favorite past times is making floral arrangements. And bonus points if they come from the flowers in her garden that she plants and grows herself!
Coincidentally, one of her Mother’s Day gifts this year was this pair of special gardening clogs she wanted.
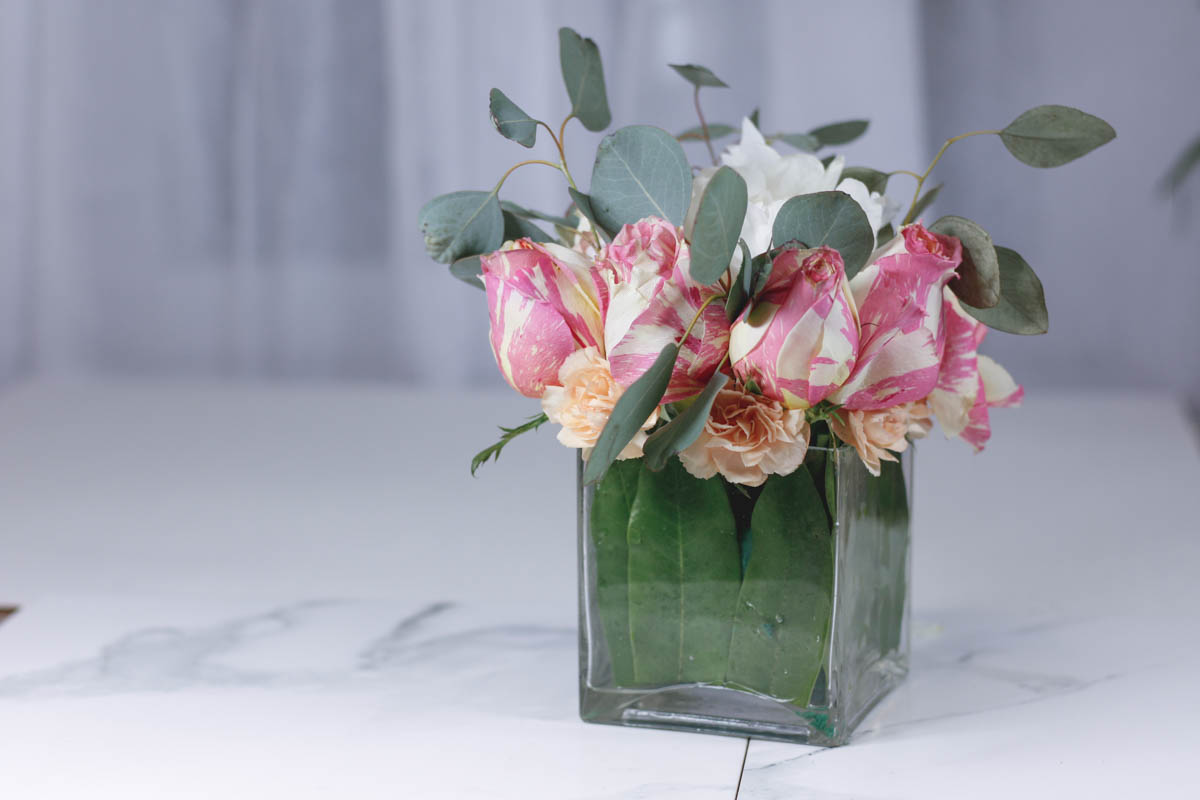
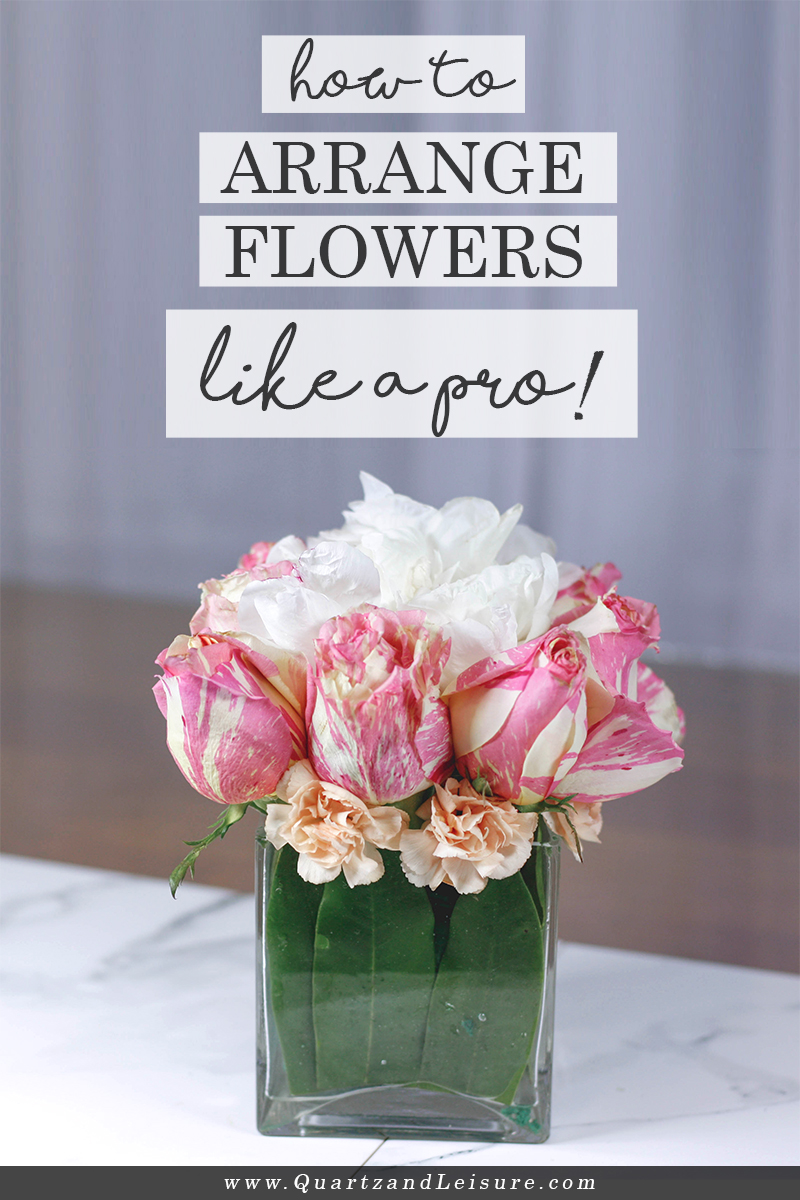
So, today we will be making a lower table arrangement in a small vase. These would make great table centerpieces for an event, or to sit on a side table next to your bed.
So, let’s get started, shall we?
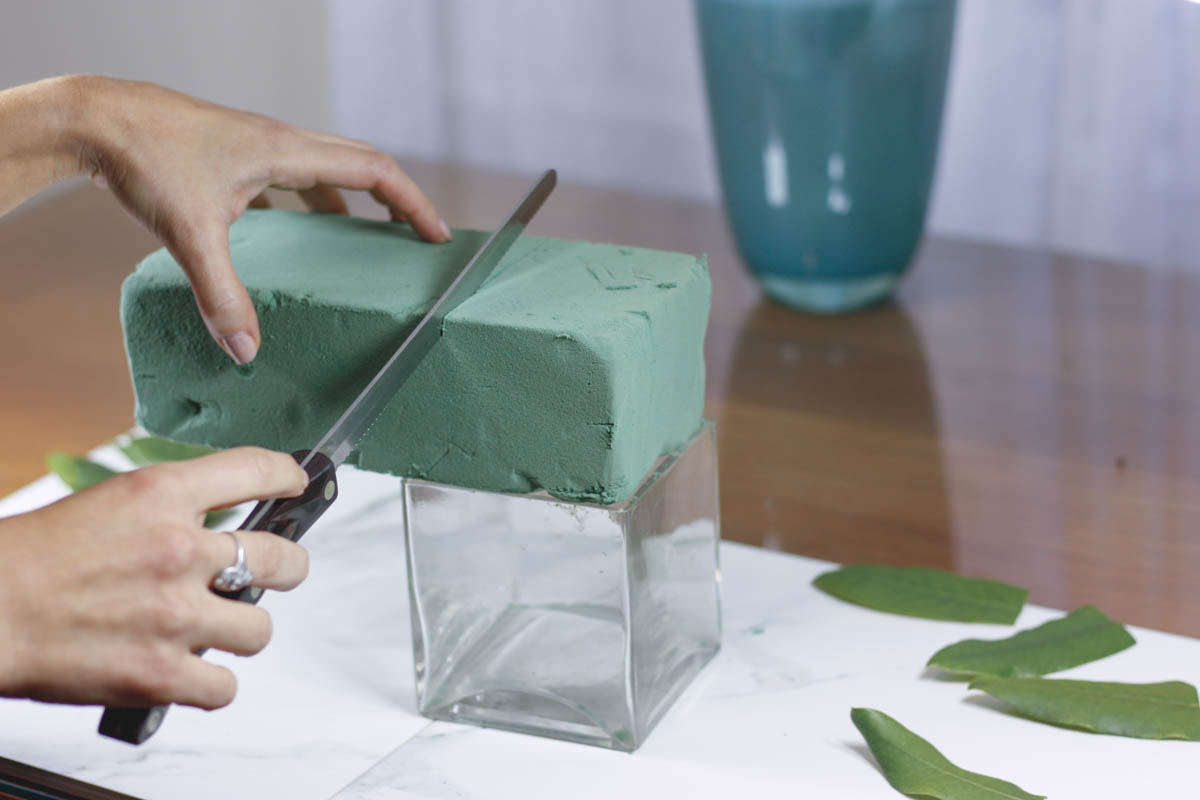
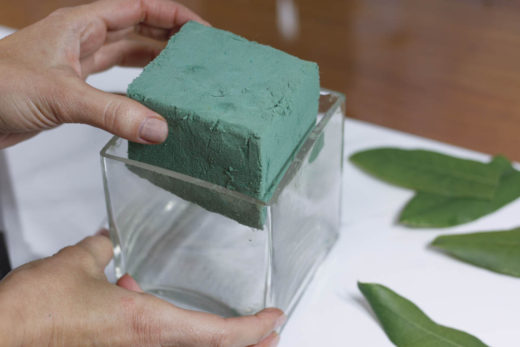
To start, we will be using this floral foam to create a sturdy base for the flowers. This also ensures the flowers stay in place and stay fully watered at all times. This is the brand my mom loves and recommends.
Measure the foam to the correct size by holding it up against the vase you plan on using. Then, using a long sharp knife cut it to the desired size. This stuff dents and cuts very easily, but lucky for us, it doesn’t matter how battered it gets, we will be covering it up in the next step.
You may have to further trim the foam to make it fit snugly into the vase. It will also expand slightly once you add water to it, so keep this in mind.
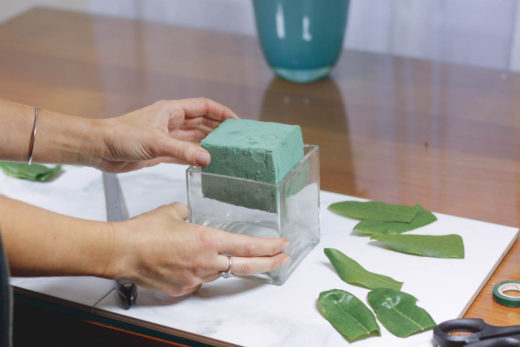
Once you get the foam settled inside the vase, it would be a good time to water it. Simply hold it under the faucet until the foam is completely saturated. This way, when the flowers are placed in it, they will stay watered and fresh!
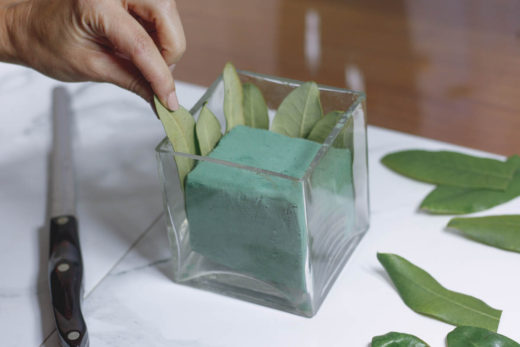
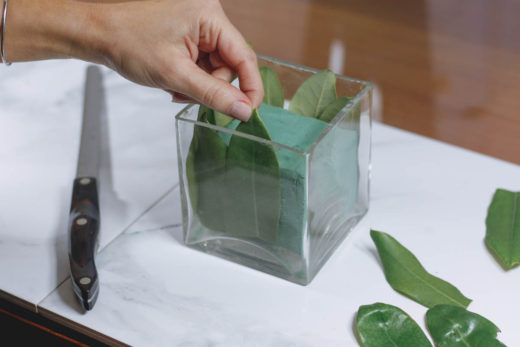
Now, we don’t want the foam to show through the vase, so we’re going to cover the sides with some decorative leaves.
There are many ways you can do this, including wrapping one giant leaf (such as a fern, palm, or hosta) around the inside of the whole container, but I didn’t have any of those available so I had to get creative (Ok, I can’t take credit here, this was all my mom’s idea!). These are rhododendron leaves from a bush my mom has in her garden.
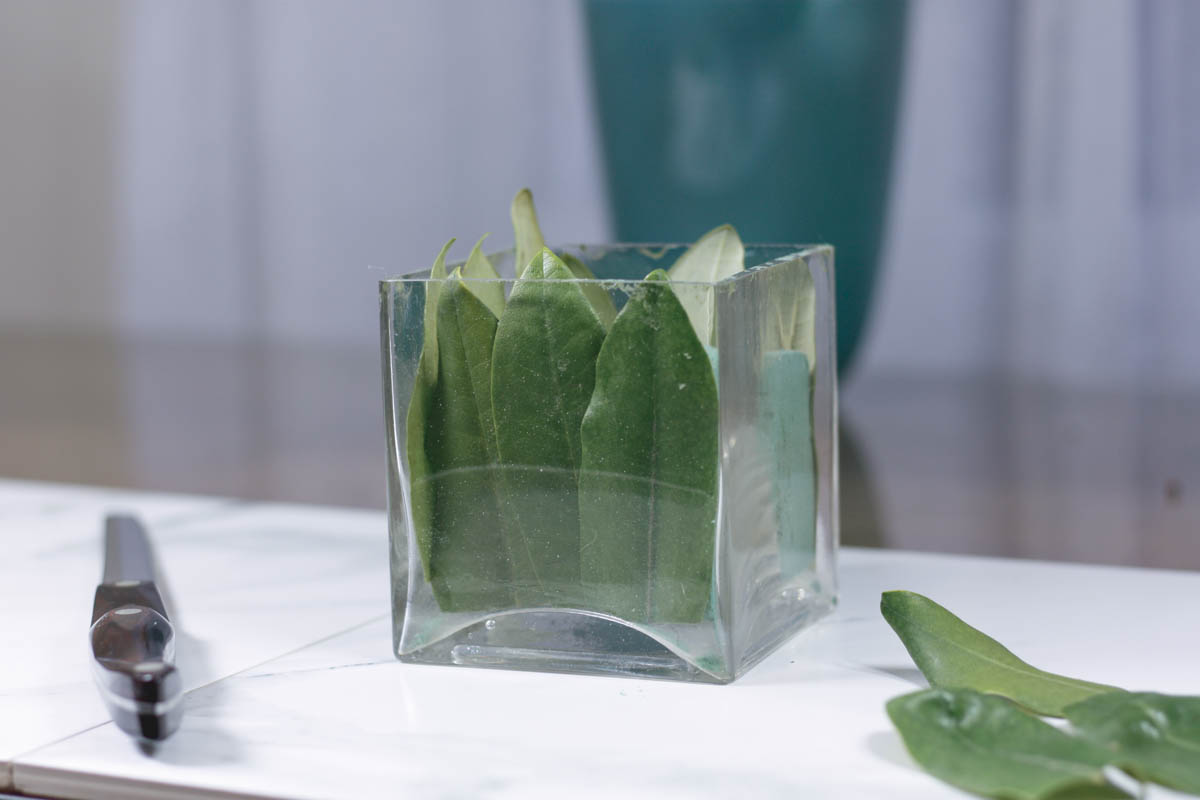
So, now that we have the base of the arrangement set, let’s move on to the flowers!
I am going to start with the largest flower we’ll be using, which are the peonies.
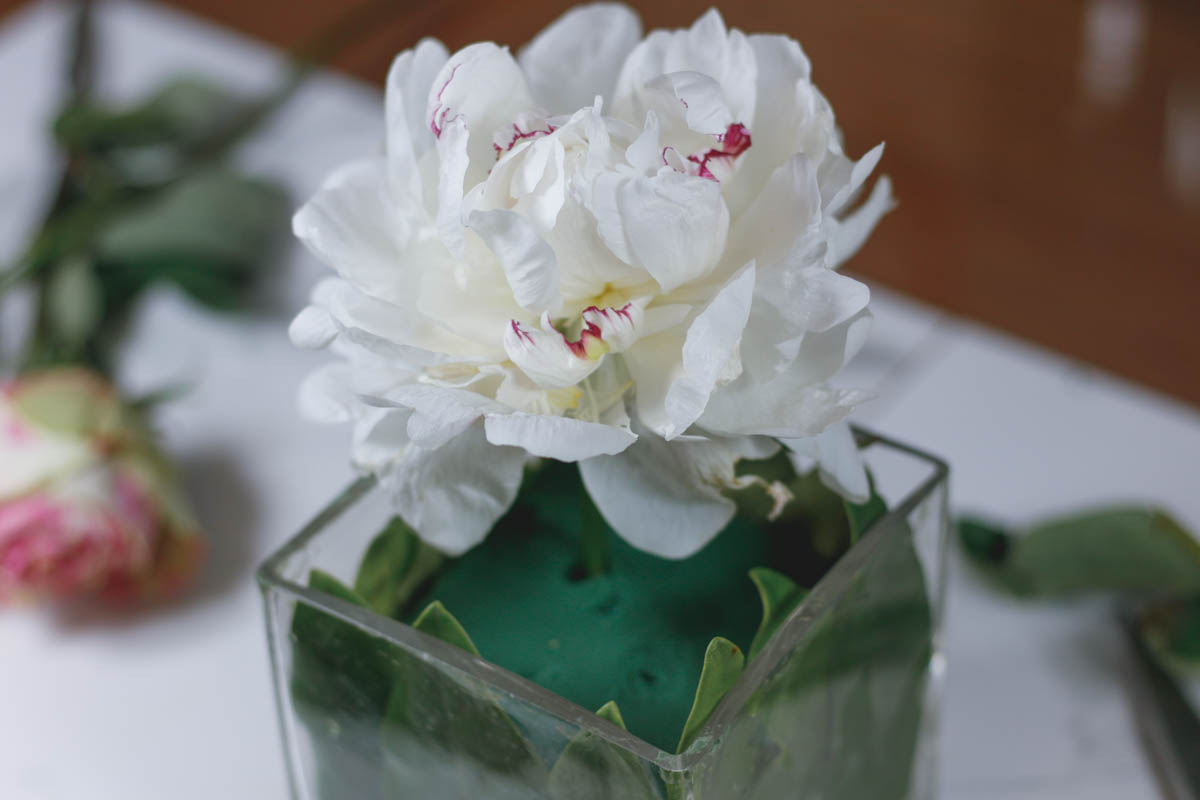
We will be adding 2 peonies to the arrangement. Start by trimming the leaves from near the top and snip the stem (on a diagonal!) about 4-5 inches from the bloom.

Next, place one of the peonies in one corner of the vase. We will place the next peony in the opposite (diagonal) corner. You can see in the photo below the faint dot which is where the other peony will be placed.
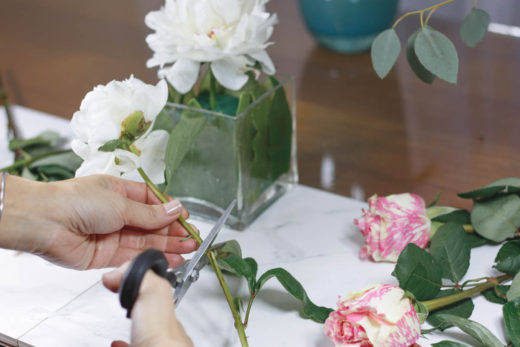
Next, we will move to the roses. Again, trim the leafy greens from the stem and snip the end on a diagonal, about 4″ from the top.
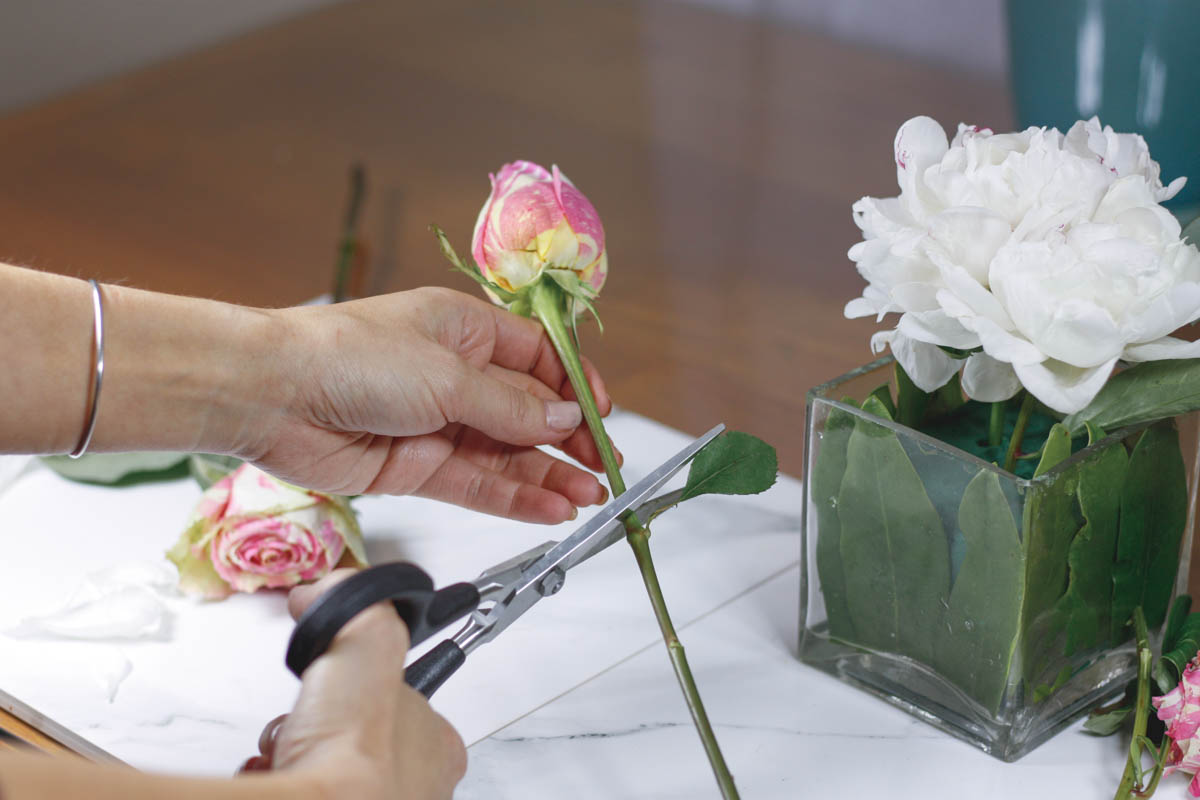
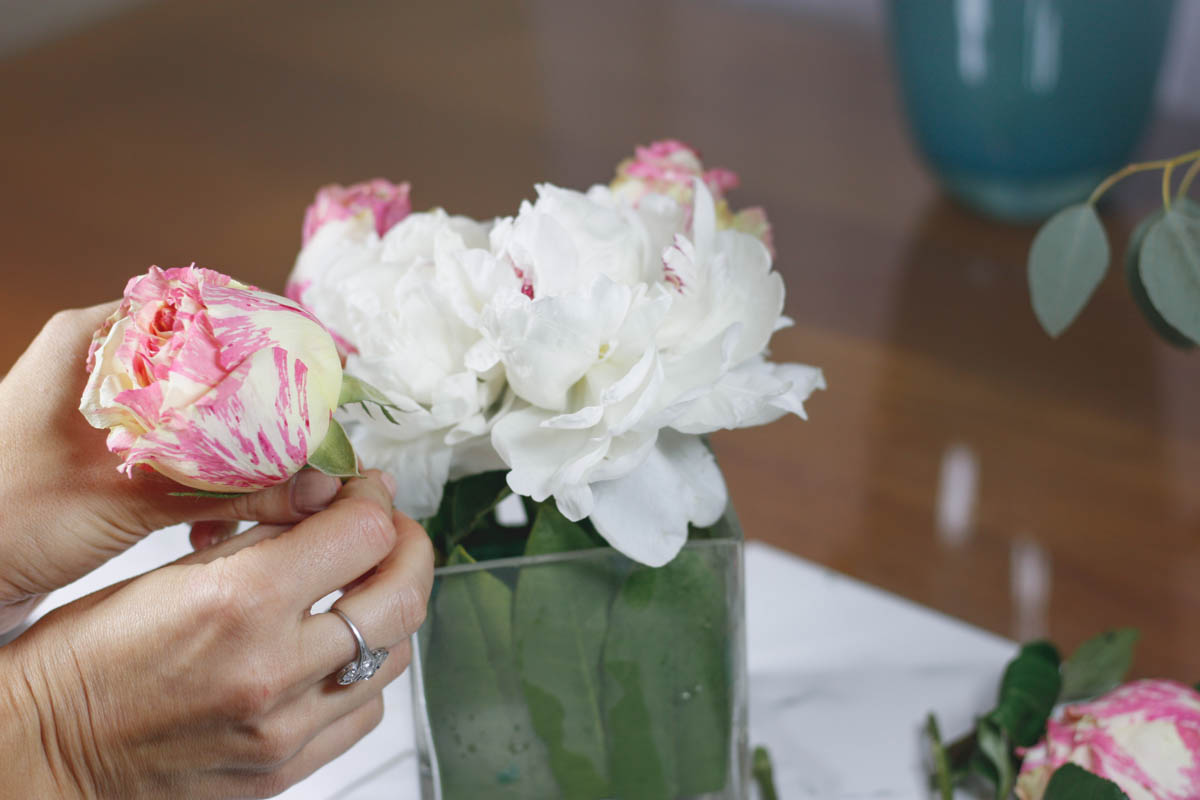
Once you have the roses trimmed, we will be placing one rose in each corner of the vase. Try to place them into the foam at a slight angle, so there will be enough room for the flowers we’ll add next.
Once you have 4 roses (one in each corner), fill in spots in between with another rose. So there will be a total of 8 roses used.
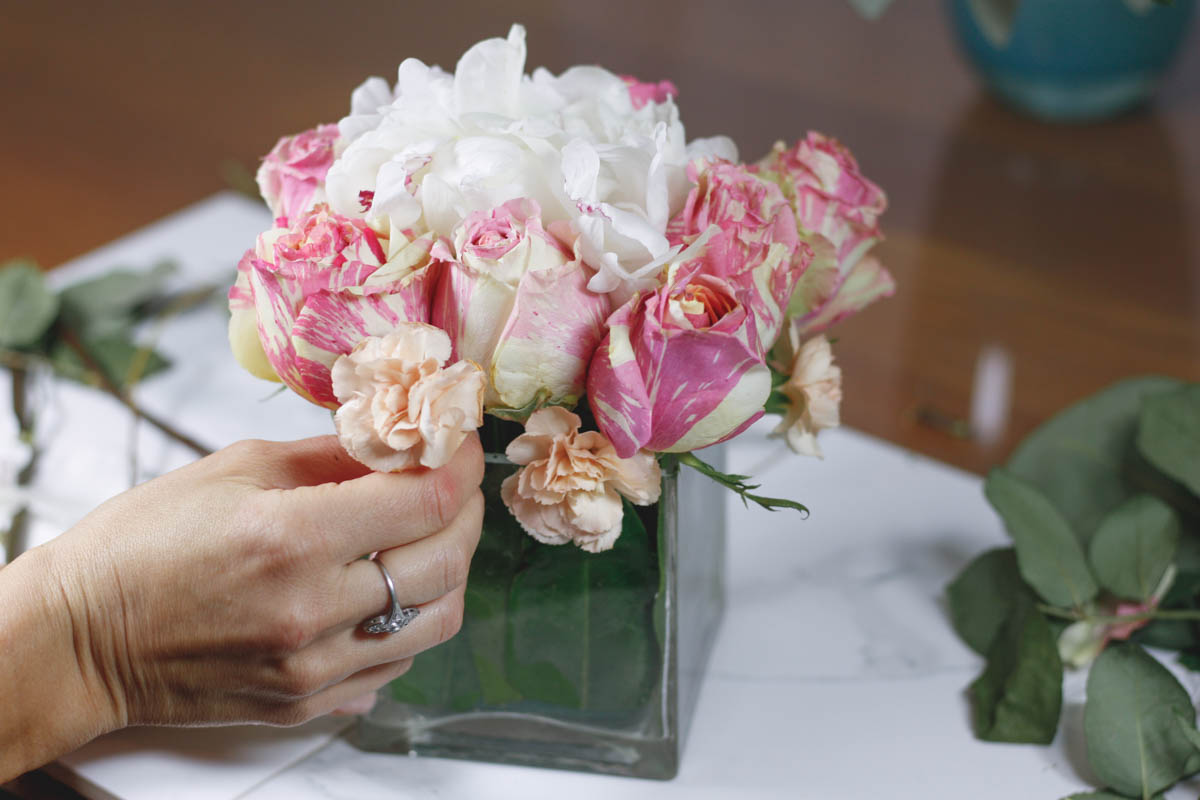
Next, take the carnations and cut the stems very short, around 2-3″ from the top.
Arrange them just above the rim of the vase, in between the middle rose on each side. Press them gently into the foam as you move along.
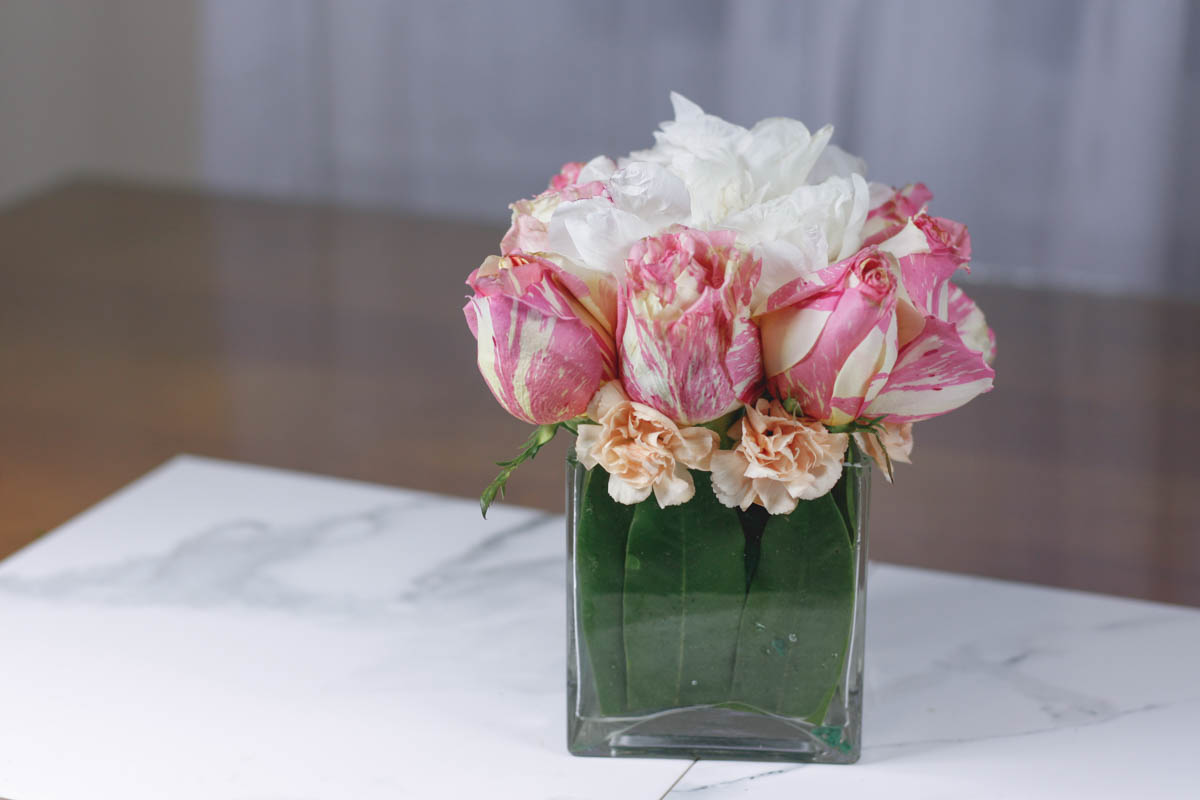
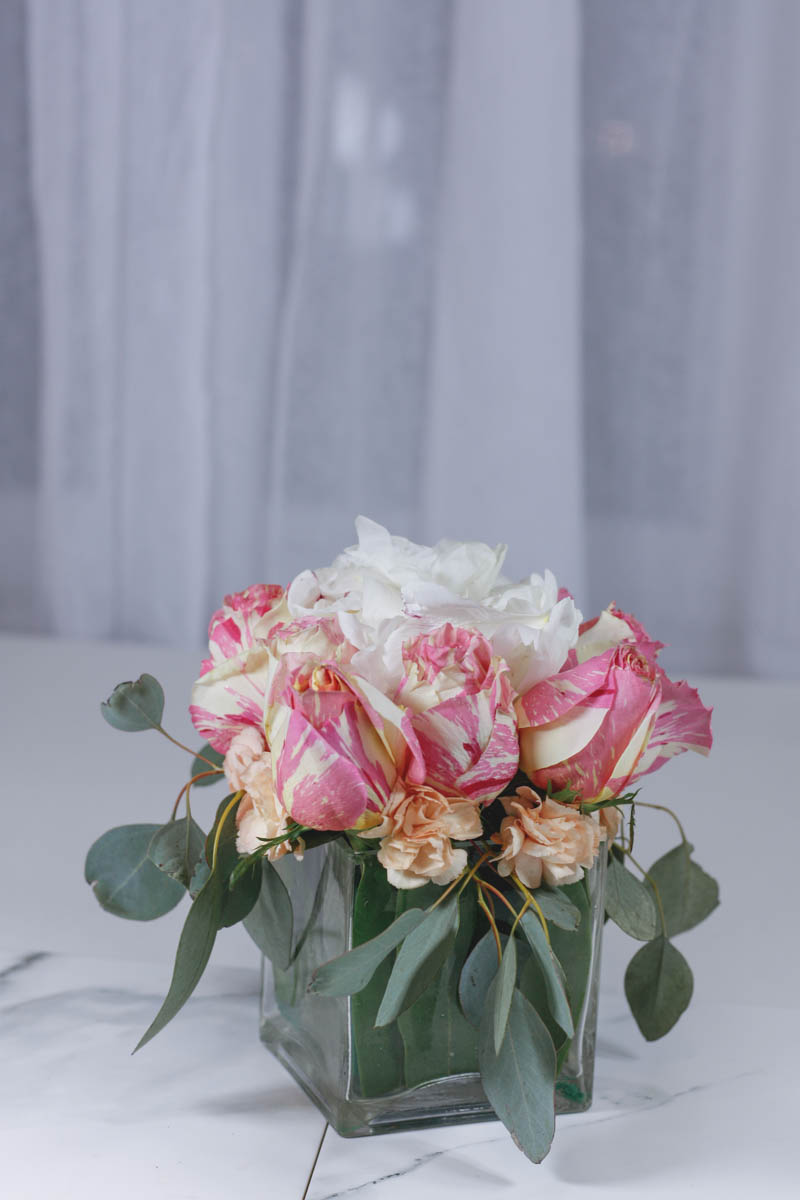
Now, you could stop right here if you’d like because I think this is a gorgeous arrangement, as is! Matter of fact, I actually like this simple version the best.
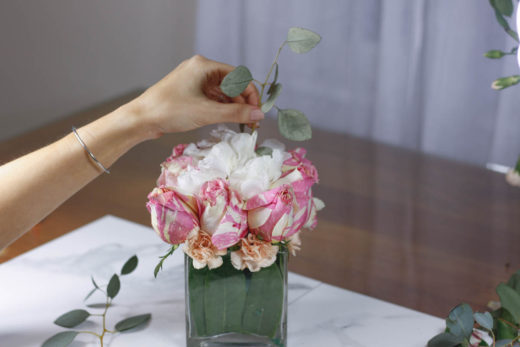
But, if you’d like you can add some smaller greens to the arrangement for interest. I am going to give you 2 design options for the greens.
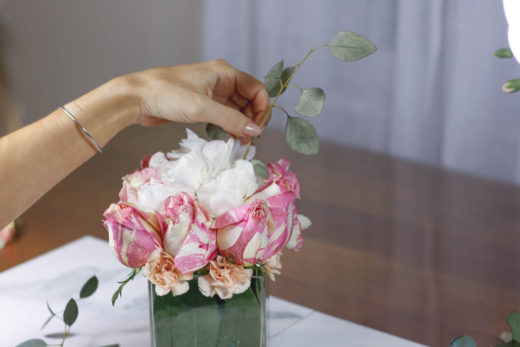
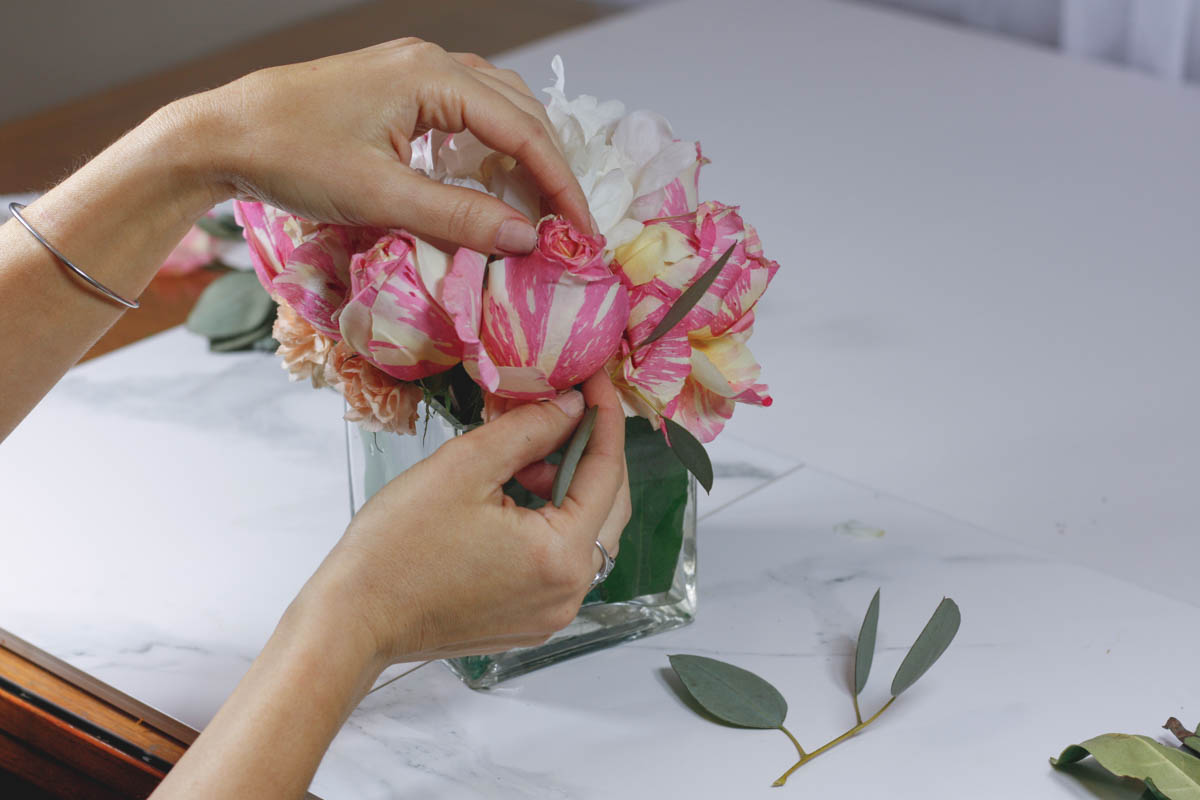
Option 1 – Cut the greens’ stems approx 6-7″ from the top. Place them strategically in the top of the arrangement. I would recommend placing 4 stems, one in each “corner” of the vase.
Option #2 – Cut the leaves very short, approx 3″ long. Place these low in the arrangement, just above the rim of the vase. This way the greens will “drape” over the edge of the vase.
These particular greens were not the most “drapey”, but you could definitely use some ferns or other, less rigid leaves that will give a more flowy effect.

And here is the final result of Option #2 below!
And that’s it!
Which version do you like better? The minimal arrangement? Or do you prefer to add some additional interest by adding the greens? Let me know in the comments below!
And if you like this post make sure you subscribe to the Quartz & Leisure newsletter so you don’t miss out on any of the good stuff! I promise I won’t bombard you with countless daily emails (only about 1 or 2x a month).
And finally, I want to thank all of you who follow along with my daily content on my social media channels. Please continue to tag me in your posts, share with your friends, and spread the love! And for those who aren’t following, why don’ you get in on the action? I can be found on: Instagram, Twitter & Pinterest! 🙂


9 Comments
Wow I love this so much! I gotta make one for my office 🙂 Thanks for sharing!
xo Raina
http://www.themamaqueen.com
You’re welcome! It would make a gorgeous addition to your office desk!
Xx
Loving these step by step tutorial! Your floral arrangement turned out so beautiful 🙂
http://www.pennyanddash.com
Thank you so much, Mel! I hope you found the directions easy to follow!
Xx
I got flowers from my sister for Thanksgiving. I’m excited to make an arrangement now that I read your instructions
That’s great! Please let me know how they turn out!
Xx
Love the first two posts. Is there a part 3?
Hi there!
I unfortunately never got around to making the Part 3! It’s on my list of things to work on.
Thanks for reading, I’m glad you enjoyed Part 1 & 2! 🙂